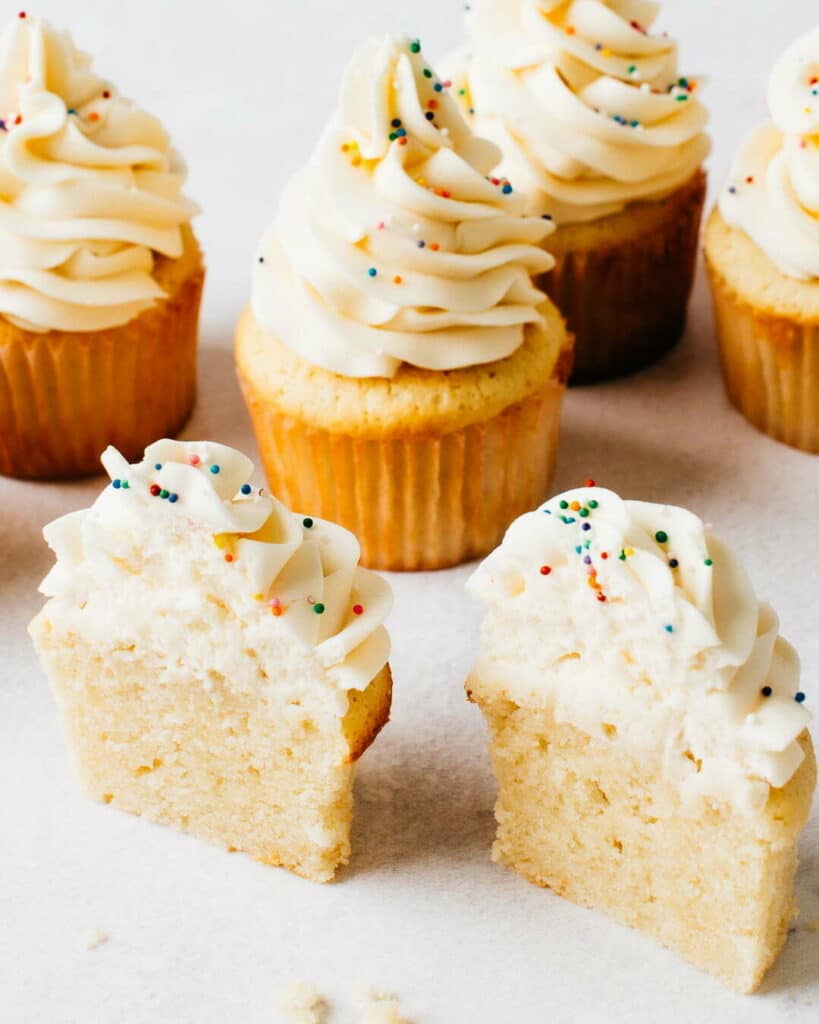
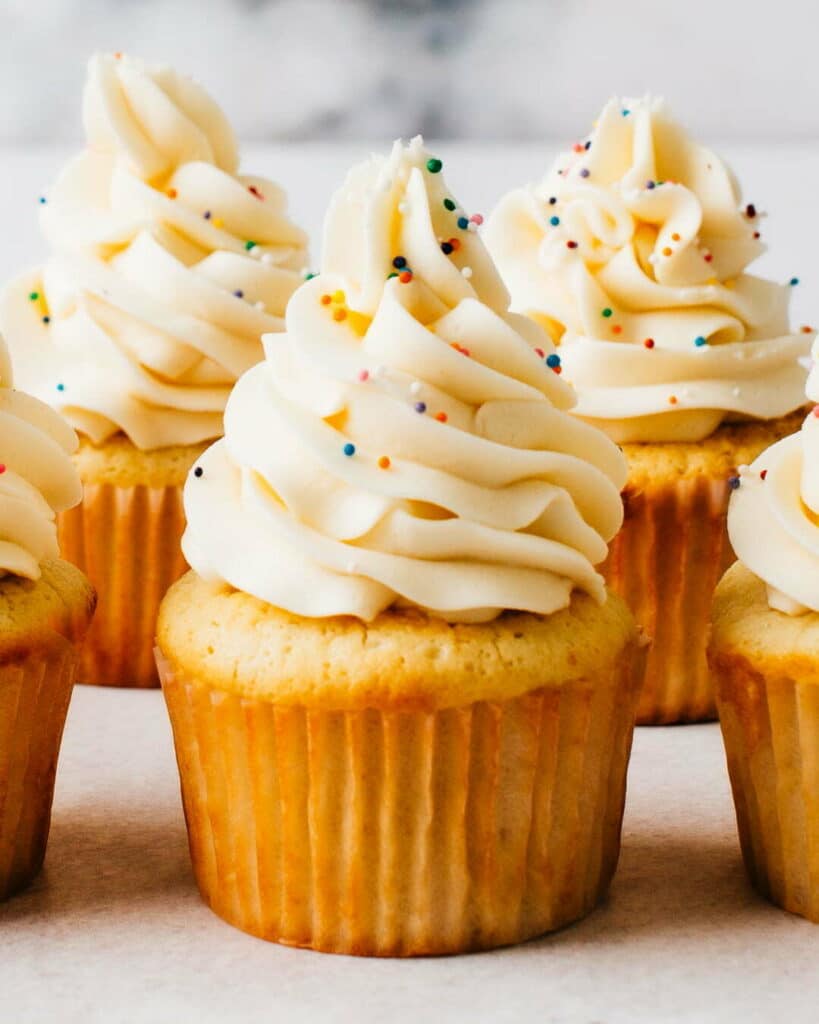
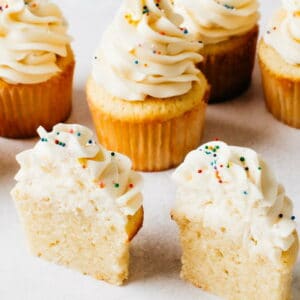
Feb 23, 2021, Updated Oct 15, 2021 Vanilla cupcakes are notoriously difficult to make really well. You want fluffy, tender, moist, light-textured cupcakes but you often get some combination of heavy, dry and/or coarse-crumbed. You see, vanilla cupcakes have nothing to hide behind. Their fluffy texture and soft crumb are the epitome of baking as a science. Precise measurement is non-negotiable. Specific ingredients and their temperatures matter. Technique and timing are of utmost importance. But GET EXCITED. I’ve spent months (years?) putting together a no-fail recipe and guide so you can have the most foolproof and best vanilla cupcake recipe experience ever. It’s easy.
The Moist Vanilla Cupcake Ingredients:
Bleached Cake Flour (or Cake & Pastry flour, as it’s typically sold in Canada). This flour has a lower protein content than all-purpose, meaning less gluten will form to toughen the batter. There’s a second bleaching technique used for cake flour different from and beyond what is used for all-purpose. It increases the flour’s absorptive capacity and thereby increases the height and fluffiness of the final cake.
Soft butter. Unsalted is called for but salted is just fine, but halve the amount of salt in the recipe.
Large eggs, warmed to room temperature. We are going to whip the whites first, and warm whites whip better. Also, cold eggs would harden the soft butter. The yolks contain lots of emulsifiers to help the butterfat incorporate with liquid ingredients to yield a smooth-crumbed cake. Keeping the ingredient temperatures the same makes sure we harness that superpower.
Whole milk, warmed as well to room temperature. We do this because once you’ve created that luscious foam of air bubbles trapped in a soft butter matrix, you don’t want to add cold milk and harden the butter again. Furthermore, having your ingredients the same temperature makes for a smoother, more uniform batter and reduces the guesswork in baking time. See quick warming tips below.
The 5 Science-based KEYS to perfect moist and fluffy vanilla cupcakes:
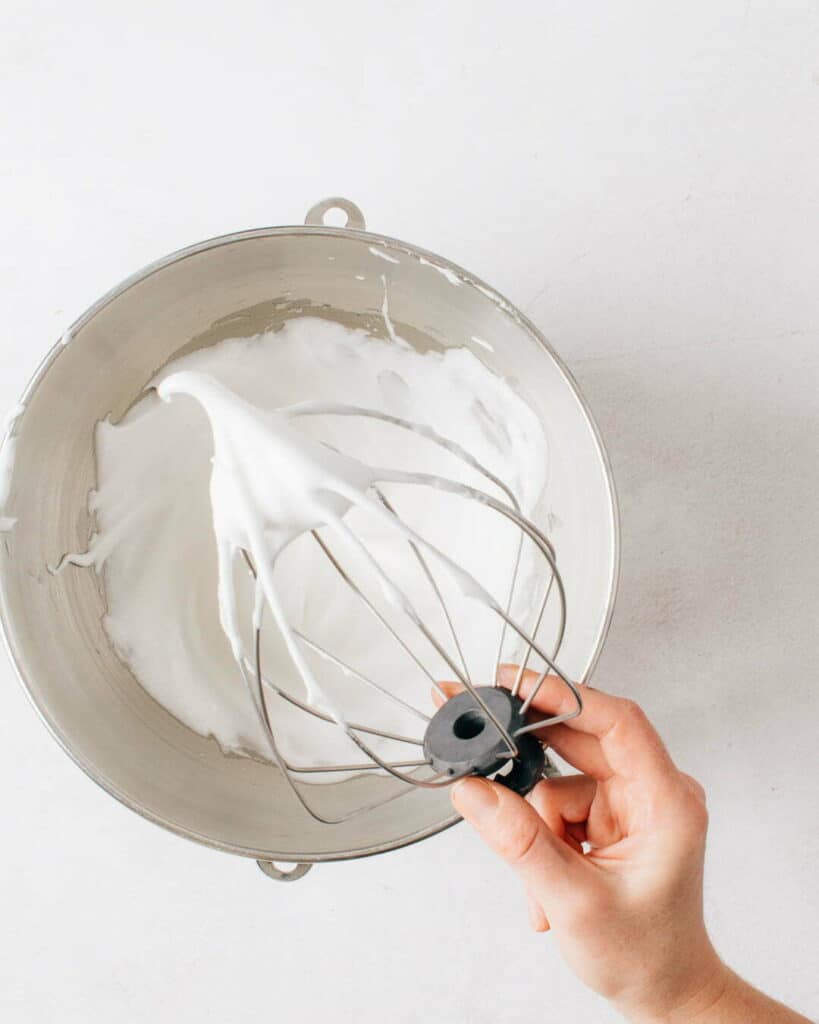
1.Precise measuring. Cake flour is silky-fine in texture, which means it compacts more in a bag and measuring cup than all-purpose flour. For this reason, super-precise measurement by volume is almost impossible. I strongly recommend weighing it. A cup measured by me does not weigh the same as a cup scooped by you, and the extra 1/2 oz of flour can turn a tender cupcake dry. You don’t need expensive equipment. A $15 scale is just fine. 2. Temperatures: temperature of the ingredients is important for so many reasons but you don’t need to plan in advance and you don’t need a microwave. Here are my Pro Tips: How to Quickly Bring Ingredients to Room Temperature. It also answers WHY ingredient temperatures matter. 3. Reverse creaming (see what this means below). This technique is an insurance policy against over-mixing (which is a primary culprit in producing tough cupcakes). Starting with this method yields the most absolutely melt-in-your-mouth, velvety tender crumb I’ve ever experienced. 4. Beating egg whites first. Any recipe that asks for separately beaten whites is annoying, I get it. PLEASE bear with me. Beating the whites to peaks and folding them into the finished batter is the SECRET to making these moist and tender cupcakes ALSO light and fluffy cupcakes. 5. Minimize the final beating. You really can do no harm in this recipe until the liquids are added, because gluten (the batter-toughening protein complex) is only formed once water interacts with individual flour proteins. This goal is to incorporate the wet ingredients with minimal agitating of the dough. BUT KEEP IN MIND. We did Step 2. as an AWESOME safeguard against too much beating, so this is a precaution. Don’t sweat.
What Is Reverse Creaming?
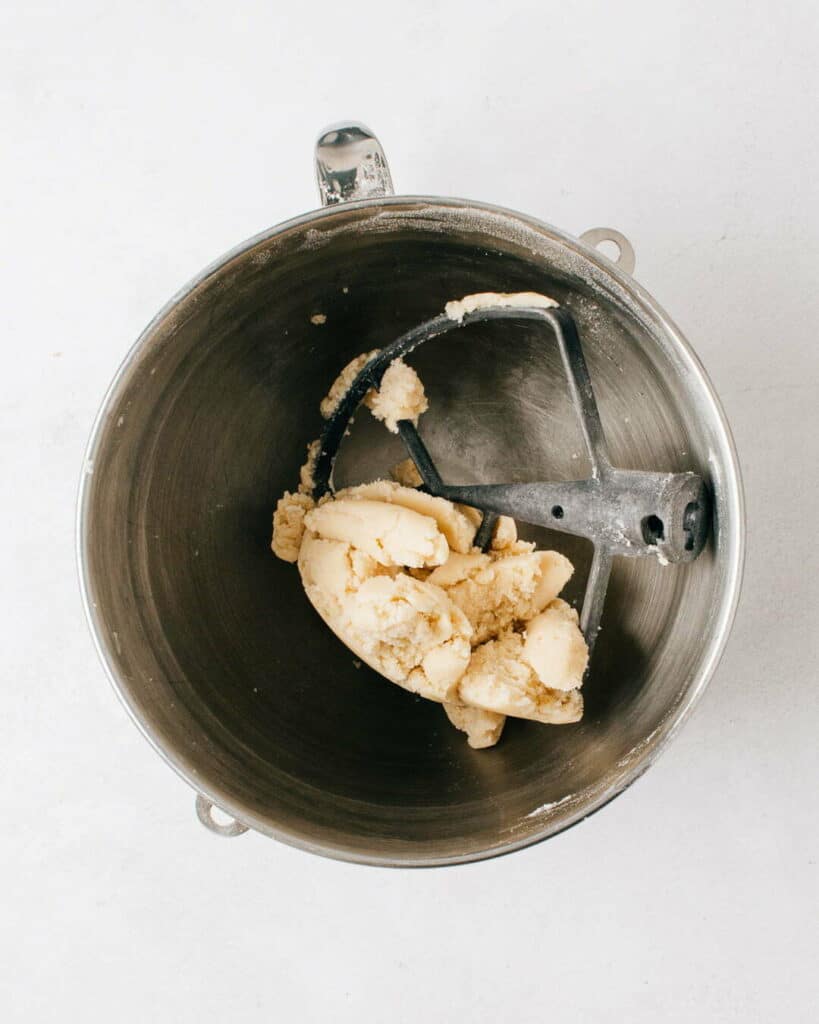
Reverse creaming means you start by mixing your dry ingredients, then add the butter and beat it right in. This is opposed to traditional creaming of the butter and sugar, followed by gradual incorporation of flour and liquids. Why use reverse creaming? It’s about gluten. Gluten is a protein matrix formed by proteins after they are hydrated with water. The more gluten formed, the tougher and more rubbery the cake. Reverse creaming allows you to coat the flour with fat before any liquid is added, preventing long strands of gluten from forming and yielding an absolutely meltingly soft and tender crumb. Many reverse-creaming recipes I’ve seen call for butter to be added to the flour until they form coarse crumbs. This is not reverse creaming, this is just adding butter. You can’t cream crumbs. True creaming incorporates air. Other recipes I’ve seen involve adding some liquid along with the butter, just enough to make it creamable. Unfortunately, this kinda defeats the purpose, because with liquid and beating comes gluten. MY solution is simple: temperature. Warmer butter will come together with the dry ingredients to form a dough. You just have to apply a hot-water-soaked dishtowel to the bottom of the mixer bowl to take the mixture from crumbs to a cohesive dough and then you can truly reverse cream it. Here’s my favourite Easy 5-Minute Fluffy Vanilla Frosting recipe.
