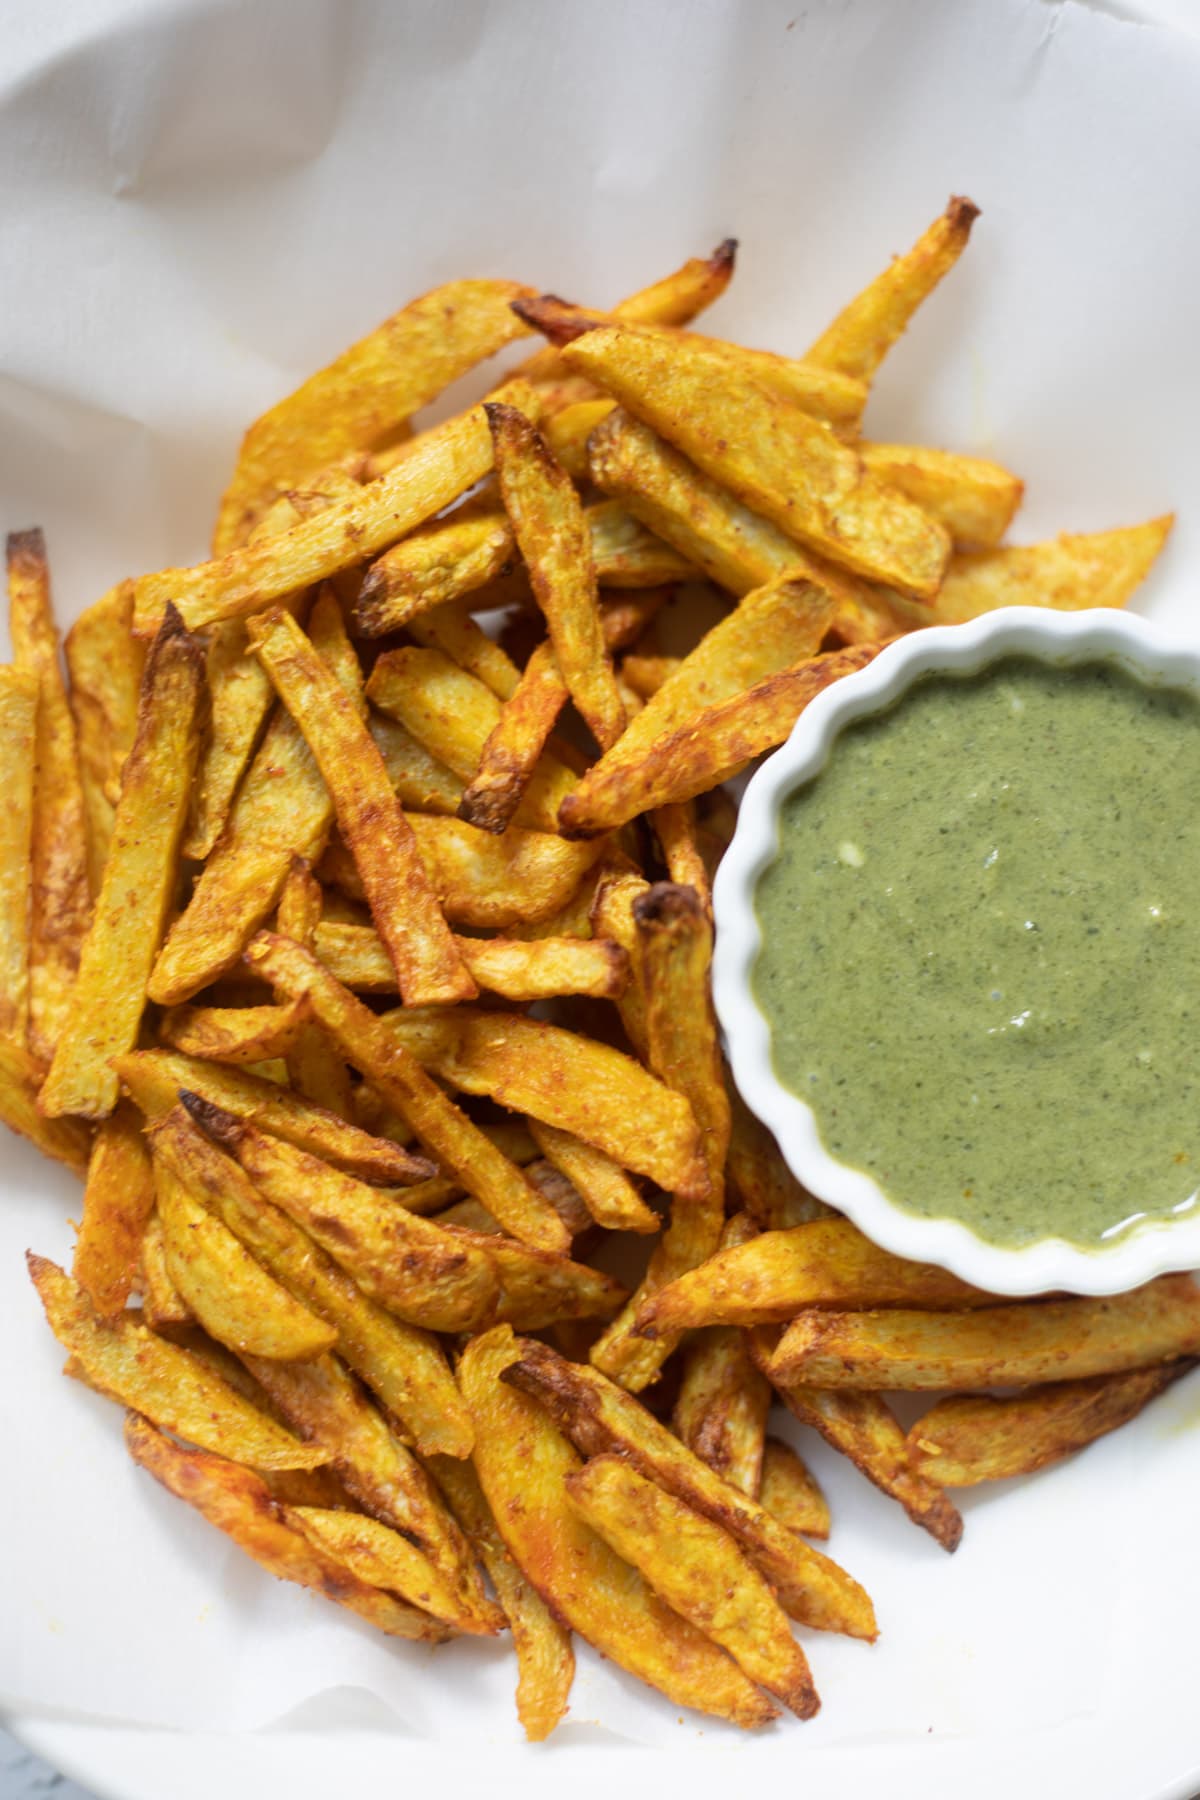
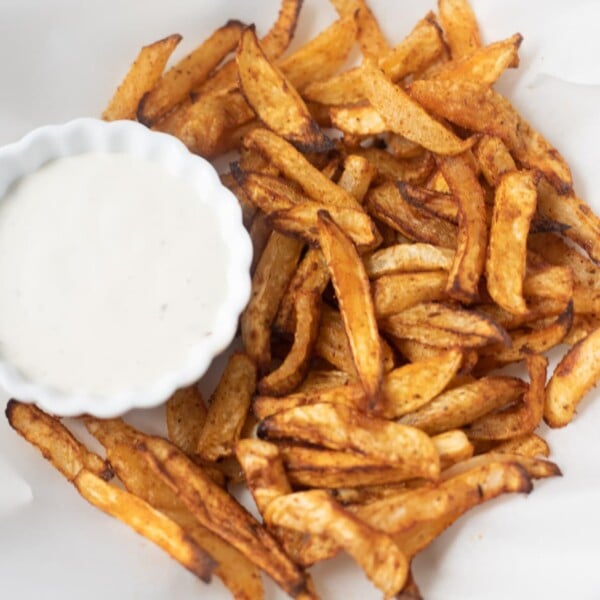
Arbi Fry is a popular dish in India. However, as the name suggests, it is fried, which means too much oil. I have posted a recipe for Arbi Fry here. Now that I have the air fryer, I wanted to try cooking Arbi (Taro) in it without using much oil. And sure enough, it came out great. It does not have the exact same taste as frying it in a whole lot of oil, but trust me, it is very tasty and certainly has fewer calories and less work! I saw recipes where people first boiled the taro and then air-fried it to get a crispy texture. I like 1-step processes better 🙂 So I decided to try just directly air-frying taro. The result is a yummy appetizer. Enjoy it with a mint chutney and you will get hooked to your air fryer.
What is Taro?
I know many people have never heard of this vegetable, so here is a little information about taro. Taro root comes from the taro plant, which is native to Southeast Asia and India and is a staple in diets there as well as in Africa, China, the Caribbean, and Hawaii (heard of poi?). Taro, also called Malanga, is a Cuban staple for starch. In India, Taro is known by many names – Arbi in North India, Chamadumpa in Andra, and Cheppankizhangu in Tamil. The plant’s big green leaves and roots can be consumed when cooked. In their raw form, both are toxic. There are lots of varieties of taro, from small to large and from white-fleshed to purple-flecked ones. I used the smaller white-fleshed variety for this recipe. It is used and prepared much like a potato, as it’s equally starchy and similar in flavor. Compared to a white potato, it has three times the amount of fiber and is also a rich source of potassium, iron, vitamin C, and vitamin A. Taro fries, anyone?
Taro Nutrition
As a starchy vegetable, the taro root contains more carbs than other types of vegetables. While this might make you think twice about adding taro root to your diet when it comes to carb choice, quality matters. As a source of fiber plus essential vitamins and minerals, taro root makes a healthy carb choice. Taro is high in Fiber. A 1-cup serving of cooked taro contains 6.7 g of fiber, meeting approximately 25 percent of your daily fiber needs. Cooked taro is also high in vitamin E, with 3.87 mg in a 1-cup serving. Vitamin E is a fat-soluble vitamin best known for its antioxidant activity Taro is high in calories, and every 100 grams contains 112 calories. Not something you want to consume in high quantities if you are trying to lose weight. If you love roasting veggies in the air fryer, check out this collection for 25+ Air Fryer Vegetable Recipes.
How to Peel & Cut Taro?
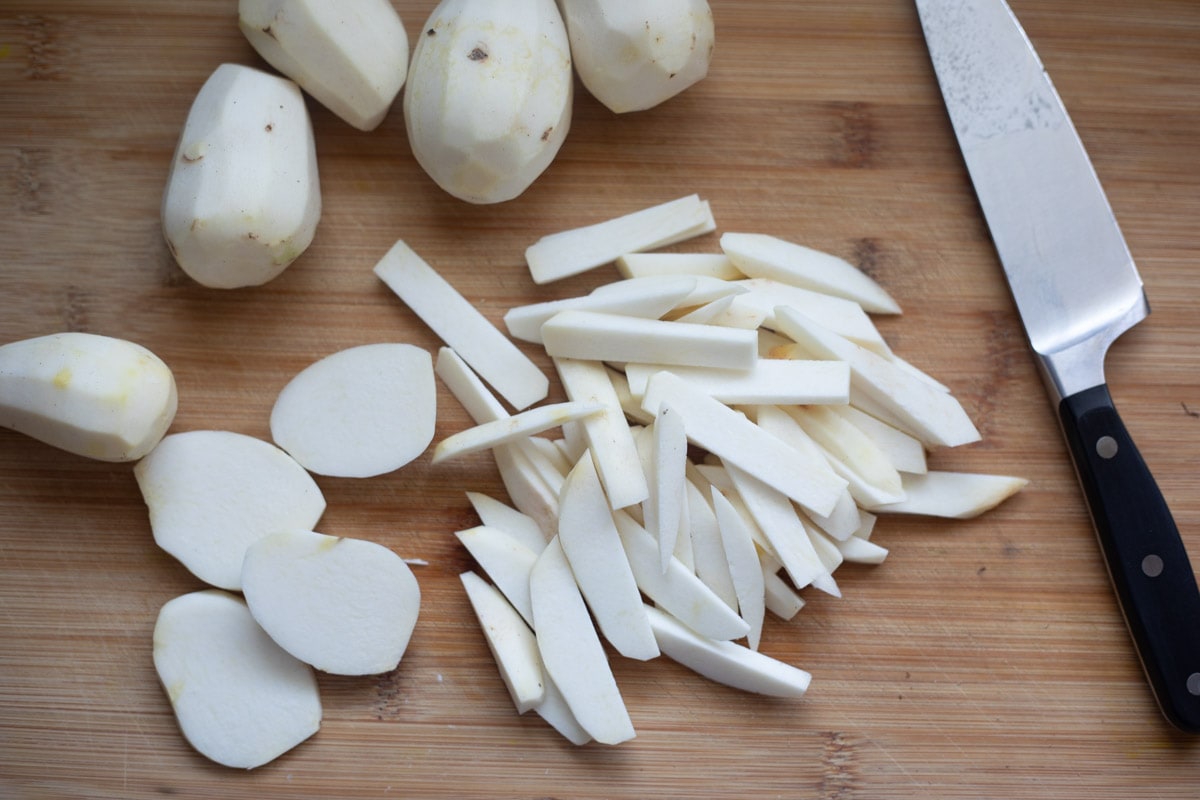
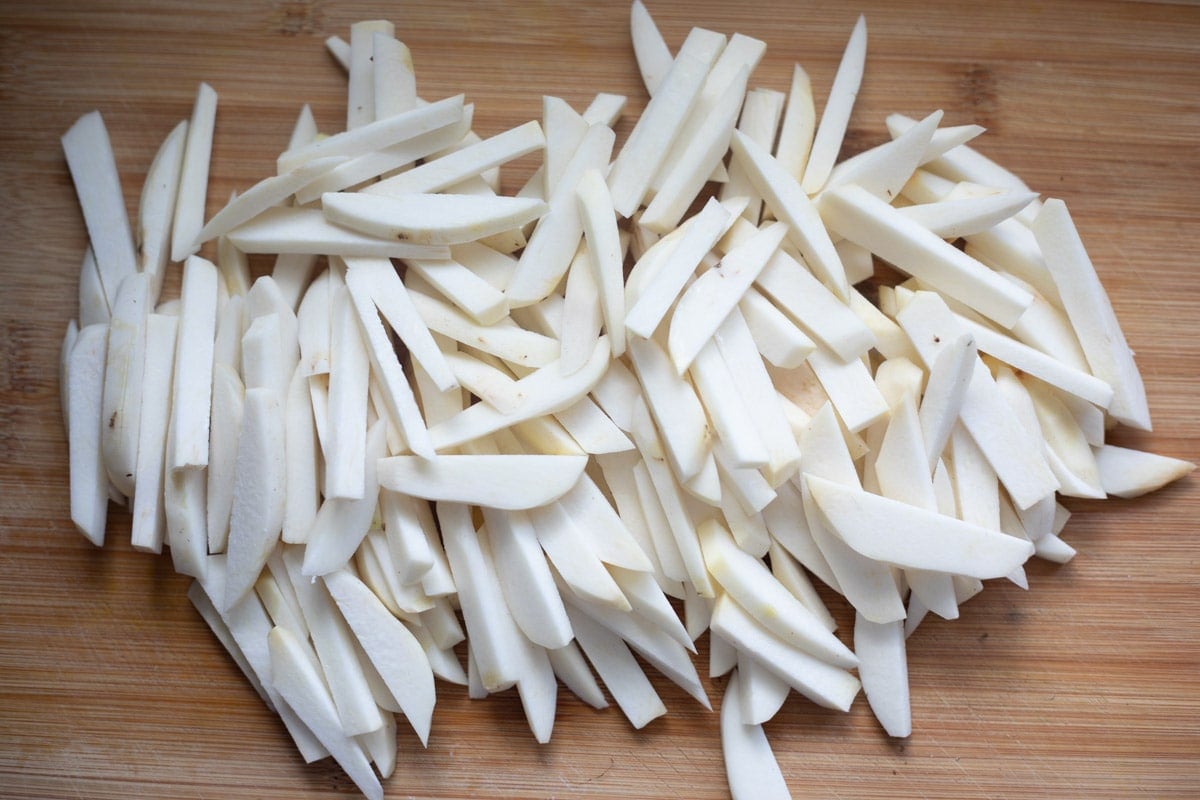
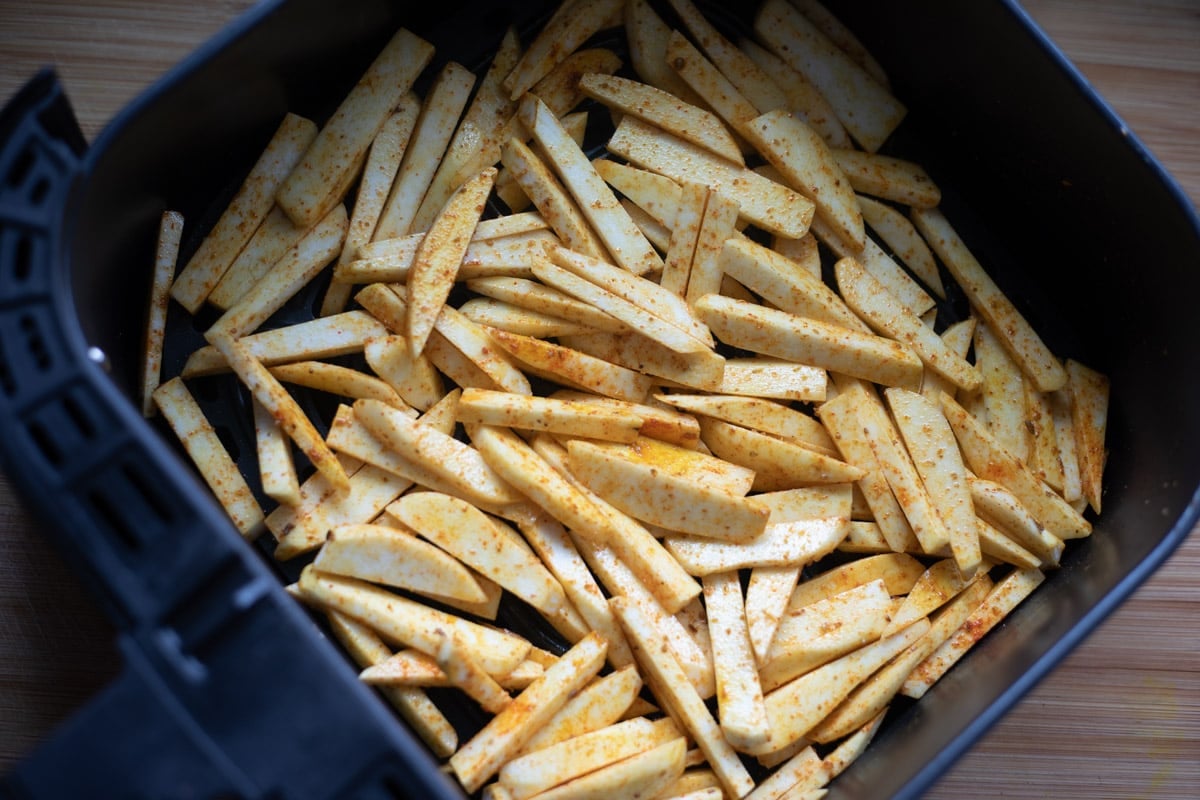
The first step is to peel & cut the taro root. Okay, this is the most tedious part of this recipe. I used a peeler to peel. Do not wash the taro after peeling, or else it will get slimy and will be hard to hold or cut it. If needed, you can wipe them clean with a paper towel. Slice as evenly as you can, similar to french fries. You want to use a sharp knife to make it easier to slice it. If you are new to taro, it is recommended to wear gloves when peeling or cutting it (remember, they are toxic in raw form. This is not to scare you. I don’t wear gloves and have been eating this vegetable since I was a kid).
Season Taro Fries
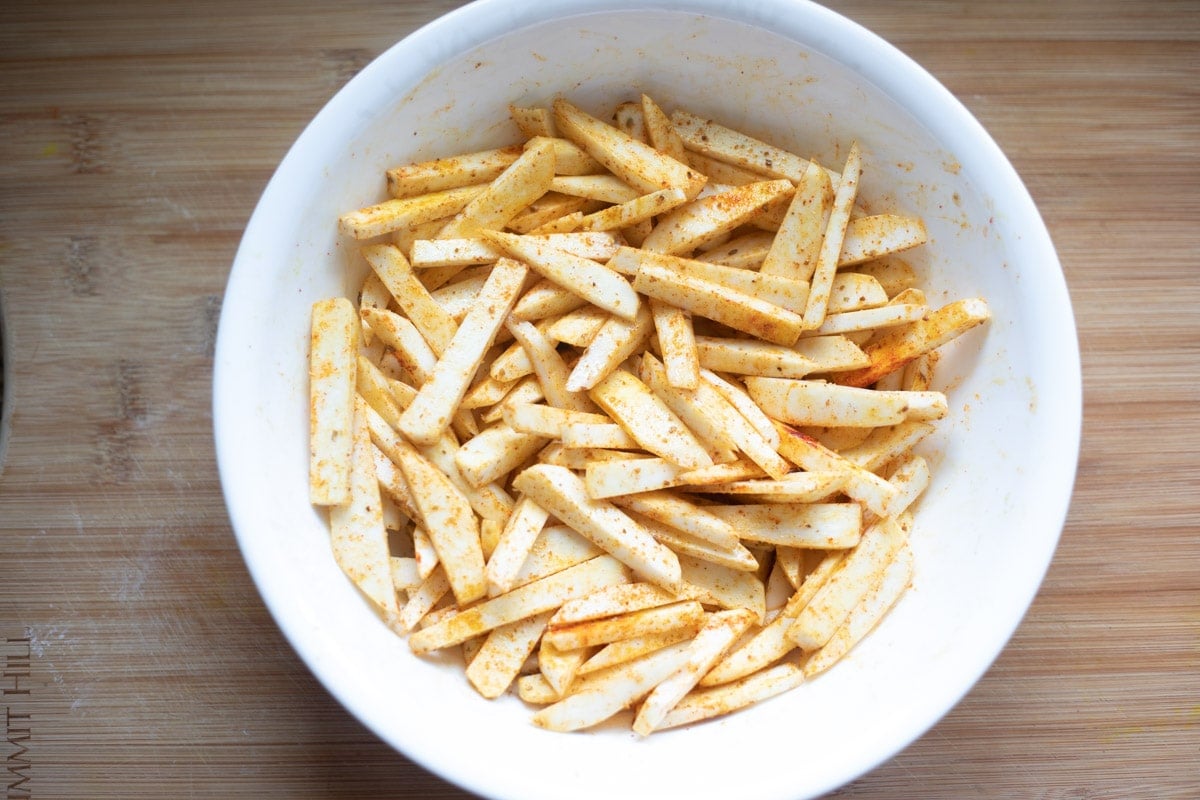
Add all the cut taro roots to a bowl and add some oil and spices to it. Add the spices – salt, red chili, and some turmeric. I also add some chaat masala or dry mango powder to get a tangy flavor. If you don’t have these, add lime or lemon juice. You can use or skip the spices based on your liking. Just seasoning with salt and pepper also works great with taro fries. Toss to coat evenly.
How to Cook Taro Fries?
I will be showing 3 ways to cook these taro fries – in the air fryer, oven, or deep fried on the stovetop. All of these methods work and result in perfectly cooked, crispy taro. So, pick based on your convenience.
Air Fryer Method
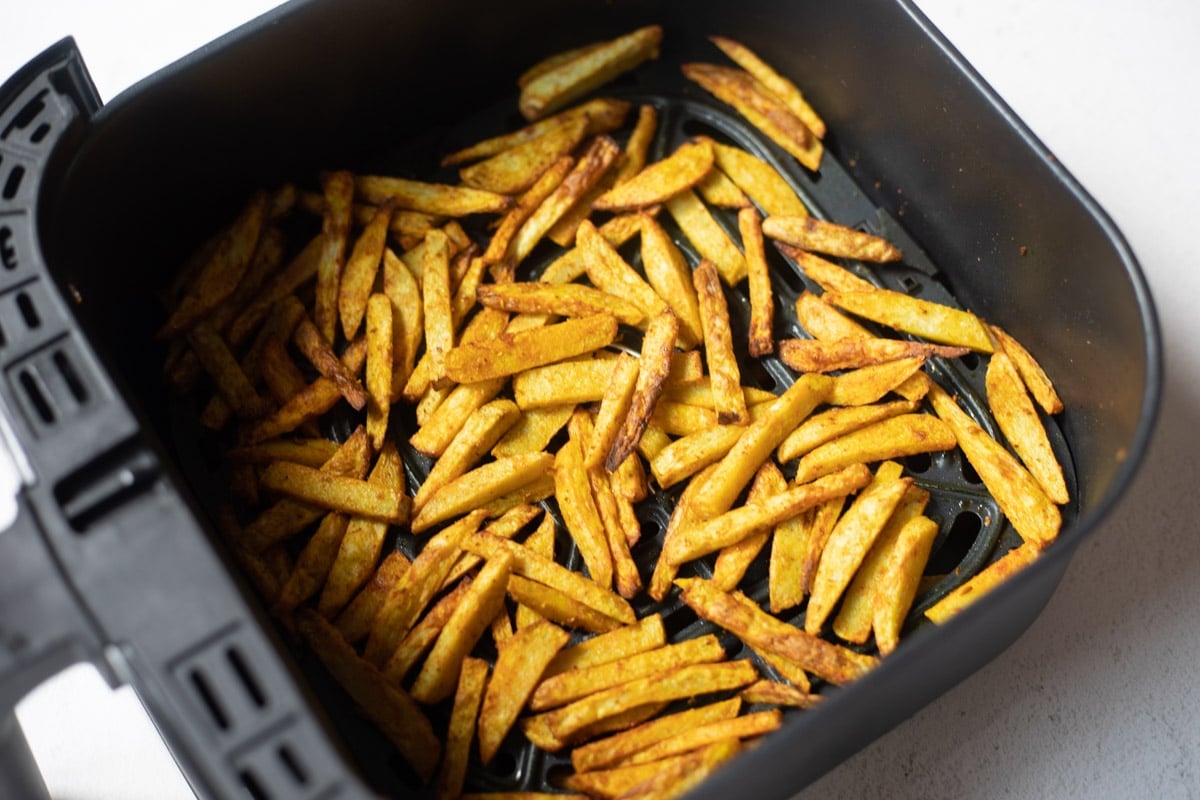
Place the seasoned taro in the air fryer and cook for 15-17 minutes at 380°F. Toss them halfway through.
Deep Frying Method
Heat oil in a large pan or deep fryer on medium-high flame. You can use any neutral-tasting oil with a high smoking point. Heat the oil to 400F. Put the cut and seasoned taro in the pan and cook until it is golden and crispy. It will take about 8-10 minutes on medium flame. Keep stirring at regular intervals.
Oven Method
Preheat oven to 400°F. Transfer the seasoned taro fries to a baking sheet. Make sure to put them in a single layer so they cook evenly. Bake for 25-30 minutes until the fries start turning golden on the outside. Flip them at 15 minutes. Taro Fries are ready to be enjoyed.
How to Serve?
Serve them as an appetizer with ketchup or cilantro chutney. They also go well as a side with burgers or pizza. In India, they are served as a side with lentils and roti/naan.
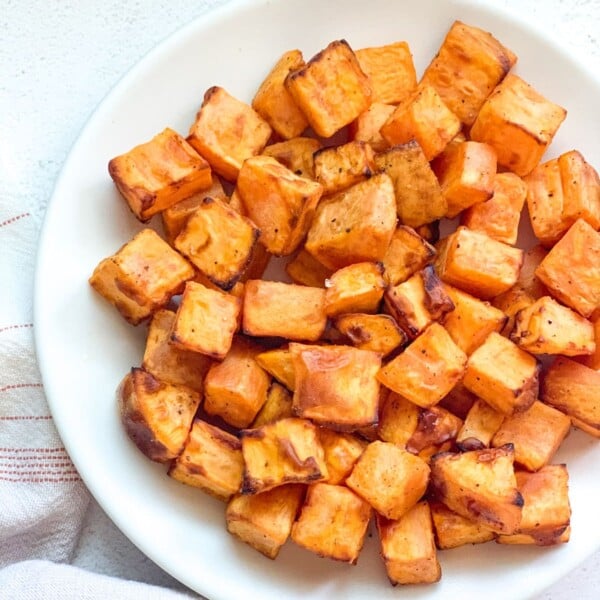
Air Fryer Roasted Sweet Potatoes
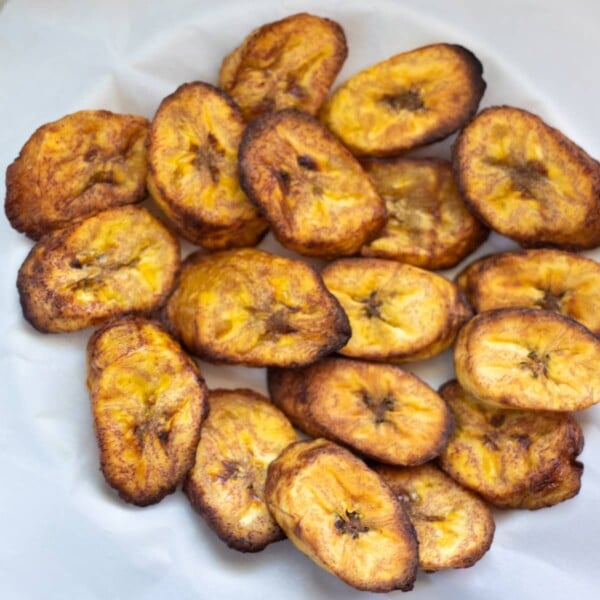
Air Fryer Plantains
Air Fryer Turnips
Air Fryer Asparagus


