The first time my Italian mom made potato gnocchi for my dad was when they just started dating. It didn’t go well. The little dumplings she had worked so hard at dissolved into goo in the pot of boiling water. They ended up going out to dinner instead. Fortunately, my mom was a perfectionist in the kitchen. She kept at it and experimented with different types of potatoes, flour amounts, and other variables. By the time I came along she was turning out light and tender potato gnocchi with ease. Potato gnocchi became a favorite Sunday dinner in our family, along with other Italian classics like Linguine alle Vongole and Stracciatella Soup. Her perfected recipe, which she thankfully wrote down, has long been my template. However, even with a good recipe, gnocchi can be tricky to make. There is lots of debate over what works best. Questions like: Which type of potatoes should you use? Should you boil or bake them? Should you add an egg or not? How much flour is really necessary? How long should you knead the dough? If you’ve ever tried to make a batch only to end up with tough or gummy pellets or a mass of goo, you might be wary to try again. My best advice is to stop worrying, roll up your sleeves and do it. The best way to perfect your gnocchi technique is to practice and I am here to walk you through it. Let’s get started!
What Are Gnocchi?
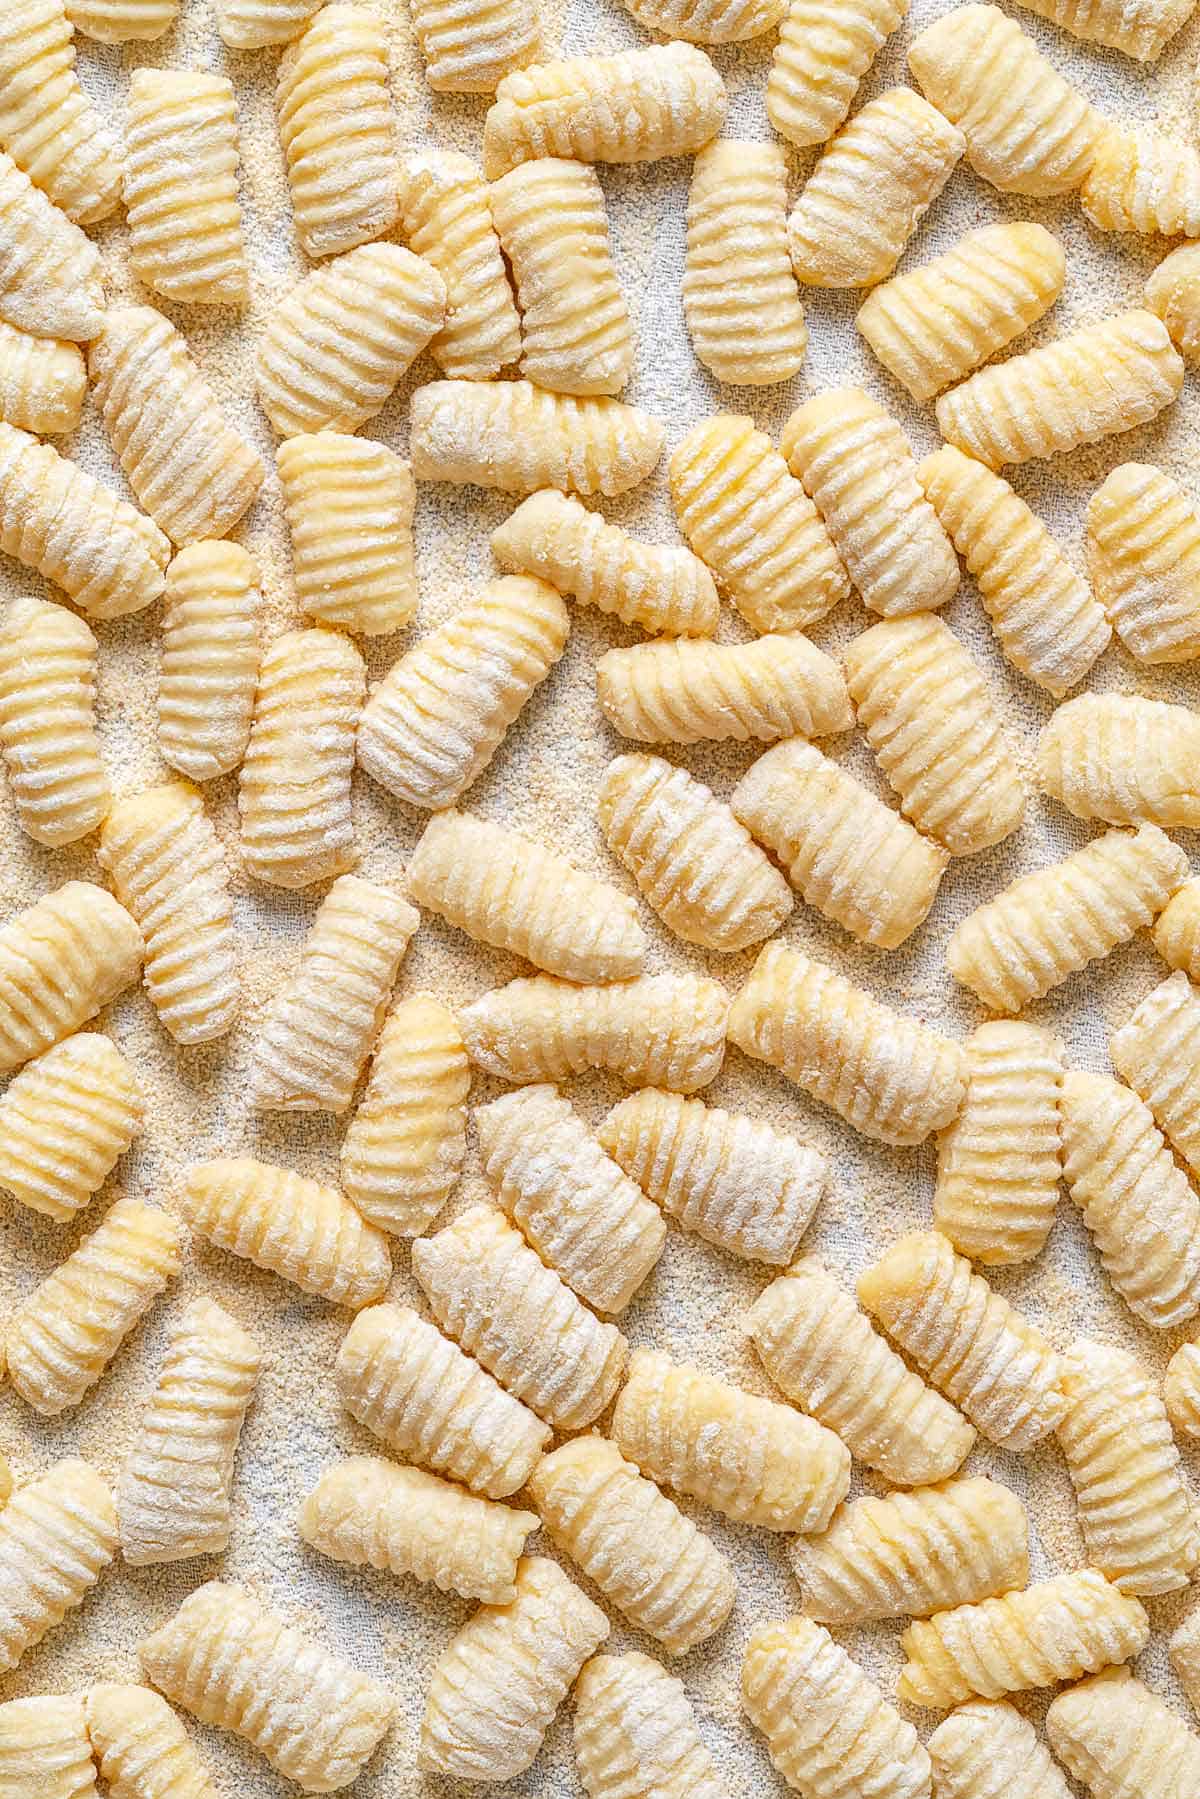
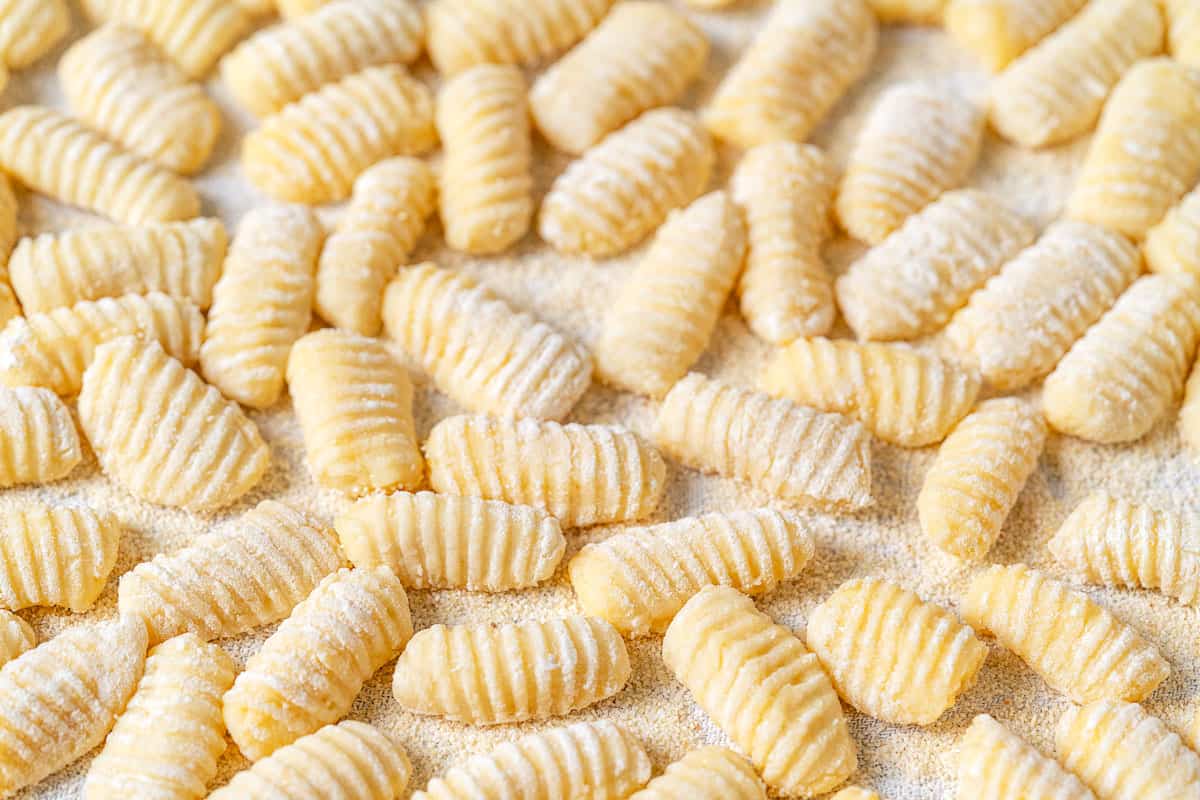
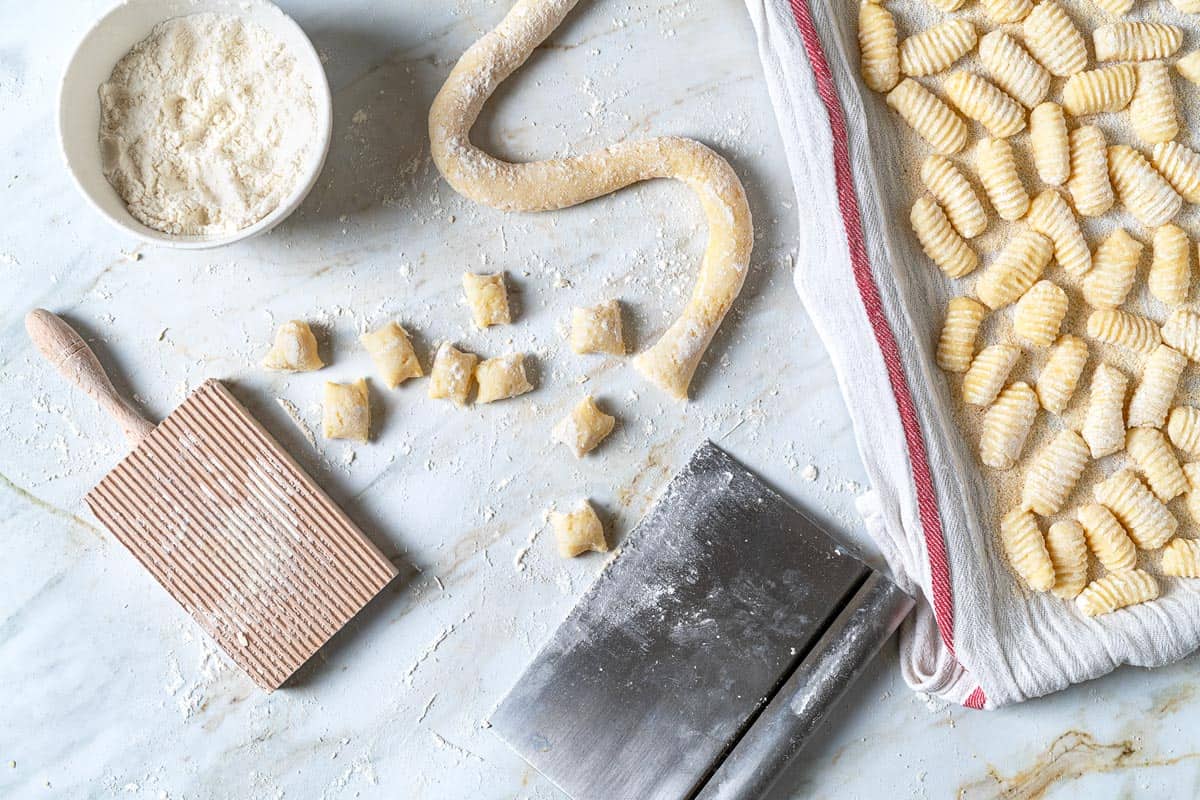
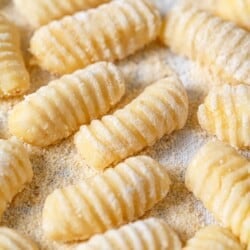
Gnocchi are, essentially, small dumplings. Did you notice I used the plural? That’s because the word “gnocchi” is plural, just like “biscotti” and “cannoli.” The singular form of “gnocchi” is “gnocco.” Just like you’d probably never eat just one in a batch of Homemade Cannoli or Biscotti, you’d never eat just one fluffy, delicious gnocco! In addition to potato gnocchi, there are dozens of types of gnocchi in Italian cuisine. The small dumplings can be made from breadcrumbs, ricotta, polenta, flour such as semolina or chestnut, or a mix of ingredients. Potato gnocchi are made by gently mixing cooked potatoes with a little flour and egg. The dough is divided into portions and rolled out into fat ropes, then cut into bite-sized nuggets. The nuggets can be left as is, or you can use a fork or a small wooden board with ridges, called a “rigagnocchi.” The ridges create a textured surface, which serves to hold sauce.
History of Gnocchi
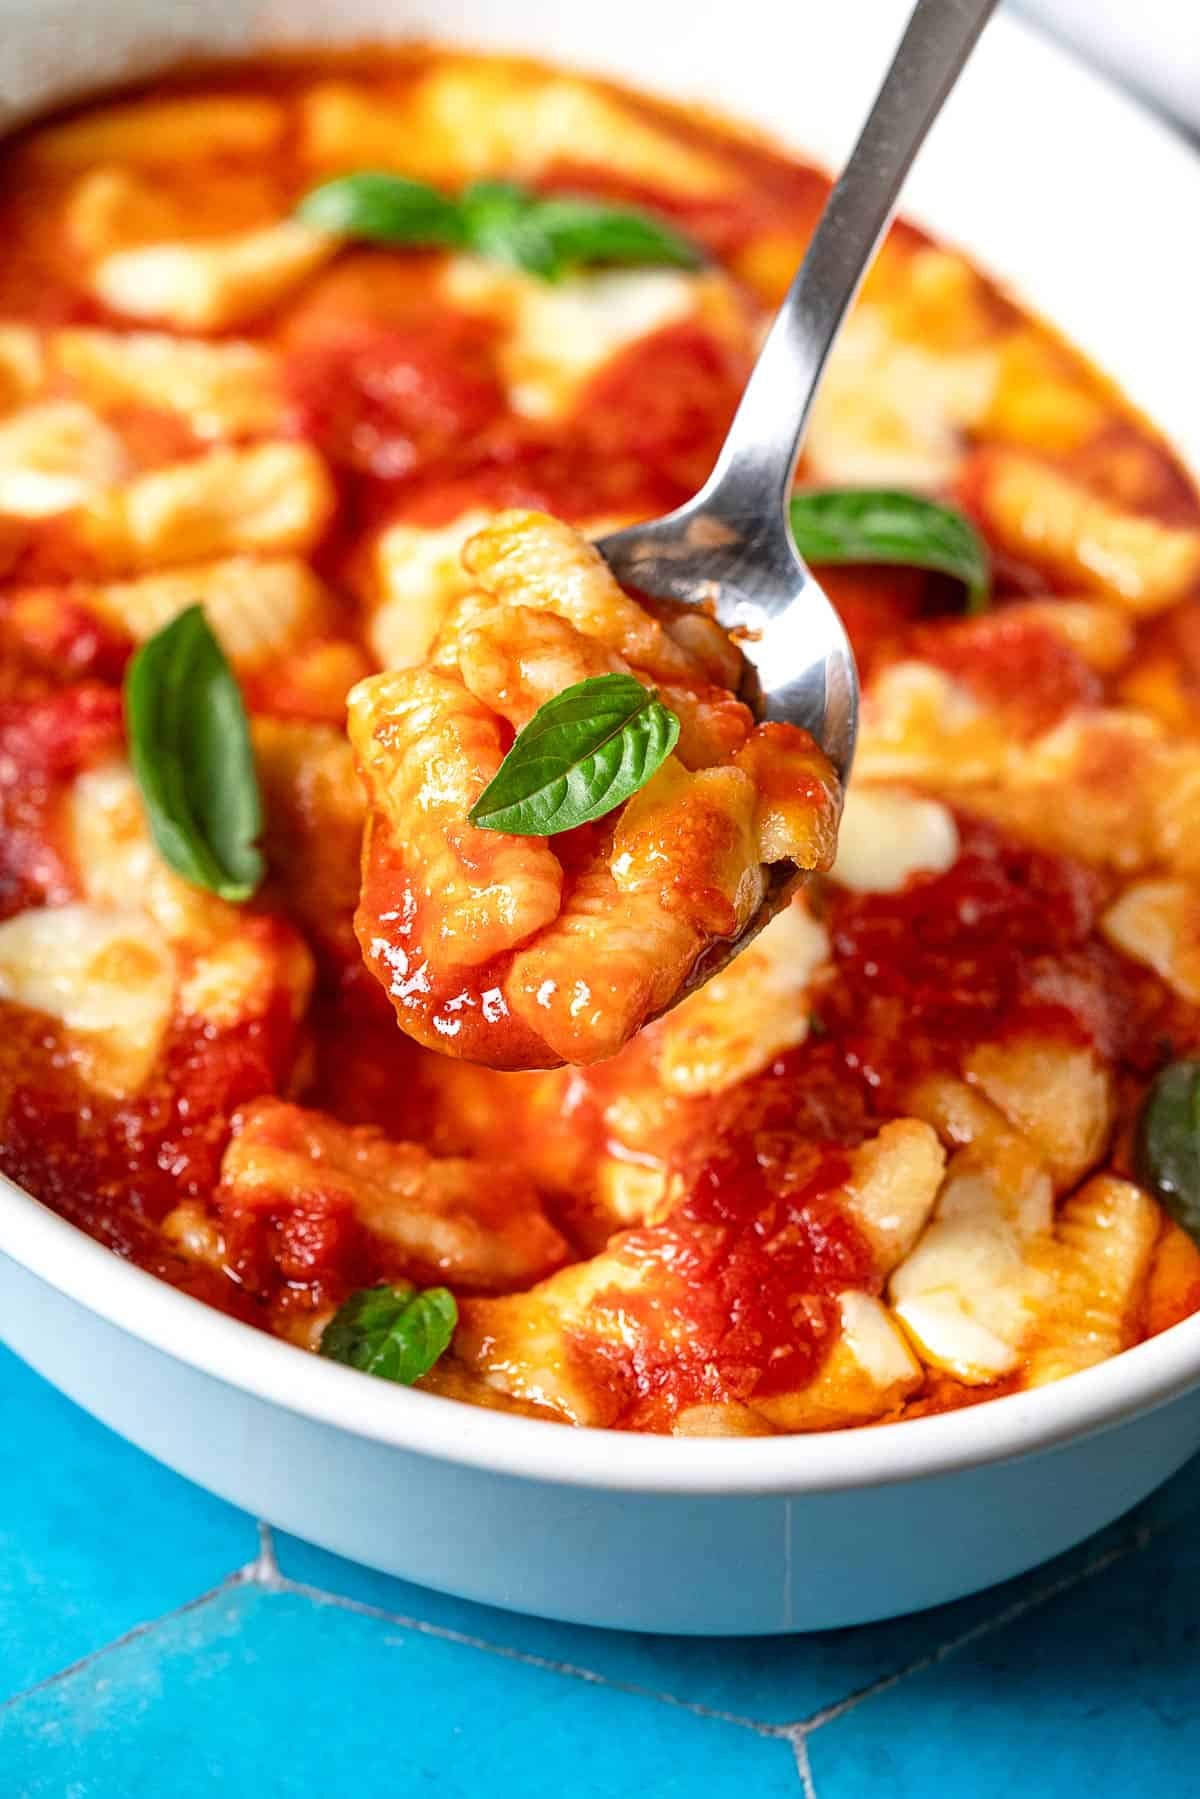
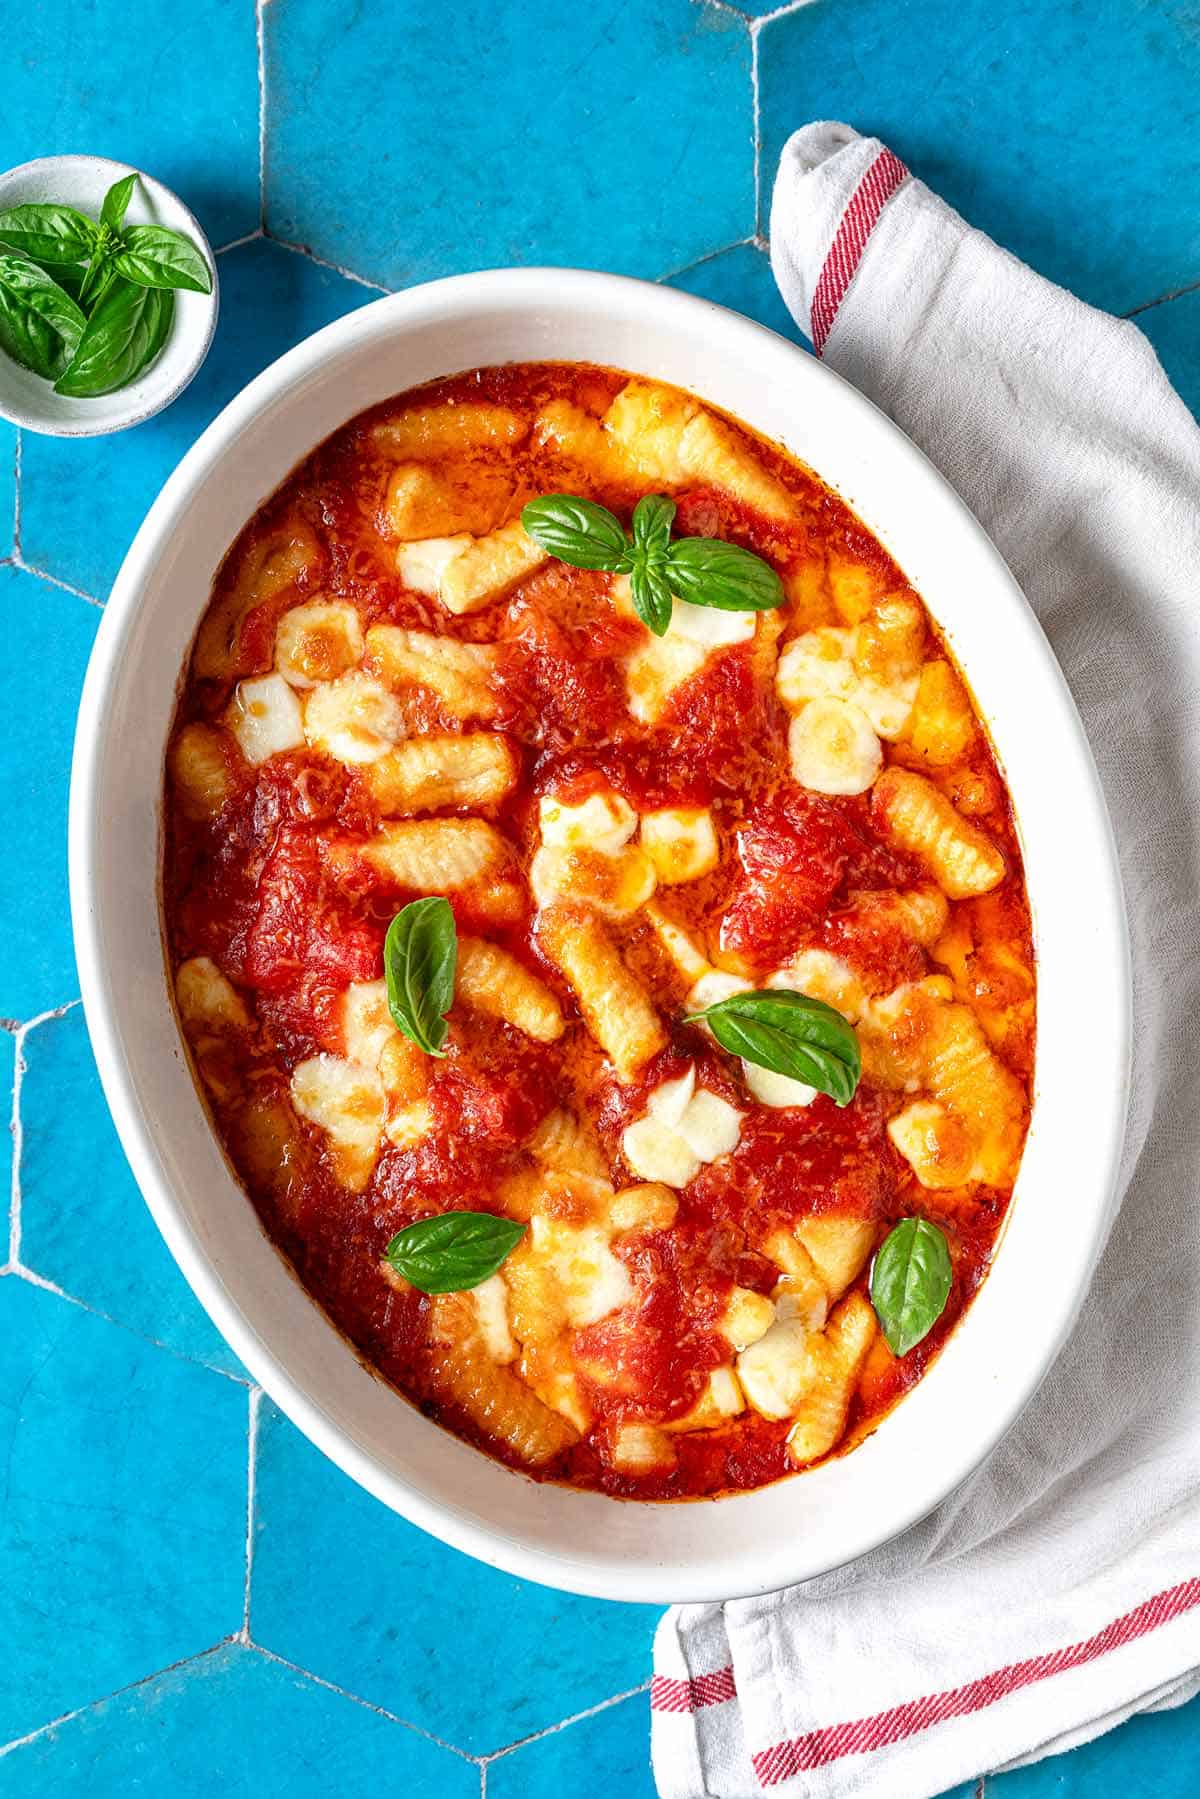
Let’s begin with the word itself, which is pronounced, “NYOH-key.” The origin of the word is hazy, but it is thought to derive from either “nocca,” (knuckle); “nodo” (knot); or “noce” (walnut), a reference to their shape. Potato gnocchi was born in the 16th Century, after potatoes arrived in Italy from the “New World.” It is said that a clever chef from Sorrento made the first batch of potato gnocchi while experimenting with the tuber. Sorrento is also where the popular dish Gnocchi alla Sorrentina—potato gnocchi baked with tomato sauce, mozzarella, and basil—originated. Today, potato gnocchi are found throughout Italy, including Abruzzo, where my family is from.
Giovedì Gnocchi (Gnocchi Thursday), a Roman Tradition
Many Italian families serve gnocchi as a part of a big family meal on Sundays. In Rome, however, it’s traditional for restaurants and trattorias to serve gnocchi on Thursdays. The phrase “Giovedì gnocchi,” which translates to “gnocchi on Thursday,” is part of a longer poem in Roman dialect assigning a different dish to each day of the week. Fridays, according to Catholic tradition, are fasting days. Observers abstaining from eating meat ate gnocchi on Thursdays, as they were inexpensive and filling. The tradition persists, no doubt because Romans love their gnocchi!
Ingredients for Homemade Gnocchi
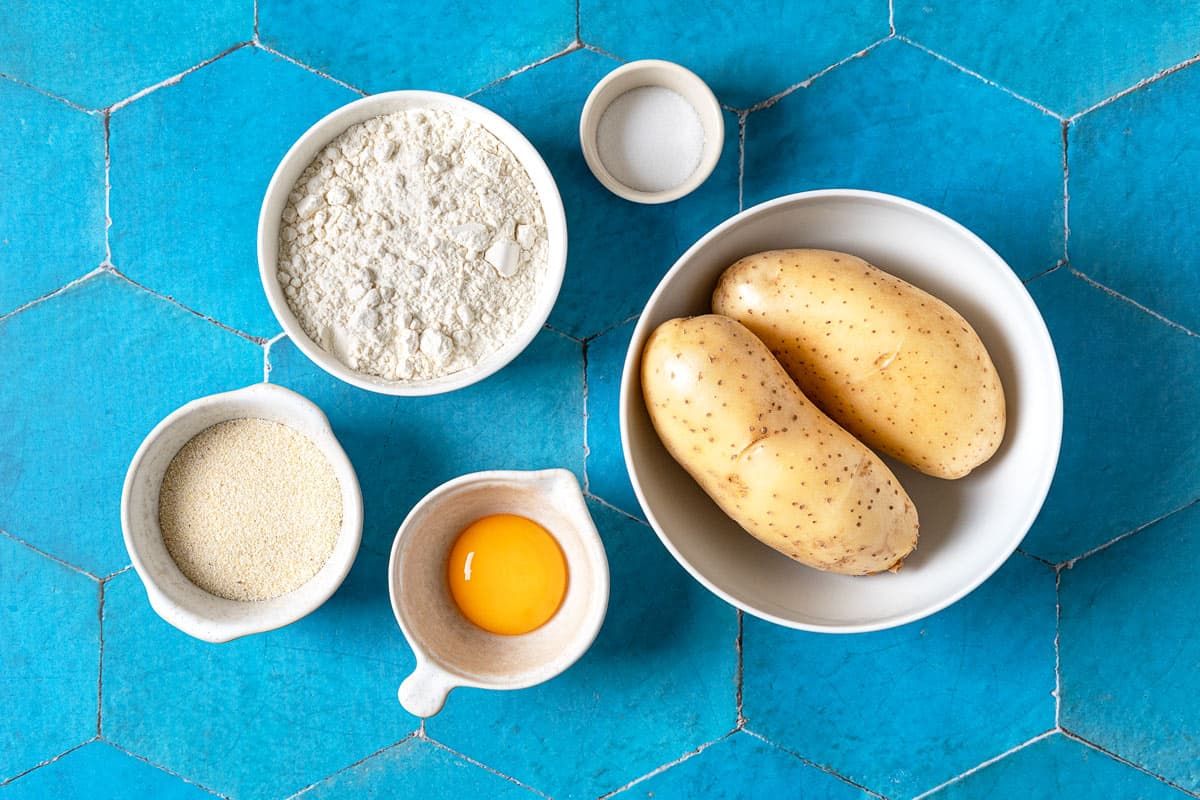
It takes just four inexpensive ingredients to make delicious, tender gnocchi: potatoes, flour, egg, and salt. The kind of potatoes you use is especially important. Here’s what you’ll need:
Potatoes: This is the most important ingredient in making gnocchi. Many recipes call for baking potatoes, such as russet or Idaho. I find baking potatoes to be dry and floury. My favorite potatoes for gnocchi are Yukon gold or other yellow potatoes. They have a rich, buttery flavor and a creamy, fluffy texture. Or, if you’d like to experiment with sweet potatoes, try my Sweet Potato Gnocchi Recipe. Flour: A judicious amount of unbleached all-purpose flour helps to turn the potatoes into dough. You need about 1 scant cup of flour per pound of potatoes. Semolina flour: This is optional, but I like to use semolina flour to prevent sticking. Semolina makes for good bench flour as it’s less readily absorbed than all-purpose. However, if you don’t have semolina flour, use all-purpose flour. Egg: Some traditional recipes call for the addition of an egg to gnocchi dough, while others claim it’s a cheater’s way of binding the ingredients. While I love fluffy gnocchi, I also want my gnocchi to have a little richness and substance. The egg helps the gnocchi keep their shape without dissolving the second they hit my tongue. I add a small amount of egg to my gnocchi dough. For one pound of potatoes, I use one large egg yolk; for two pounds, I use one full egg. Salt: A dash of salt, about 1/4 teaspoon per pound of potatoes, brings out the savory flavor. Cheese: A sprinkle of grated Parmesan or Pecorino is a delicious, but completely optional, final touch. Pasta sauce: Don’t stop at homemade gnocchi! A simple homemade pasta sauce, like our Easy Homemade Spaghetti Sauce, makes all the difference.
Tools for Making Gnocchi
You don’t need fancy equipment to make good gnocchi, but there are a few tools that will make the job easier and help you on your way to gnocchi success.
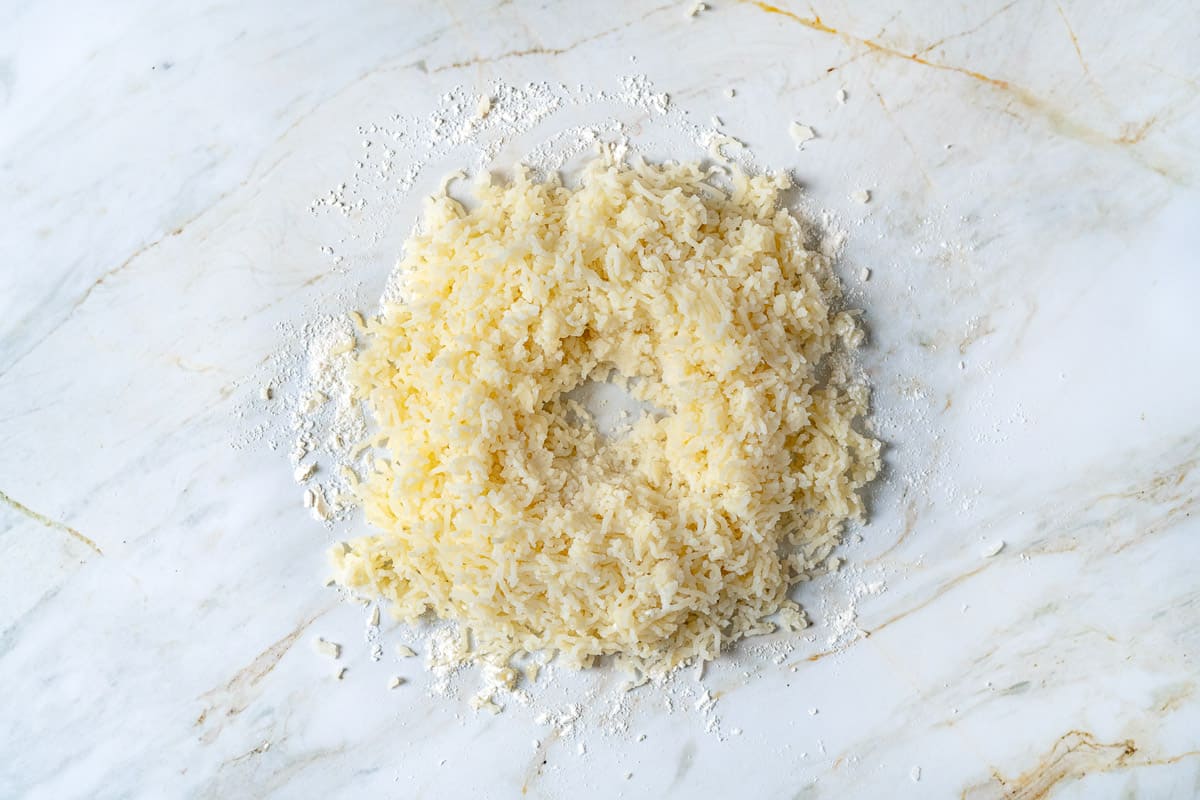
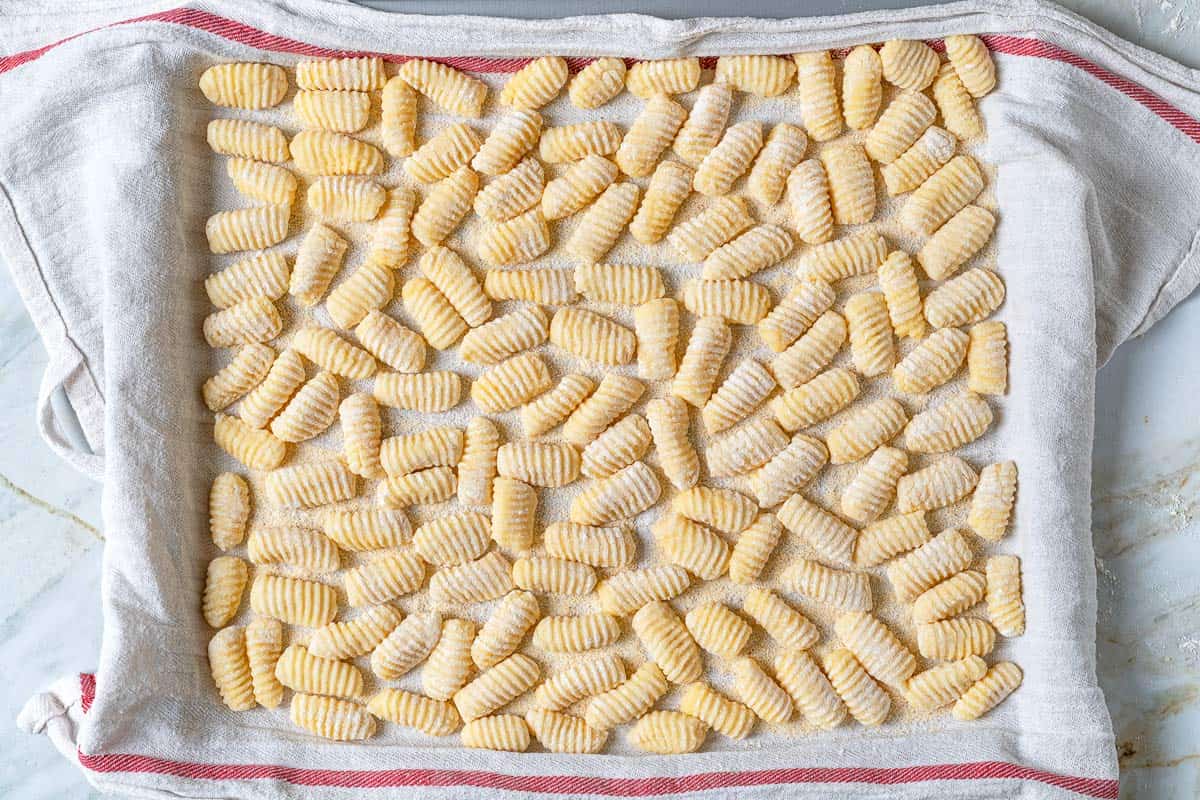
Potato ricer: A manual machine that’s typically made from stainless steel with long handles. A potato ricer “rices” potatoes by pressing them through a disk with small holes. This yields an airy mound of potatoes, rather than a dense mash or purée. If you don’t have a ricer, a food mill produces a similar effect. Otherwise, mash the potatoes with a fork, fluffing them as you go to incorporate air. Bench scraper: I use a bench scraper for a couple of steps. One, it helps incorporate the flour into the potatoes without overmixing or overhandling the dough. Second, I use it to cut the dough into portions, and later into bite-sized nuggets. If you don’t have one, you can incorporate your dough with your hands or a wooden spoon. A knife or unflavored floss can be used to portion. Gnocchi board or table fork: This simple tool is called a “rigagnocchi” in Italian. It’s used by rolling the little nuggets of dough down the board with your thumb. This creates beautiful, even ridges on one side, and a depression from your thumb on the other. The purpose for this shaping is two-fold. First, the depression helps the gnocchi to cook evenly. Second, both the depression and the ridges help “capture” sauce, making your gnocchi even more delicious. Gnocchi boards are inexpensive and can be found online (I like Fante’s Cousin Liana’s Gnocchi Board). But even without one, you can roll your gnocchi down the inside of a fork. The ridges will be wider, but the effect will be the same. This is the way my mom rolled gnocchi for many years, and no one ever complained! Large, rimmed baking sheets: Two large (12 x 17-inch) rimmed baking sheets hold your gnocchi as you shape them. Line them with a clean kitchen towel, and dust the towel generously with flour. This or prevents the gnocchi from sticking to the towel. Or, you can use your kitchen table and a flour-dusted tablecloth.
How to Make Potato Gnocchi: Step by Step Instructions
Making homemade gnocchi is quicker than homemade pasta. Unlike pasta dough, you don’t have to knead or rest gnocchi dough for long. The key is to use a light hand, from the mixing to the rolling out and shaping.
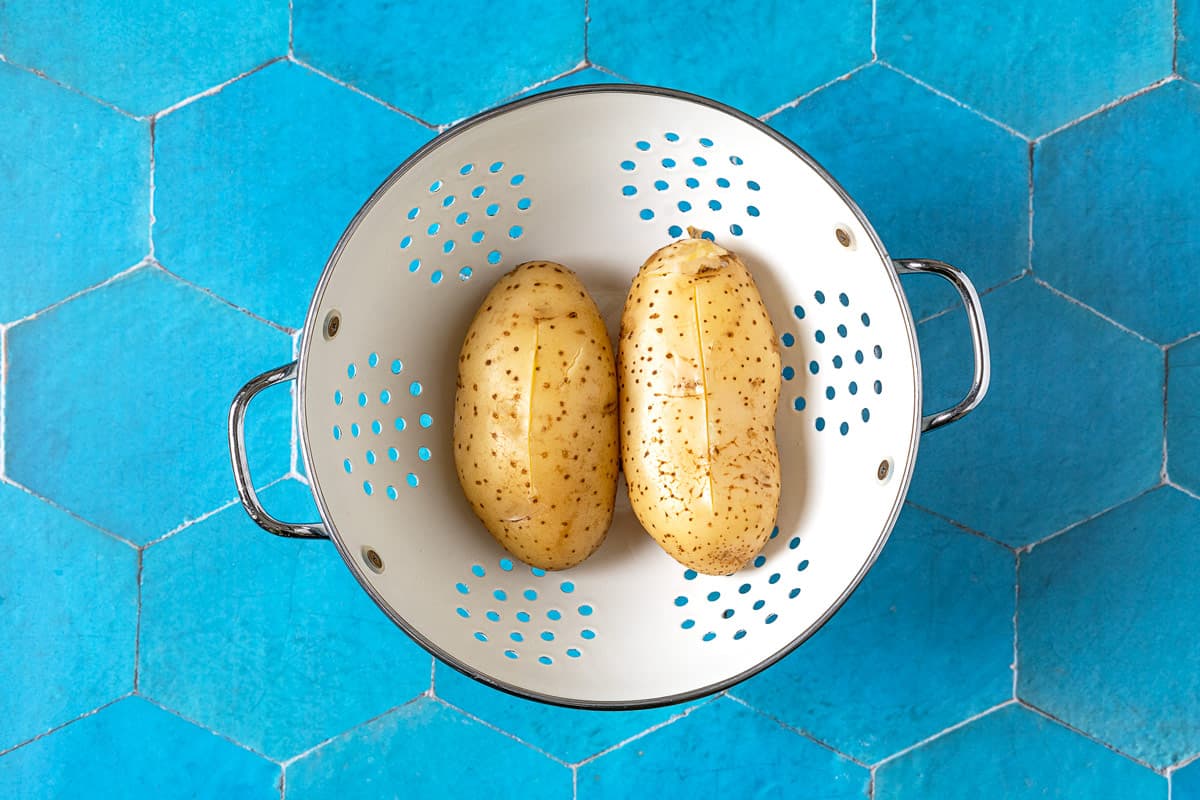
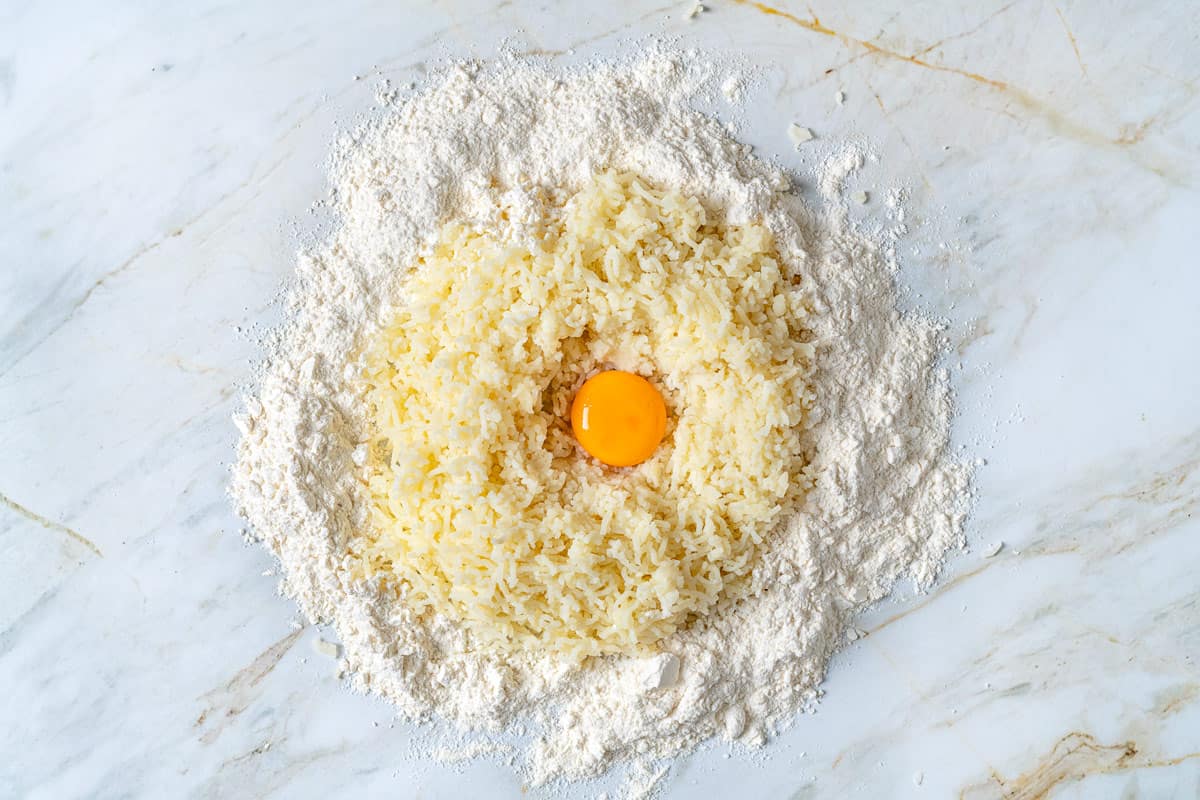
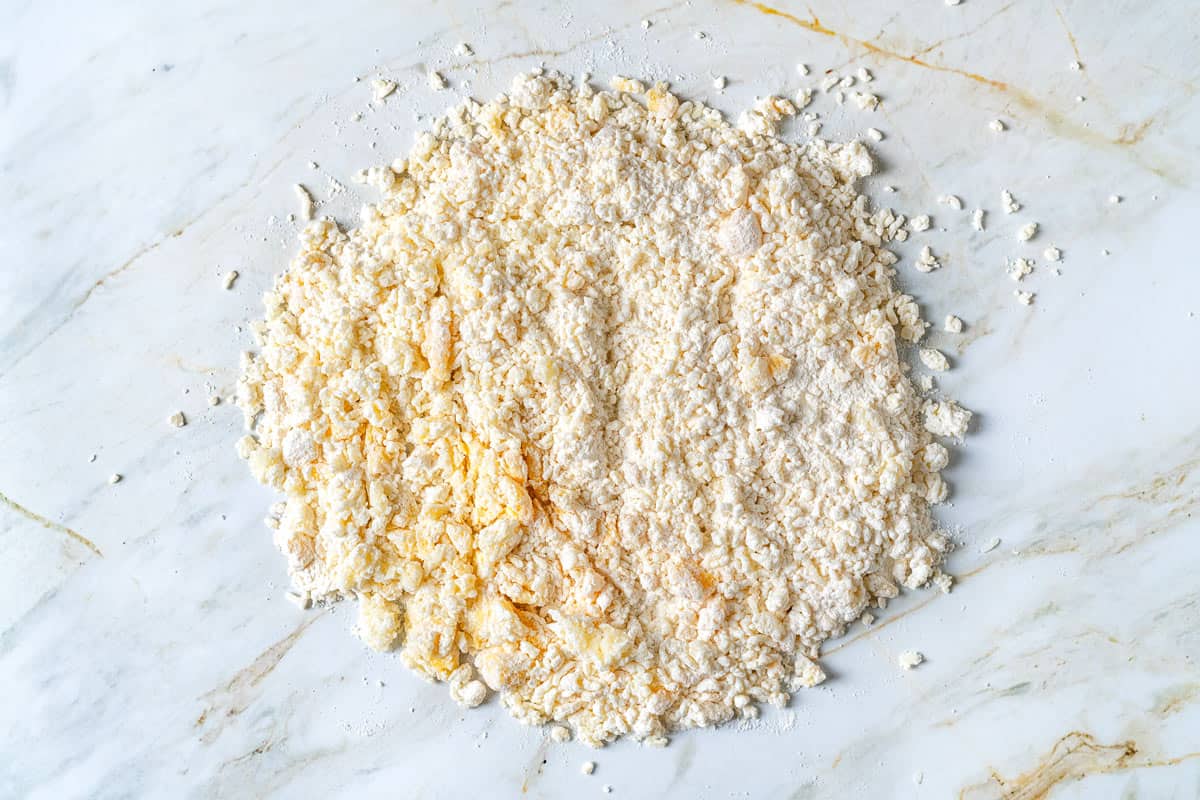
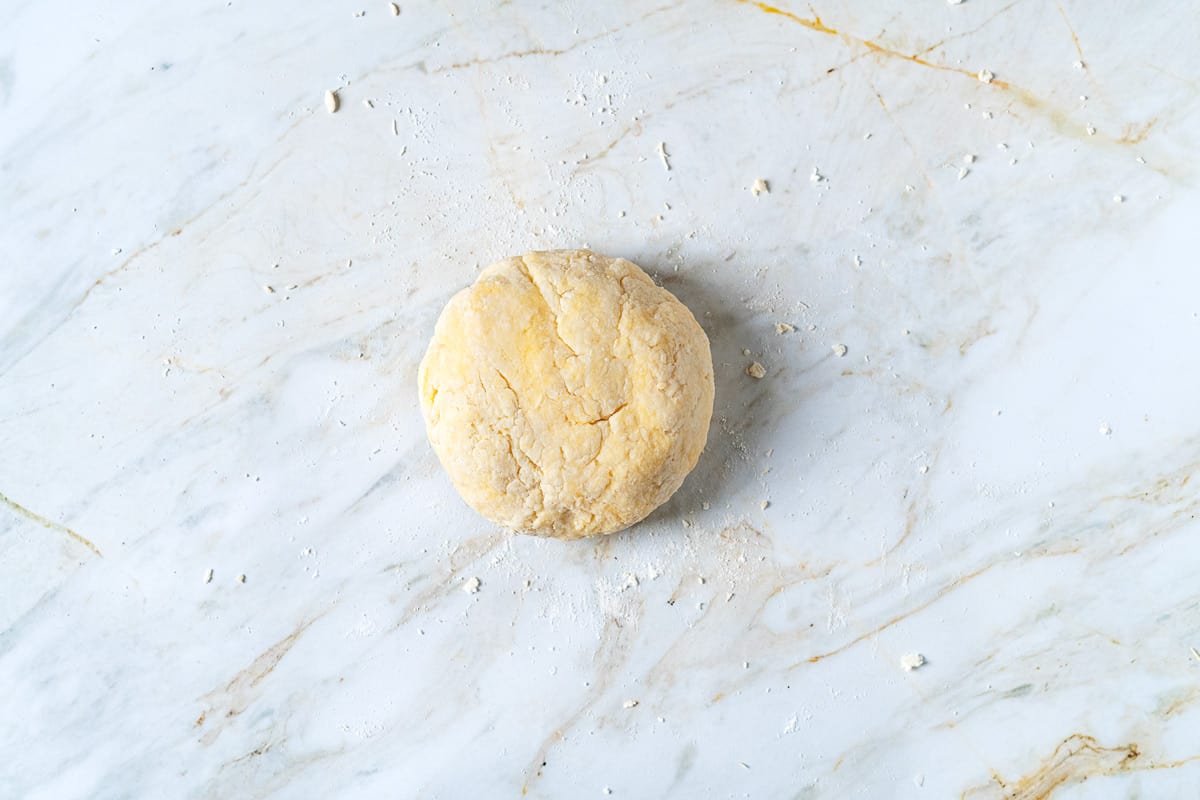
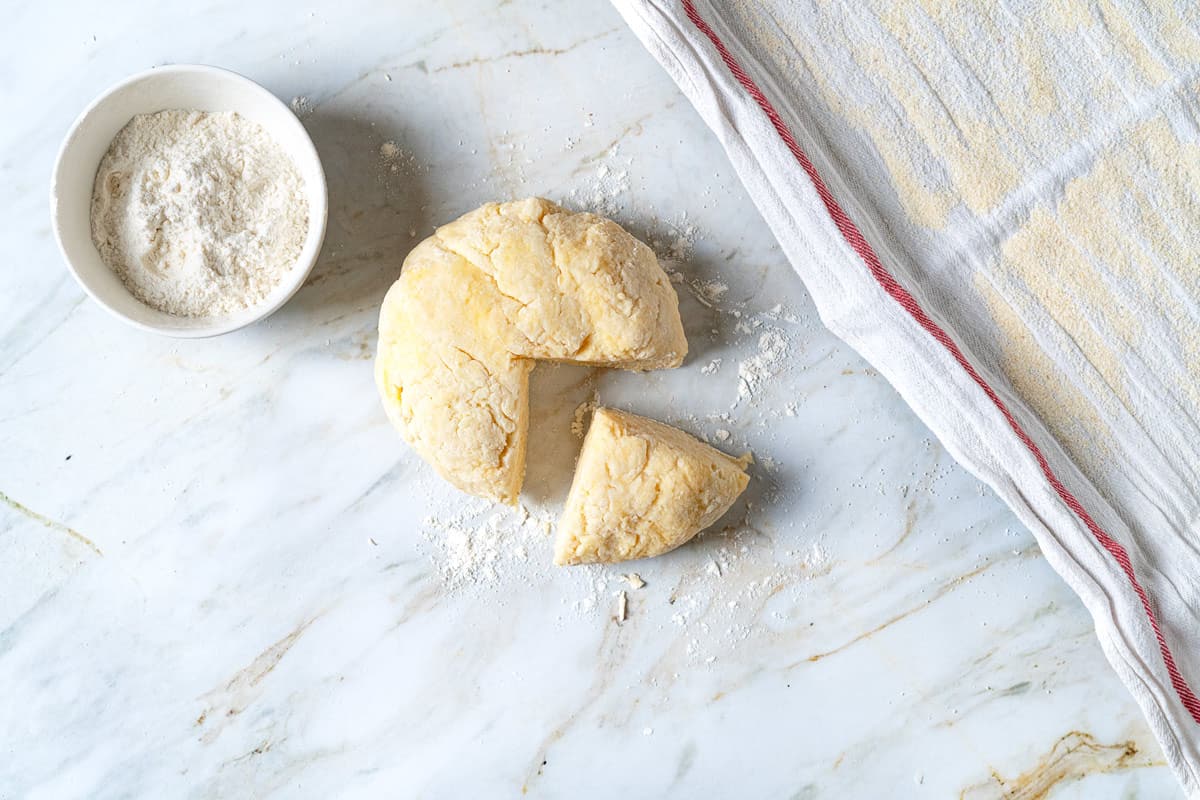
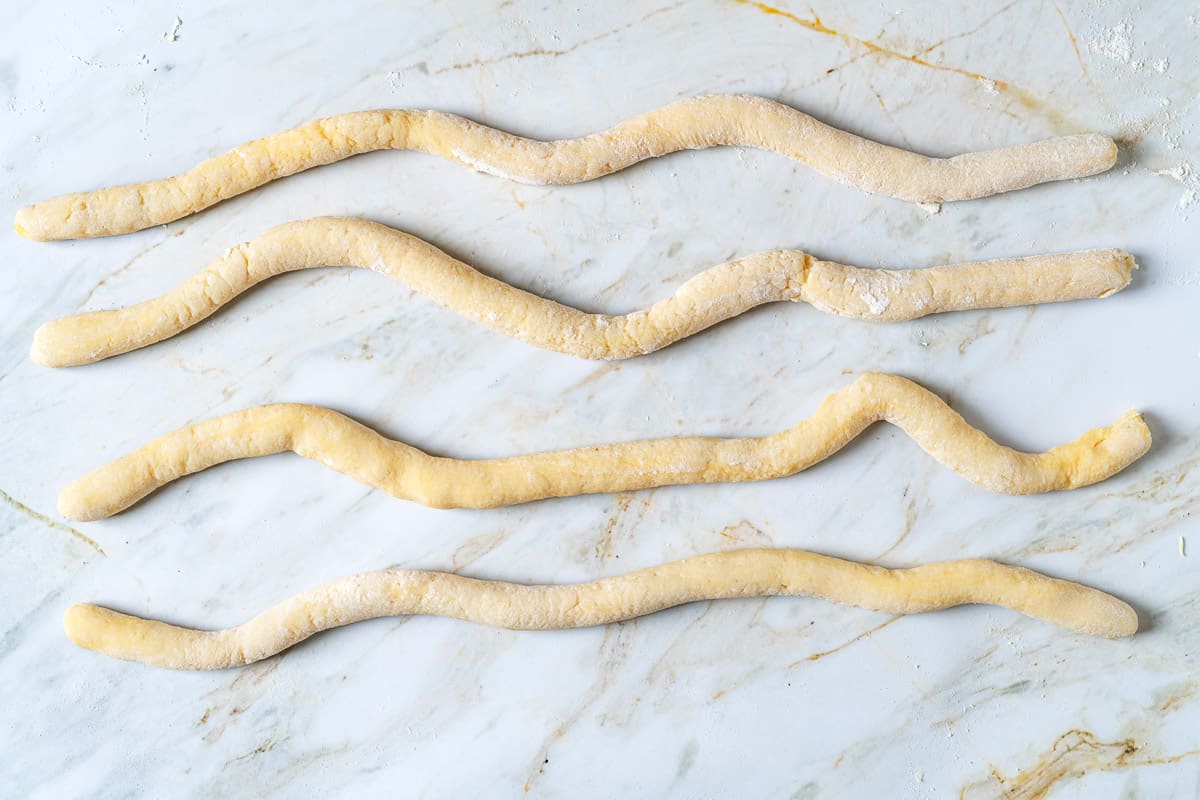
Prep and boil the potatoes. Scrub 1 pound of Yukon gold potatoes (whole, with their skin on). In a pot large enough to hold the potatoes in a single layer, and add the potatoes. Cover by at least 2 inches of water. Season the water with 1 tablespoon of salt and set over medium-high heat. Once the water is boiling, cover the pot partially and boil until the potatoes are very tender, about 25 minutes. (This is a good time to make a simple pasta sauce). A cake tester or paring knife blade inserted into a potato should slide in and out easily. Drain, then cut a small slice into each potato. Set aside to allow steam and moisture to escape and cool slightly. Rice the potatoes. Once the potatoes are just cool enough to handle (but not cold), peel and cut them in half or into quarters. Pass through a potato ricer or food mill onto a clean, flour-dusted surface. If you don’t have a ricer, use a fork to mash the potatoes, but be sure to fluff the mass of potatoes to incorporate air. The mound should be steaming as heat and excess moisture escape. Let the potatoes cool until they’re slightly warm to the touch. Add the remaining ingredients. Make a well in the center of the mound of potatoes. Add 1 large egg yolk and a pinch of salt. Sprinkle one scant cup of all purpose flour around the perimeter of the potatoes. Beat the egg with a fork until whisked. Whisk the dough. Begin to incorporate the potatoes into the egg yolk. Keep mixing, using a light touch, eventually incorporating the flour. A dough scraper comes in handy here. Sweep in some of the flour and “cut” it into the potatoes with the scraper. The mixture will be choppy and dry on the surface. Switch to your hands and very lightly knead and pat the mixture into a soft ball of dough, using quick strokes and turns to incorporate the flour into the potatoes. Try not to overwork it as you don’t want to activate the gluten in the flour. The dough should feel light, pliant, and slightly tacky, and look somewhat “shaggy” or rough rather than smooth. If the dough is too soft and sticky to handle, sprinkle in another tablespoon or two of flour, gently patting it into the dough. Resist adding too much flour or over-kneading. Let the dough rest. Cover the dough with a bowl or clean towel and scrape away any stuck bits from the work surface. Let the dough rest for 10 minutes to allow the potatoes to absorb the flour. Use the bench scraper to scrape up and discard any hard bits of dough from the work surface. Get ready to roll. Line one or two rimmed baking sheets with clean kitchen towels then dust with semolina flour or all-purpose flour. Or, cover a table with a clean tablecloth and dust it with flour. Have a ridged gnocchi board or a fork at the ready. Sprinkle a little flour onto your work surface. Just a pinch, or you’ll have a hard time getting enough traction to roll out the dough. Roll the gnocchi into ropes. Slice off a piece of dough about the size of a tangerine. Lightly flour your palms and roll the dough into a rope about the thickness of your finger (3/4-inch). Continue slicing and rolling out dough until you have several ropes. Cut the gnocchi. Use the dough scraper or a knife to cut the ropes into 3/4-inch nuggets. Sprinkle flour over the nuggets and very gently use the bench scraper to toss them, coating them with the flour. Make ridges. Roll the gnocchi, one at a time, down the gnocchi board or the tines of the fork. Use your thumb to lightly propel the piece of dough downward, creating a small groove. When you are done, you should have the groove from your finger on one side of the nugget and the ridges from the board or fork on the other side. Gently dry. Once all the gnocchi are shaped, let them sit, uncovered, for about 30 minutes to dry slightly; this will help prevent them from sticking to one another when dropped into boiling water. Then cover them with a clean kitchen towel. Cook the gnocchi. Bring a large pot of water to a rolling boil and season it with salt. While the water is heating, heat your pasta sauce in a skillet or sauté pan. Spoon a little of the sauce into a large shallow serving bowl. When the water is boiling, carefully drop in the gnocchi. Do this in batches to avoid overcrowding the pot. I usually cook about 20 gnocchi at a time. Within 30 to 45 seconds, the gnocchi will begin to float to the surface. Taste one; it should be soft and fluffy but intact and cooked throughout, with no residual flour taste. Using a spider or slotted spoon, transfer the gnocchi to the bowl with the sauce. Toss gently to coat. Cook the rest of the gnocchi in batches, transferring them to the bowl as you go, and spooning more sauce on top as needed. Serve: When all the gnocchi are cooked, spoon more sauce on top and toss very gently. Sprinkle with Parmigiano or Pecorino cheese, if using, and serve.
Tips for Potato Gnocchi
Potatoes, humidity, temperature, and more can affect the texture of your gnocchi. Getting fluffy dumplings that hold their shape may take a bit of practice and tweaking. Here is my advice for finding your perfect recipe.
Potato selection is key! It’s best to use mature (large) gold or yellow potatoes. If you have russets you can use those in combination with yellow potatoes. Stay away from using red potatoes as they are too waxy. Mature or large potatoes hold less moisture than new or baby potatoes. Too much moisture will result in gummy gnocchi. Flour your workspace, tools, and hands as needed to prevent the gnocchi from sticking. Use immediately. Fresh gnocchi are best when cooked within an hour or so of being shaped. After that, they start to absorb moisture and get sticky. It’s best to have a pot of sauce already made and heated before you cook the gnocchi. Or, you can freeze them (see storage tips below).
Which Sauce is Best for Gnocchi?
The great thing about gnocchi, besides how delicious they are in their own right, is that they pair well with many sauces. Here are some of my favorite sauces for gnocchi:
Simple tomato sauce: Made with fresh or canned San Marzano tomatoes, olive oil, garlic, and fresh basil leaves, simple tomato sauce is a classic pairing for potato gnocchi. Or, make this Easy Homemade Spaghetti Sauce or pomodoro. Other tomato-based sauces that pair well with gnocchi are sausage ragù and Amatriciana sauce, which is enriched with minced onion and pieces of sautéed pancetta or guanciale. If you’re a vegetarian try it with Mushroom Ragù. Fresh basil pesto: In Liguria, where pesto originated, people enjoy their gnocchi dressed with this bright green sauce made from fresh basil leaves ground with pine nuts, garlic, and Parmigiano or Pecorino cheese. Butter and sage sauce: A sauce of melted butter and olive oil with a handful of sage leaves stirred in is so easy it’s hardly a recipe. A sprinkling of Parmigiano cheese on top is a must here. Soups: You can also add gnocchi to soups, like chicken gnocchi soup, just as you would noodles. Crispy: You can roast gnocchi on a sheet pan with vegetables, olive oil and aromatics, then finish simply with parmesan shavings, or lightly crisp gnocchi on your stove and toss with veggies and pesto.
Troubleshooting for Homemade Gnocchi
Even with detailed instructions by your side, making gnocchi is an adventure, and sometimes mishaps occur. The best way to master the technique is to practice. The more you do it, the easier it becomes, and before you know it, you’ll be rolling out gnocchi like an Italian nonna. Here are some common problems to watch out for:
Soggy potatoes: If your potatoes are wet and waxy rather than fluffy when cooked, it means they have too much moisture. Drain them and slice them open to allow steam and moisture to escape. Once they’ve had a chance to dry out, rice them while still warm. Cooking the potatoes in their skin and peeling afterward helps to prevent this. Sticky dough: If your gnocchi dough is too sticky to roll, sprinkle a little flour on top and gently pat it in without any vigorous kneading. Common sense may tell you to knead more, as you would with pasta dough. In fact, the more you knead, the stickier gnocchi dough becomes. To avoid overworking the dough from the outset, pat it together rather than kneading it. Proper gnocchi dough should be slightly tacky on the outside and shaggy and rough on the inside. No traction: When it comes to rolling the dough into ropes, there’s a fine balance between just the right amount of flour on your work surface and too much. If your surface is excessively coated, you’ll have a hard time getting the “traction” necessary to roll. Start by sprinkling just a little flour onto the surface and using gentle, rather than heavy pressure to roll. Use your fingers to help expand the rope of dough. Think about rolling a coil of clay in art class; it’s the same motion. Sticky gnocchi: If the gnocchi are sticking to the board or fork as you roll them, lightly flour the tool and the nuggets of dough before proceeding. Continue to sprinkle flour as needed. Make sure the finished gnocchi are not touching one another as they rest, or they will stick together. Cloudy cooking water: If you have coated the gnocchi with too much flour, the flour will end up in the cooking water. A little flour is fine, but to prevent too much from ending up in the water, use a soft pastry brush to very gently brush away excess flour from the gnocchi before cooking. Disappearing gnocchi: Watching a batch of freshly made gnocchi dissolve into goo in a pot of boiling water is a special kind of heartache. Adding an egg or an egg yolk to your gnocchi dough, as I do, helps to prevent this disaster. So does double-checking to make sure you have incorporated enough flour. Roll a few gnocchi and test them by cooking them in boiling water. If they remain intact, you can proceed with rolling and shaping. If they fall apart, gently work a little more flour into the remaining dough. Work it in lightly, using a bench scraper and your hands to pat the dough together into a cohesive ball. Fuzzy gnocchi: If the gnocchi lose their definition and look fuzzy or blurry when you cook them, you may have overcooked them. Fresh gnocchi only take about a minute or so to cook. Scoop them out of the water seconds after they bob to the top, without giving them time to become waterlogged. Tough gnocchi: Resist adding too much flour or over-kneading. The more you knead, the stickier the dough gets, and the stickier it gets, the more tempted you are to add flour. If you have worked too much flour into your dough, or over-kneaded it, you could end up with tough, dense gnocchi. There is no remedy for this, and it is best to start over. Hang in there!: Learning how to make tender, delicate pillowy gnocchi is an art. Once you’ve accomplished this you can have restaurant-worthy gnocchi anytime. I promise, once you’ve made gnocchi a few times you will get a feel for the correct texture of the dough and it will become second nature.
How to Store and Freeze Gnocchi
I love a good make-ahead recipe as much as the next cook. But, the plain truth is that gnocchi are best when cooked and served soon after they are made. They can absorb moisture and become discolored in the refrigerator. The good news is gnocchi can be frozen. Frozen gnocchi tend to be slightly “fuzzier” when cooked. They lose a bit of distinction in appearance. But because having a batch of gnocchi in the freezer is so convenient, I often do it anyway. Here’s how:
Let the gnocchi air dry for 30 minutes on a rimmed baking sheet lined with a clean kitchen towel dusted with semolina or all-purpose flour. Make sure the pieces aren’t touching. Transfer the baking sheet to the freezer. Freeze the gnocchi, uncovered, for 1 to 2 hours, until completely firm. Transfer the firm gnocchi to a zipper-lock freezer bag and return them to the freezer, where they will keep for a couple of weeks.
To cook frozen gnocchi, transfer them directly from the freezer to a pot of boiling water. Cook in batches, as you would fresh gnocchi, and remove them a few seconds after they bob to the surface. They take 30-60 seconds longer to cook than fresh gnocchi. Browse all Mediterranean recipes.
Sweet Potato Gnocchi with Garlic-Sage Sauce
Homemade Pasta
The Complete Guide to Italian Pasta Shapes and the Sauces that Love Them
Pesto Gnocchi with Summer Veggies
Visit Our Shop

