Making paneer at home is easy and had been making it for years now. Though we always use homemade paneer, I didn’t give much thoughts of posting it here until my best friend asked to post the recipe. I have shared all the tips and tricks to make perfect homemade paneer every single time.
What is Paneer?
Paneer also known as Indian Cottage Cheese is fresh cheese made by curdling milk using any acidic foods like lemon juice, curd or vinegar or citric acid etc. The resulting whey water is strained and the curdled milk solids are transferred to a cheese cloth and pressed using a heavy object to form a paneer block. Later the block is cubed into small paneer cubes and used in dishes. Paneer is basically fresh non melting cheese made without using rennet like other cheese varieties so it is completely vegetarian. Paneer is soft and neutral in flavor so absorbs the flavors easily.
Video
Homemade Paneer
My paneer making journey started soon after I started cooking. Amma started making homemade paneer even when paneer was not popular in the 80’s. When I was in 4th-5th grade when there was no internet or recipes online amma used to make paneer learnt from a popular tamil magazine named ‘Mangayar Malar’. First she used to make crumbled paneer to add it along with vegetables to make stir fry later she started making black of paneer to make gravies and curries. So seeing that from my childhood homemade paneer was not at all new to me. It is one of the few dishes I learnt soon after I started cooking. Paneer making process is very easy – First boil milk then add any acidic food to curdle the milk. The curdled milk solids are strained to a muslin or cheese cloth to form a block pf paneer. It is pressed with a heavy object to drain out all the excess water and set to make a block of paneer. Homemade paneer comes out super soft and cannot be compared with store bought ones. Just follow the tips and tricks shared here and you will get perfect homemade paneer.
Homemade Paneer Ingredients
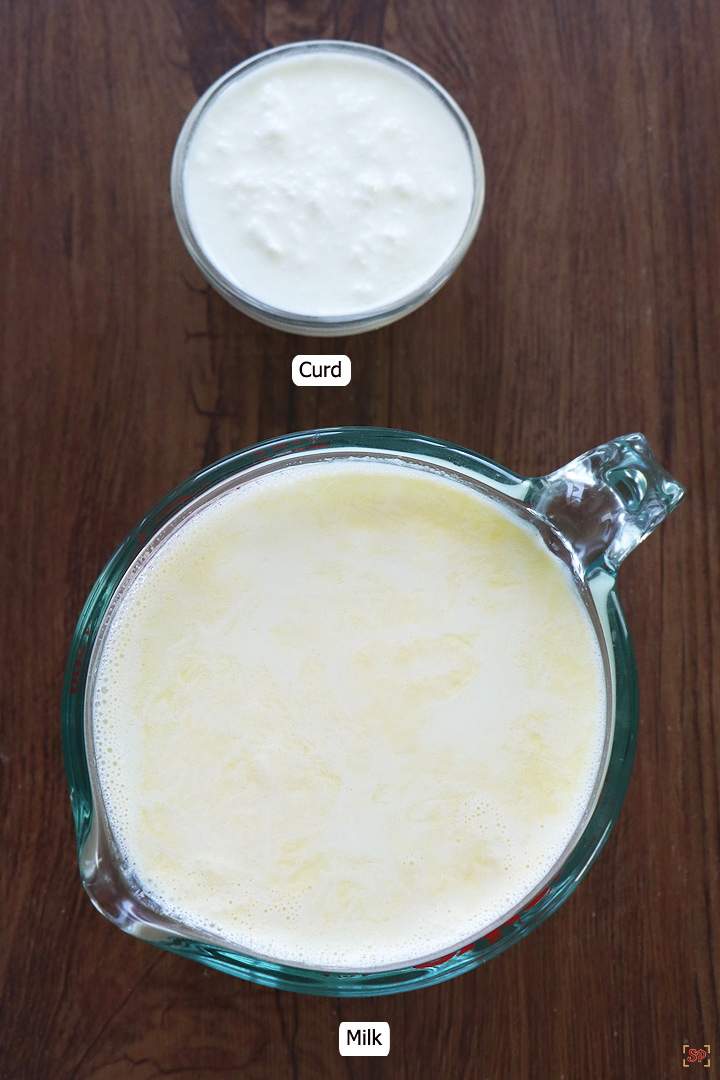
Milk – I prefer to use fresh milk that is cows milk. But you can use any full fat or full cream milk. You can use raw milk or even previously boiled milk to make paneer. Curd / Yoghurt – I always use curd to curdle milk for 2 reasons – it gives volume also does not leave any after taste like the other food acids.
Milk to use
You can use raw milk or even leftover boiled milk too to make paneer.
Farm Fresh Milk – Farm fresh milk is raw milk without any processing straight from the cow. We usually buy cows milk on a regular basis so mostly use this for making paneer. Processed milk – Milk is processed and sold in packets or bottles to increase shelf life and to kill harmful bacteria. You can use this milk also to make paneer.
Acidic foods to curdle milk
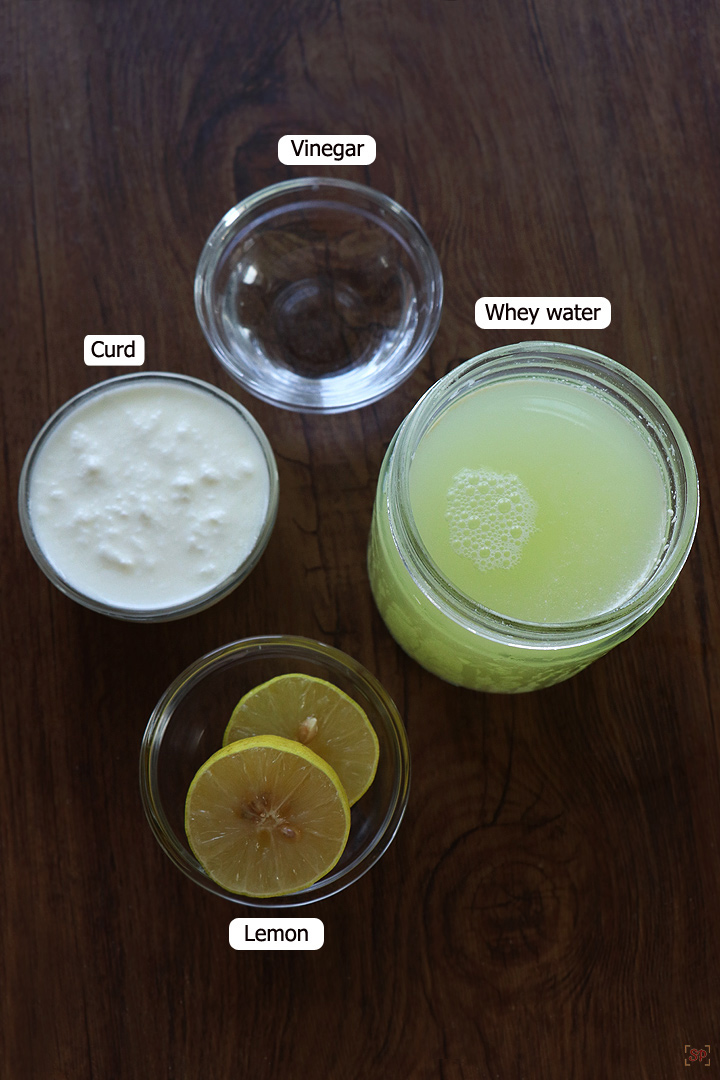
Curd – For 1 liter milk you will need 1/2 cup curd. The measure of curd may vary depending on the fat content in the milk so you may need 1- 2 tbsp extra curd based on it. Lemon Juice – For 1 liter milk you will need 2 tablespoon lemon juice. I usually don’t suggest lemon juice as it imparts lemony flavor to the paneer even after it is washed. Vinegar – For 1 liter milk you will need 2 tablespoon vinegar juice. Vinegar is the most quickest to curdle the milk. Whey water – Whey water is drained water after collecting the curdled milk solids. For 1 liter milk you will need around 1 cup whey water. Citric acid – For 1 liter milk you will need 1/2 teaspoon citric acid.
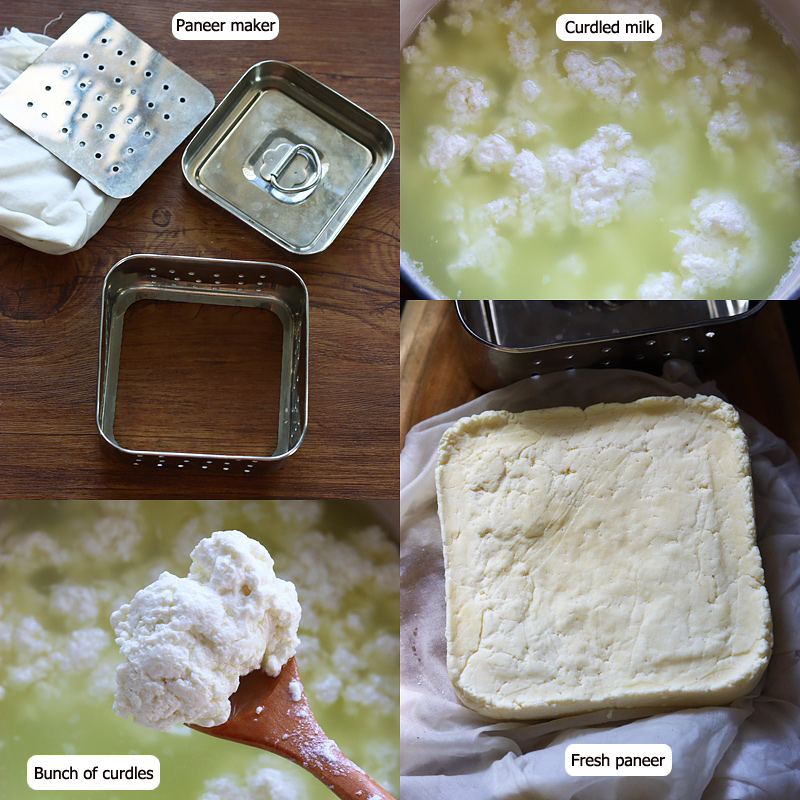
How to press paneer (with & without paneer maker)
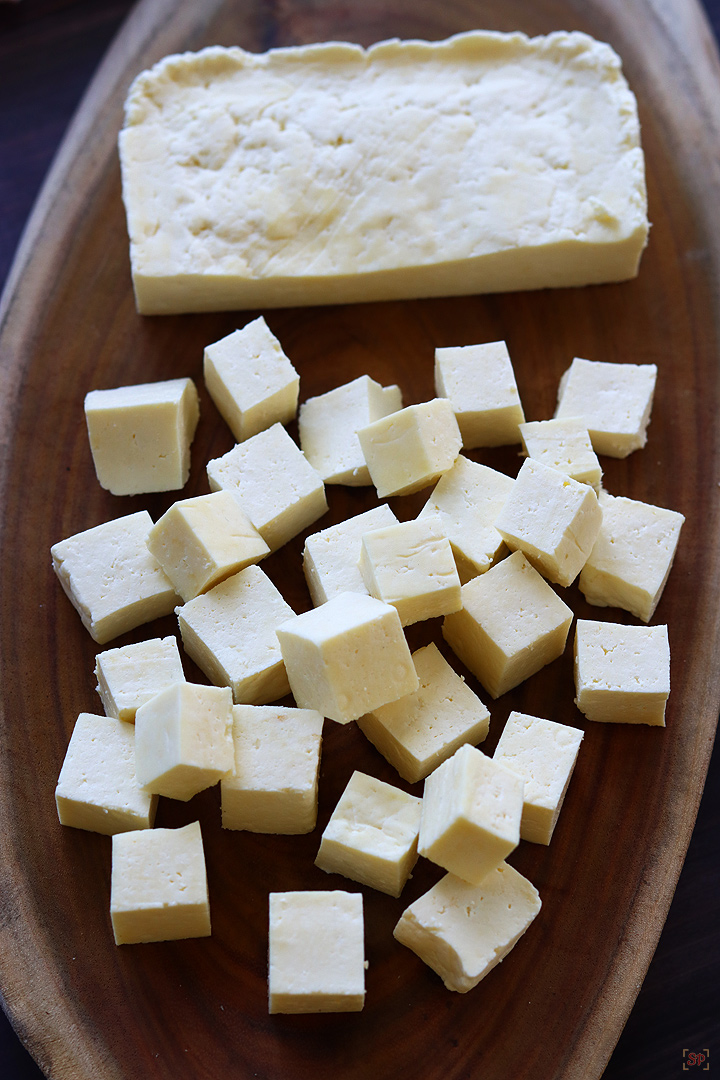
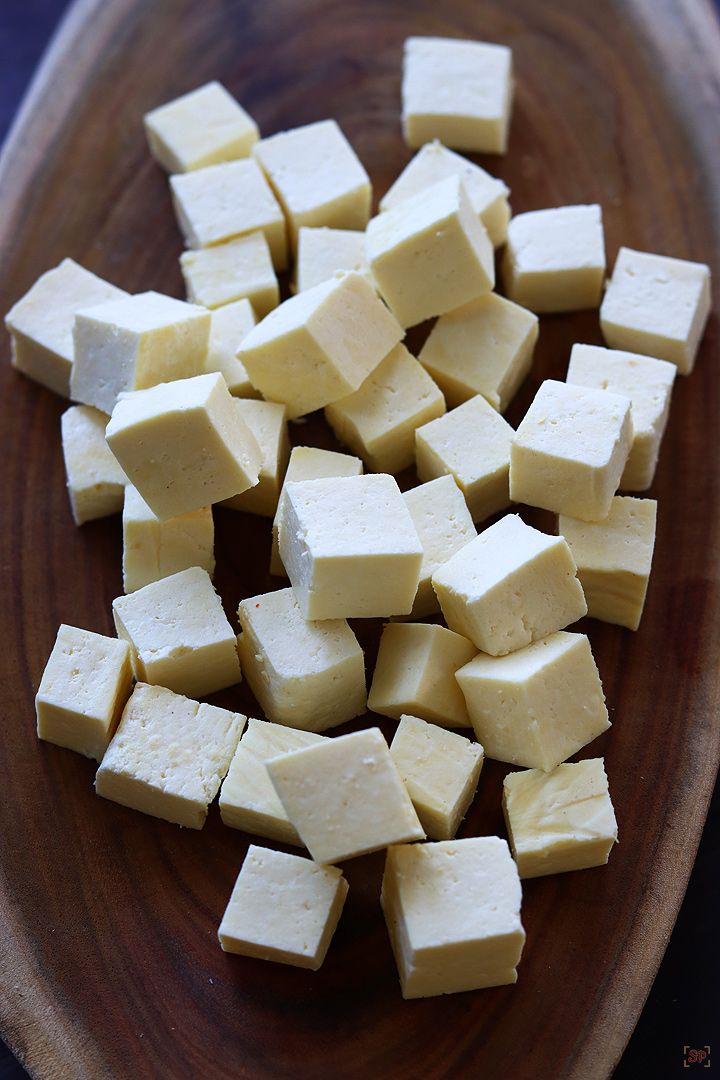
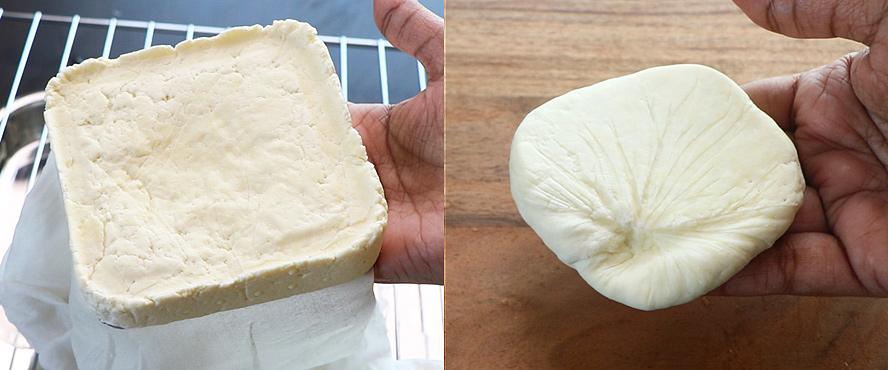
You don’t really need a paneer press to make homemade paneer. Paneer press makes paneer making process a bit quicker and easier, also gives it the perfect square shape as store bought ones. You can make homemade paneer with just a cheese cloth or muslin cloth too. I was using cloth to make paneer for so many years only recently I bought this paneer press so wanted to share my experience. If you don’t have a paneer press don’t worry – You can make homemade paneer by pouring the curdled milk to a muslin / cheese cloth. Wrap it well and place heavy object on it to remove excess water. The resulting paneer block will be round in shape and it can be cut into cubes. You can even wrap it to a square to make square paneer block. First pic is homemade paneer using paneer press and second pic is using just a cloth without using paneer maker.
How to make paneer step by step
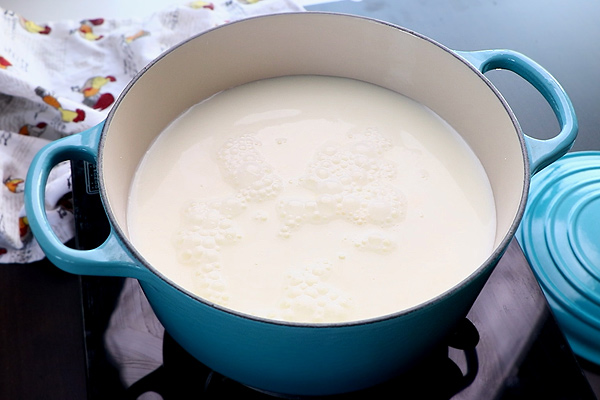
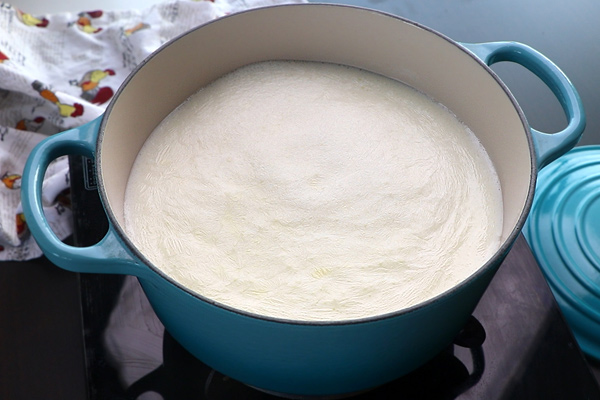
Boiling milk
1.To a large pot add 2 liters milk to it. 2.Let it start to boil. 3.Give a quick mix.
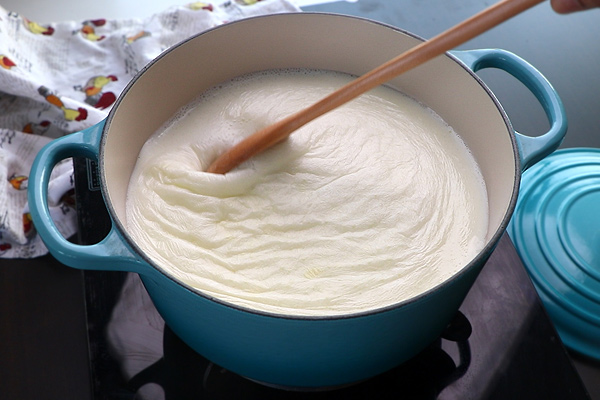
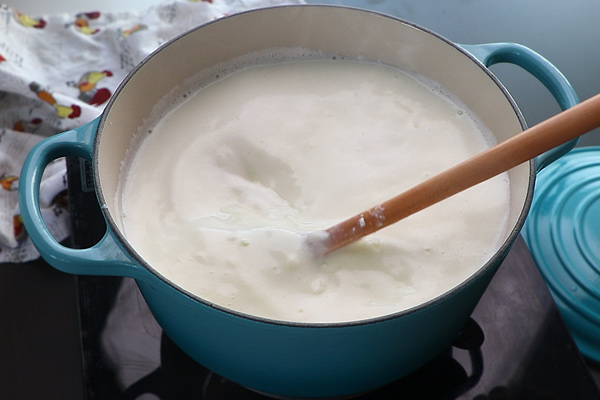
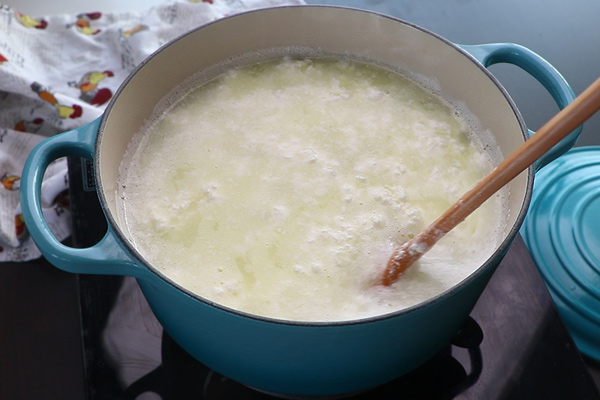
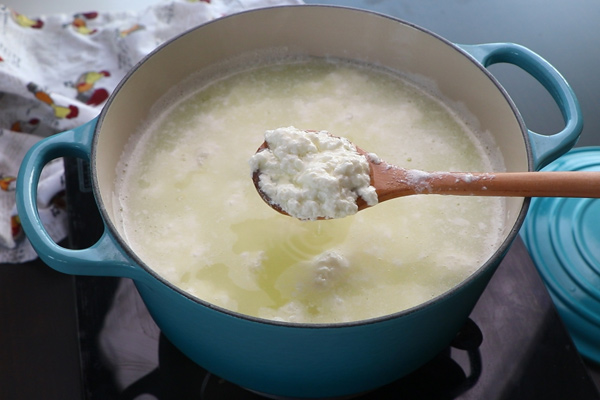
Curdling milk
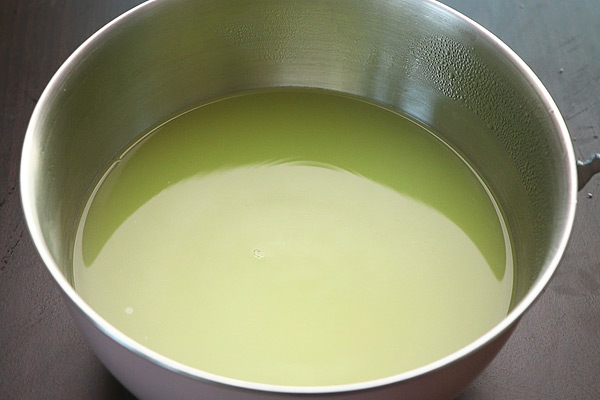
4.Add 1 cup curd little by little stirring simultaneously. 5.Keep stirring until you start the milk curdling. 6.In few seconds the milk will curdle and you will clear greenish liquid separating which is called whey water. 7.This is curdled milk solids. Do not overcook immediately switch off.
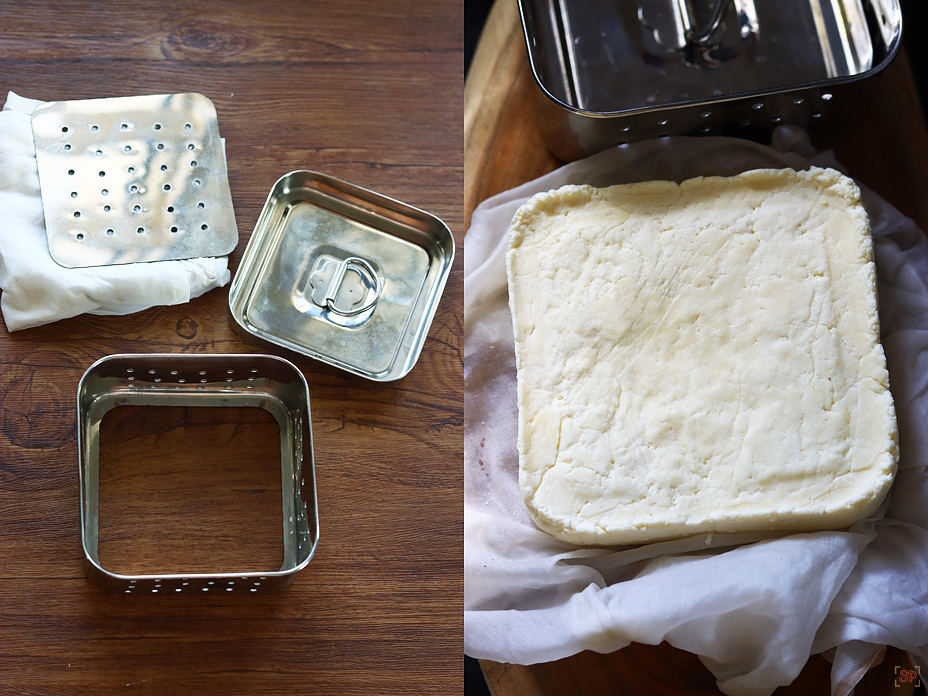
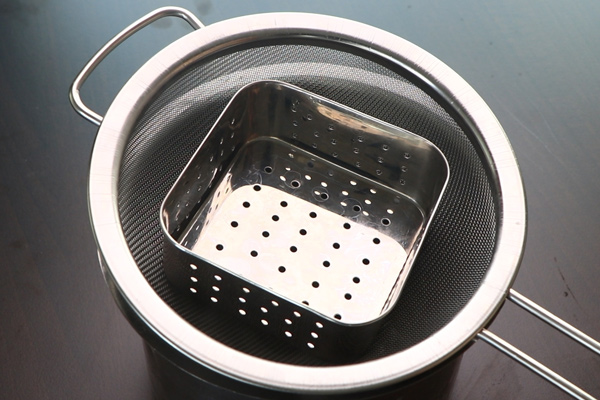
Using paneer maker / paneer press
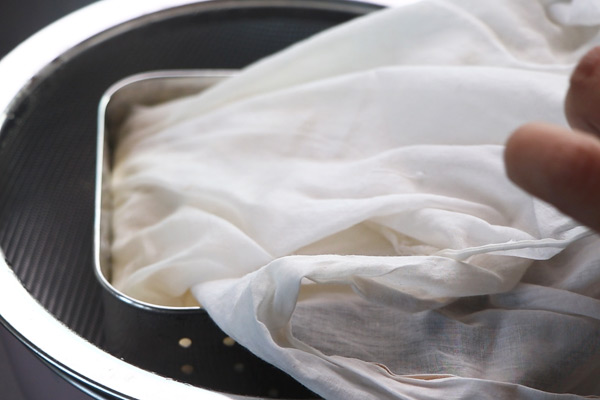
8.Place a strainer over the bowl first. Then place the paneer press on the strainer.
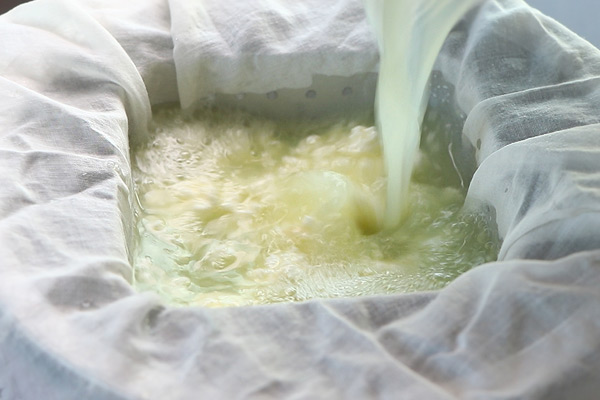
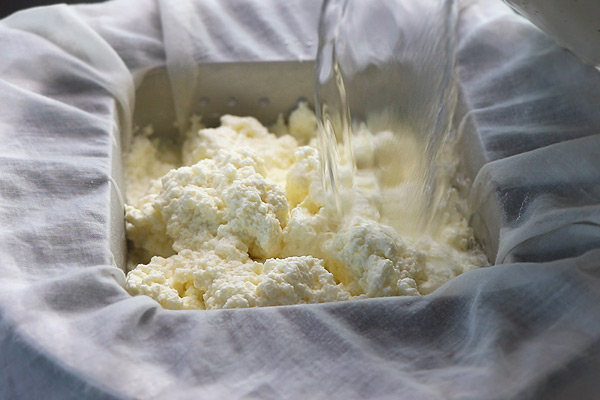
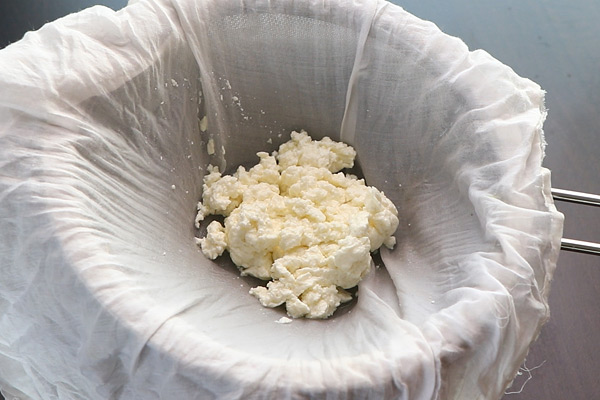
Draining
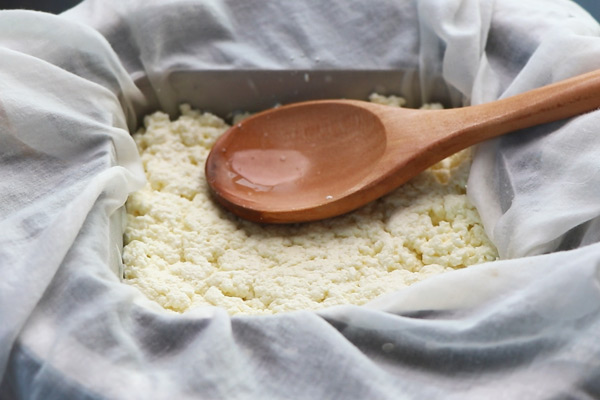
9.Place the cheese cloth on the strainer and pour the milk curdles to it. 10.Rinse it with water. 11.Press it with a ladle to drain out excess water. 12.Wrap it with the cloth.
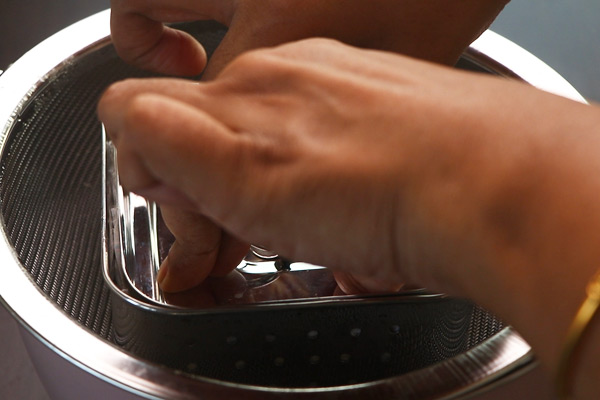
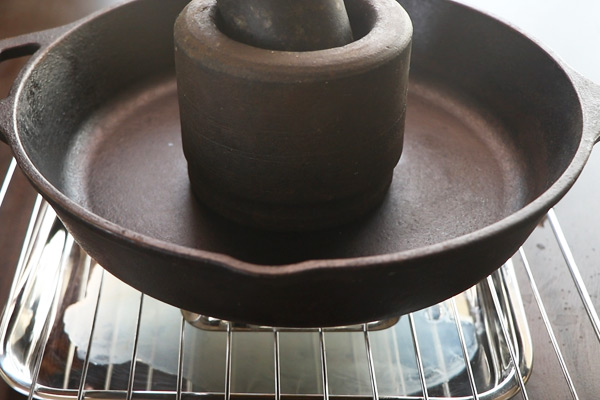
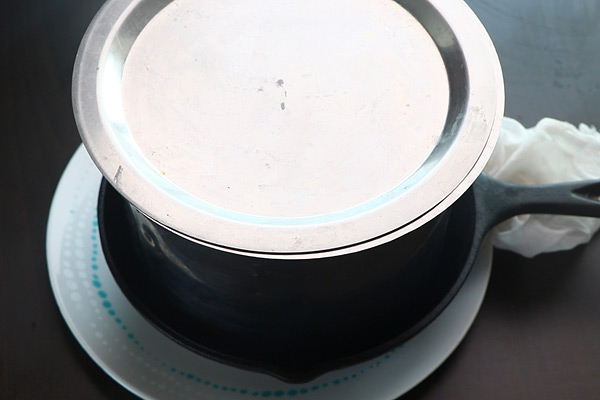
Pressing paneer
13.Cloth with the paneer maker lid and press well to remove the excess water. 14.Place the paneer maker on a wire rack and place heavy object on the paneer press making sure the paneer maker is pressed well. Let it set for at least 1 hour.
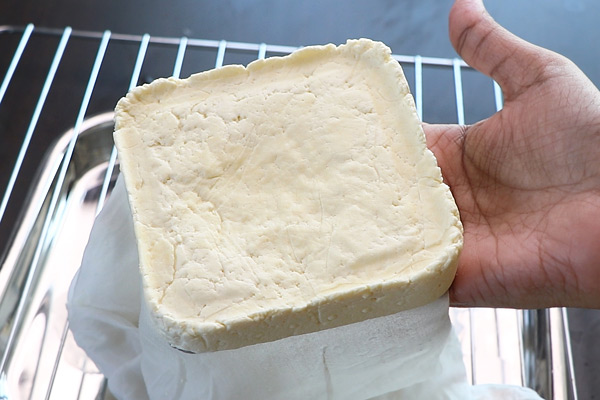
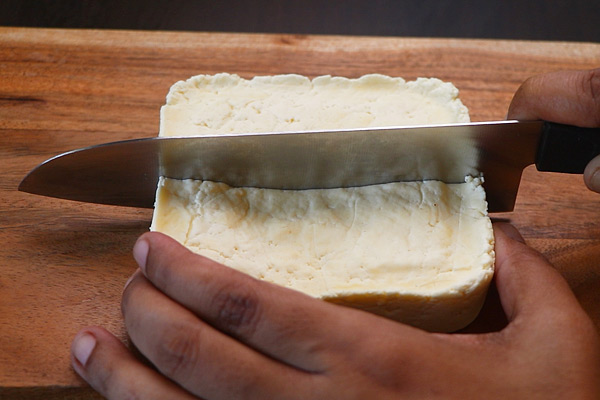
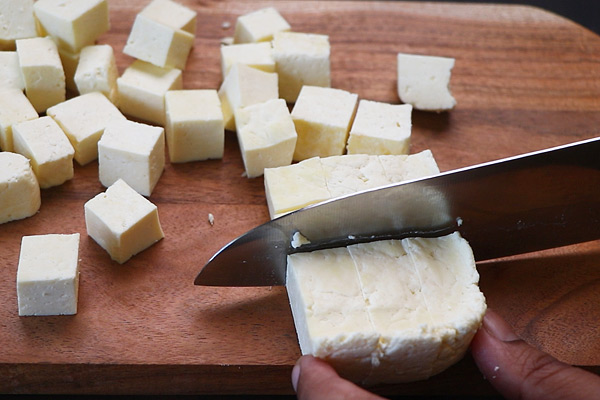
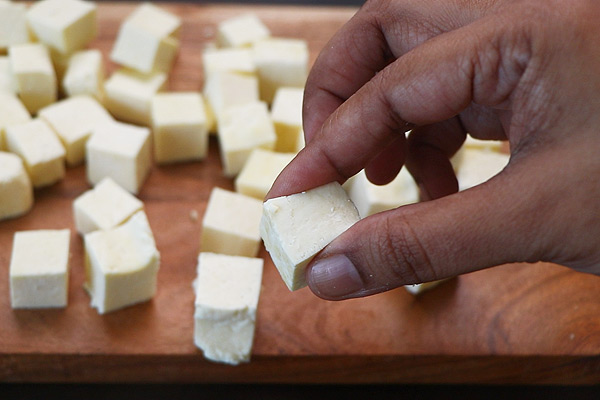
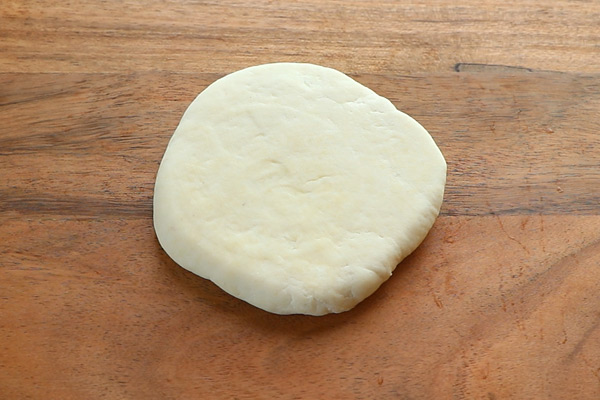
Homemade paneer
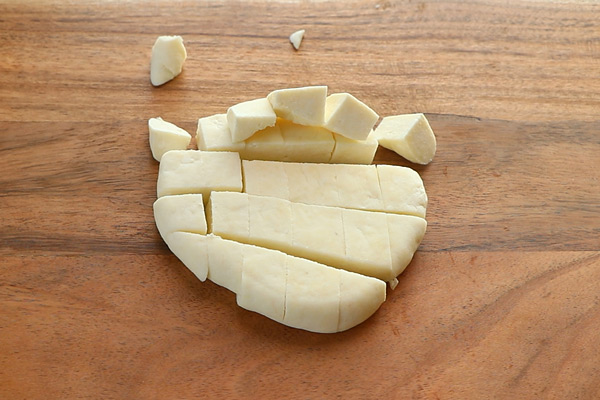
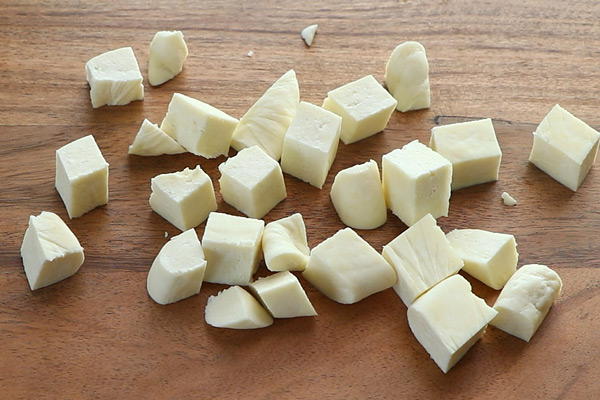
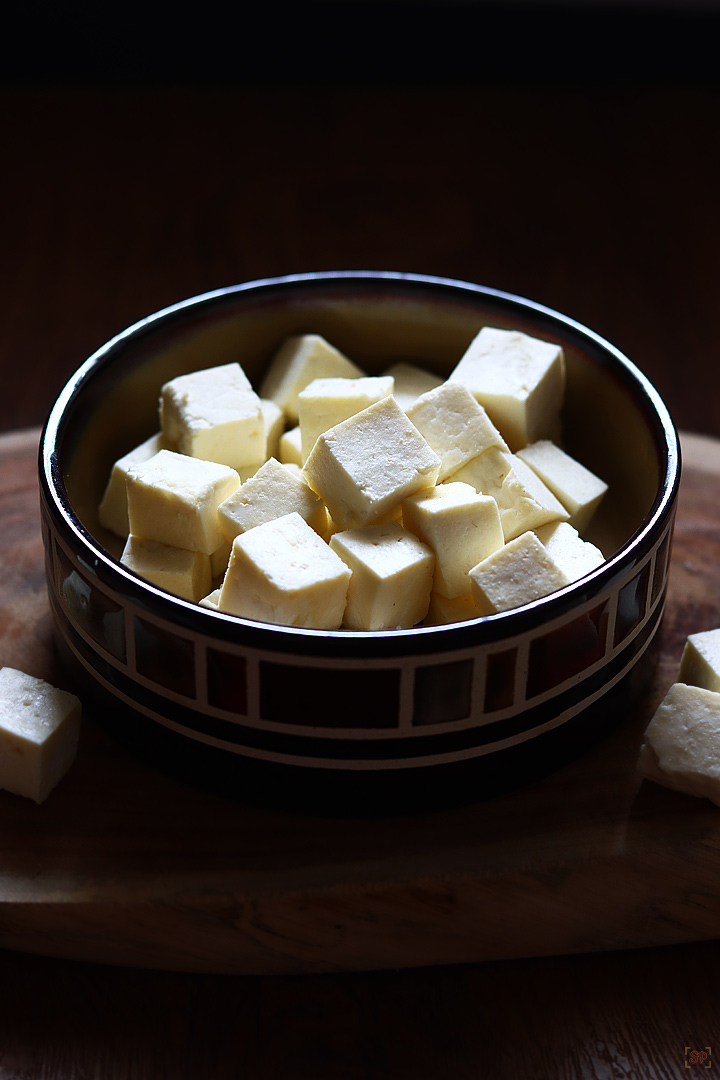
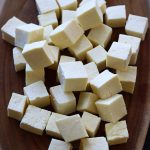
15.After 1 hour remove the paneer from the press. Fresh, soft homemade paneer is ready. 16.Cut into cubes. 17.You can store it as a block as such or cut into small cubes and store in fridge. 18.See how soft it is.
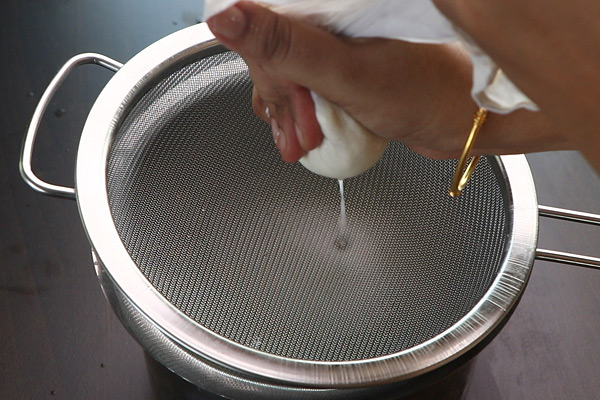
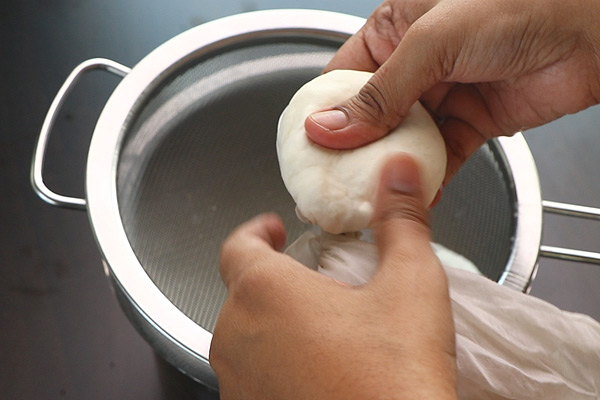
Without using paneer maker
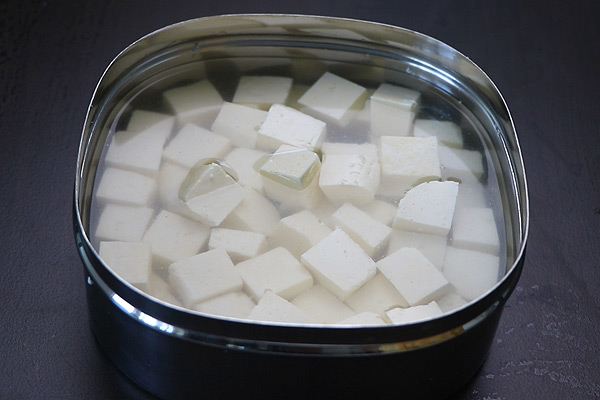
19.I served little curdles to show you how to make paneer without the paneer maker.Place the cheese cloth over the strainer first. Transfer the curdles to it. 20.Pull the edges of the cloth and press well to remove excess water. 21.Flatten it slightly. 22.Place heavy object on it. Let it set for 1 hour minimum. 23.Now remove and your homemade paneer is ready. 24.Cut into cubes. 25.Homemade paneer is ready! 26.Store the paneer in a clean container soaked in water. You can store this in fridge for up to a week. 27.The drained water is whey water, you can collect this and store in a clean bottle in fridge. You can use this to knead chapathi / roti dough or use to curdle milk the next time you make paneer.
Expert Tips
Milk – For perfect soft paneer I would recommend to use full fat whole milk. Pasteurized milk is ok to use but should have high fat content. You can use leftover boiled milk or fresh milk to make paneer. Food Acid – I prefer using curd or yogurt to curdle milk. However you can use lemon juice or vinegar or citric acid too to curdle milk but these have a slight after taste in the paneer. Straining – While straining the milk solid curdles make sure to strain it on a cheese cloth or muslin cloth. Whey water – Use the leftover whey for making rotis or rasgullas or save it for making paneer next time. Pressing Paneer – Use any heavy flat object to be placed directly. You can use heavy stone based chapathi board or hand mortar pestle etc. Setting time – Leave at least minimum 1 hour for the paneer to set well. Leave it undisturbed. Take care to wrap it to form a circle / square so that while cutting into pieces it is easy to form squares. Storing – You can store the paneer as a block or cut into cubes. Make sure to soak in water and store in fridge for it to stay fresh even for a week. Soaking in water avoids paneer from becoming hard.
1.What type of milk to use?
Use full cream or full fa milk for best results. You can use farm fresh milk that is cows milk or processed milk too. You can use raw milk boil and use it or use leftover previously boiled milk too.
2.Even after adding food acids milk is not curdling why?
If the fat or cream content in milk is more then milk may not curdle with less quantity of food acids. So add little more in parts until you see whey water start to separate.
3.My paneer is crumbling or grainy, why?
If you keep stirring after the milk curdles it may result in crumbled paneer.
4.How much paneer do I get?
The measure of paneer you yield purely depends on the cariety of milk used. But on an average if you use full fat milk for 1 adn 1/2 liters of milk you will get around 200 grams paneer.
5.Why my paneer is hard or rubbery?
Do not keep cooking after the milk curdles. Immediately switch off when you see milk curdles and strain it. Overcooking results in hard and rubbery paneer.
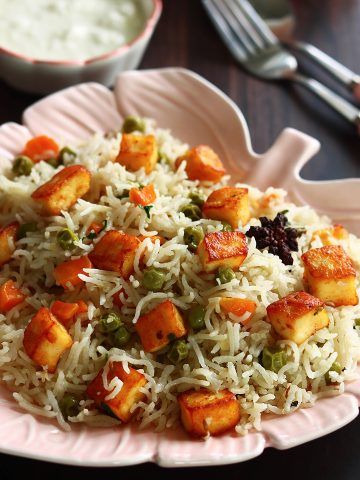
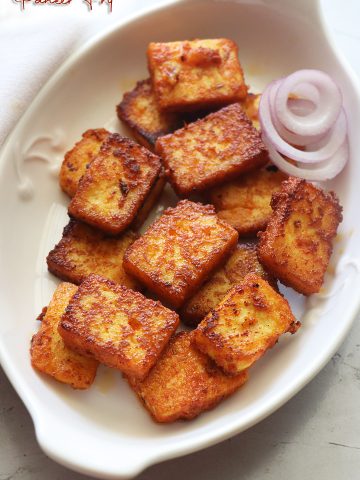
Recipes with Paneer
More paneer recipes If you have any more questions about this How to make paneer do mail me at [email protected]. In addition, follow me on Instagram, Facebook, Pinterest ,Youtube and Twitter . Tried this How to make paneer ? Do let me know how you liked it. Also tag us on Instagram @sharmispassions and hash tag it on #sharmispassions.
📖 Recipe Card