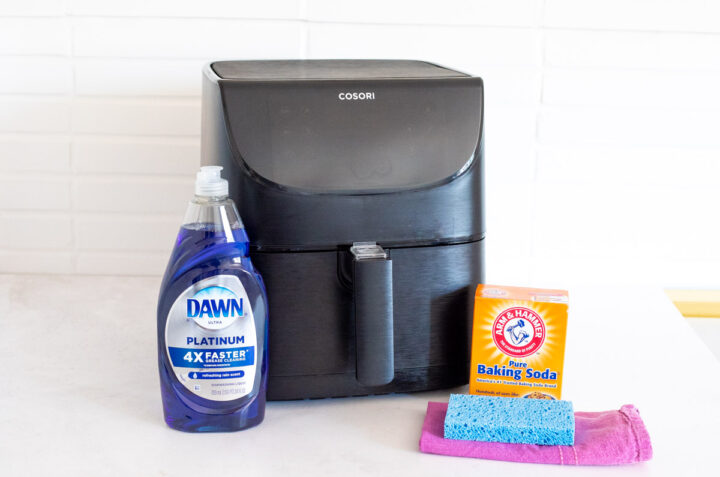
So jump right in and learn how to clean your favorite kitchen gadget with items you already have on hand. An air fryer is now a common kitchen tool used for cooking foods like potato chips and also for warming foods, etc. In order to create a crunchy, crispy exterior, just like deep-fried foods, hot air is circulated around the food. A heating system and fan are located in the top portion of the air fryer. When you turn on the fryer, hot air flows all around the food that you have placed in the basket. This quick circulation gives the food a crisp coating similar to deep-frying without the use of oil. Learn more about how to use an air fryer. However, all this wonderful cooking with the hot air can make the air fryer greasy and dirty. Unfortunately, even though an air fryer is one of the easiest appliances to cook crispy food, it can sometimes be cumbersome to clean.
Why You Must Clean Your Air Fryer?
Cleaning an air fryer is an important task you must not ignore. A dirty air fryer will take longer to heat up, use more energy, and require a lot of effort and time to clean. Food particles can get stuck in the fan and other areas and crevices and potentially damage the appliance. Also, if you don’t clean your air fryer on a regular basis, old food particles and germs will accumulate in the basket, making it unsafe for you to cook your food.
How Often To Clean Your Air Fryer
Well, this depends on how often you use it and what you cook in it. If you use your air fryer lightly, give it a good wipe every single time you use it. You must get rid of any burnt food particles and grease, etc. A deep clean once a month is a good idea if you use it often. However, I suggest you clean it after each use, as this prevents grease and grime from accumulating.
How To Tell If You Need To Clean Your Air Fryer?
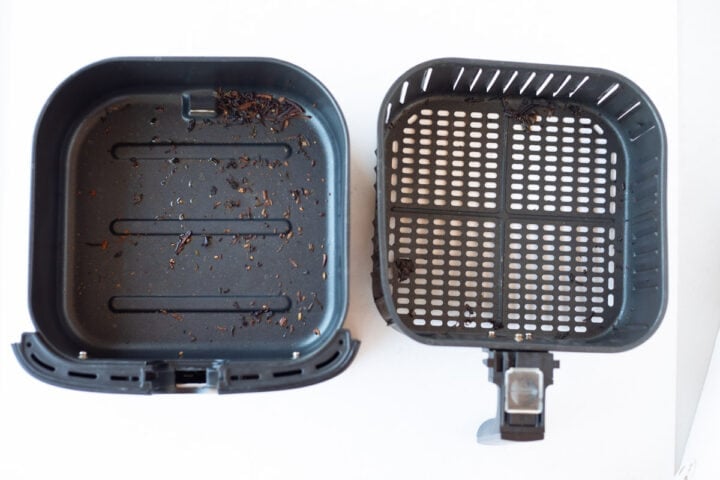
After a couple of months of use, most air fryer baskets become caked with grease that is nearly impossible to remove. Although air fryers do not require much oil to cook food, the grease that drips from the food contaminates the basket and pan and accumulates over time if not properly cleaned. This is why I clean the basket of the air fryer after every use. If you smell odors from the air fryer or see smoke as your food cooks, it’s a sign that grease has accumulated in the basket or on the heating element or that leftover fragments of food have become stuck in the basket holes. And each time you use the fryer, those pieces of food will continue to cook and eventually burn. And that’s precisely the reason why you can know your air fryer requires a deep cleaning.
Supplies You Will Need
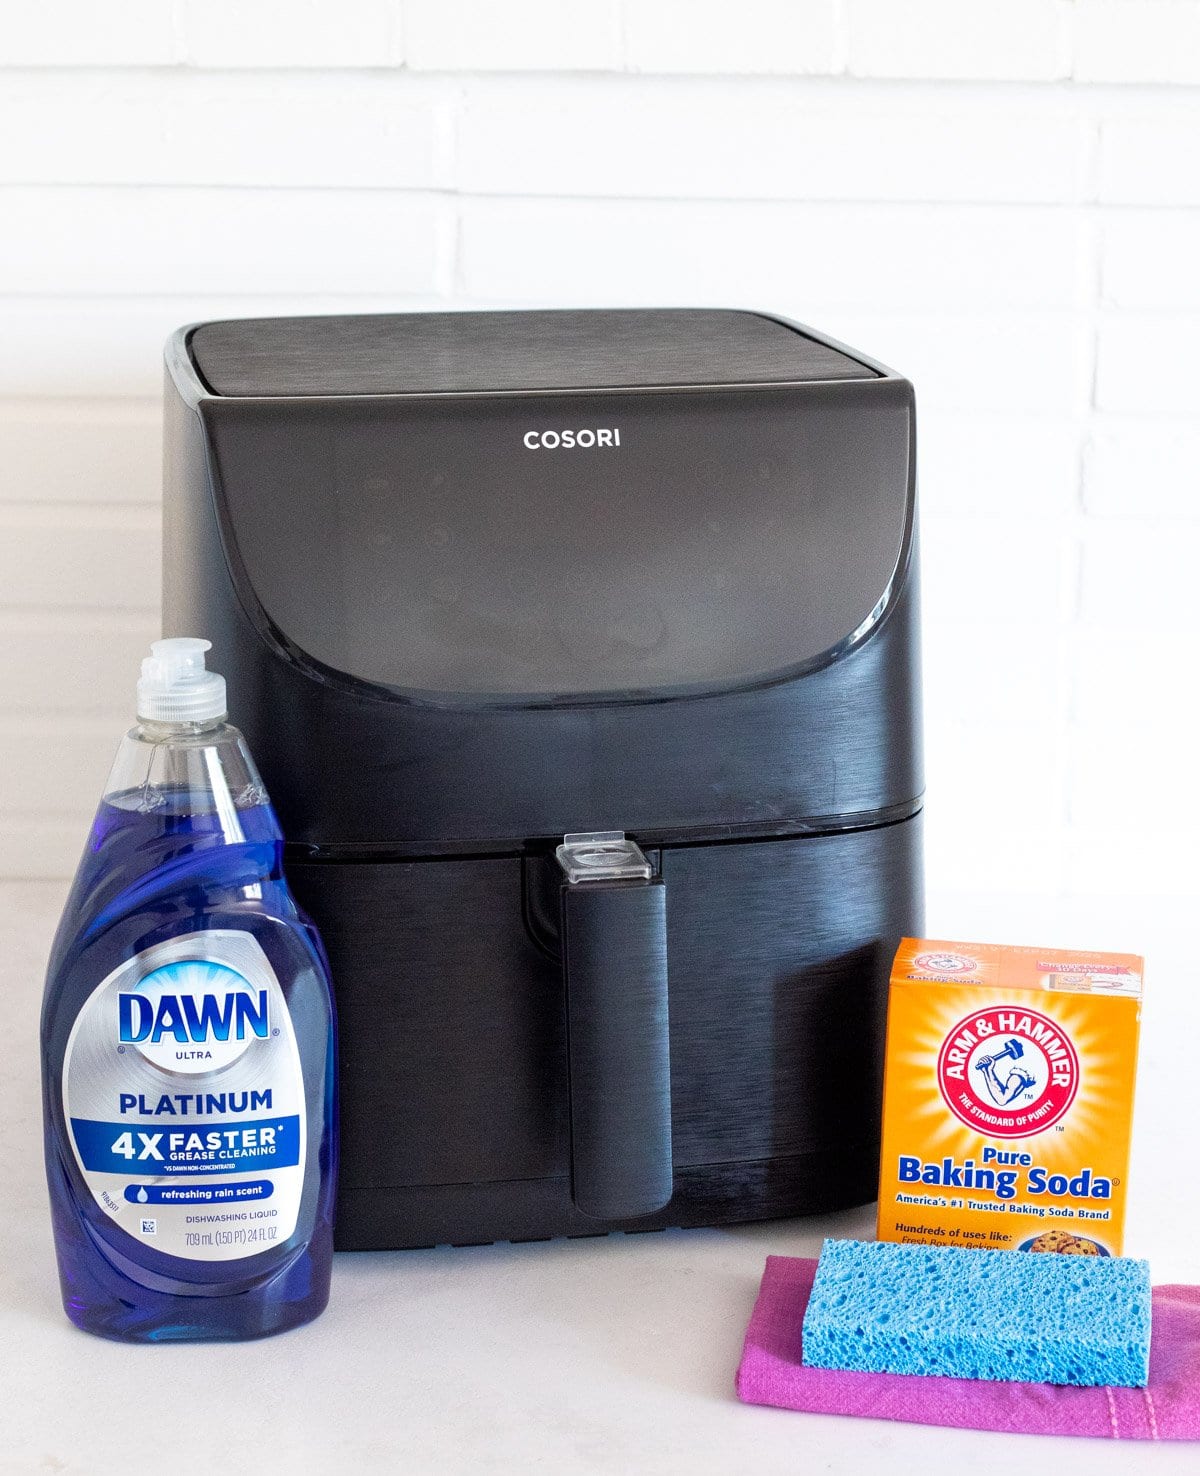
Gather all of the necessary tools and supplies before beginning to clean your air fryer. Depending on the state of your air fryer and the type of cleaning you need to accomplish, here’s all that you will need:
Microfiber cloths A nonabrasive sponge Paper towel Dish soap (such as Dawn, which has good degreasing properties) Baking soda Vinegar Lemon
How To Clean An Air Fryer?
Step 1: Unplug the Air Fryer
To begin, turn off and unplug your air fryer. Nothing is more important than your safety.
Step 2: Let Your Air Fryer Cool Down
Once unplugged, let your air fryer cool for a minimum of 30 minutes. After it is cooled and safe to touch, take all of the removable parts (pan, tray and basket) out of the appliance.
Step 3: Clean The Removable Parts
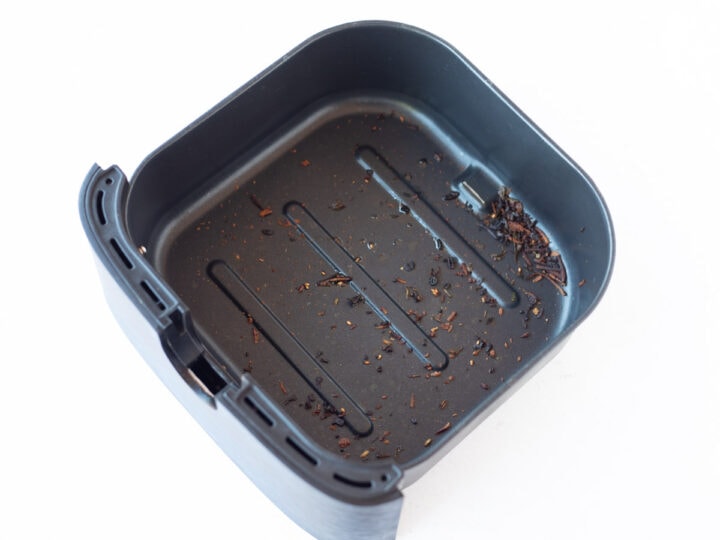
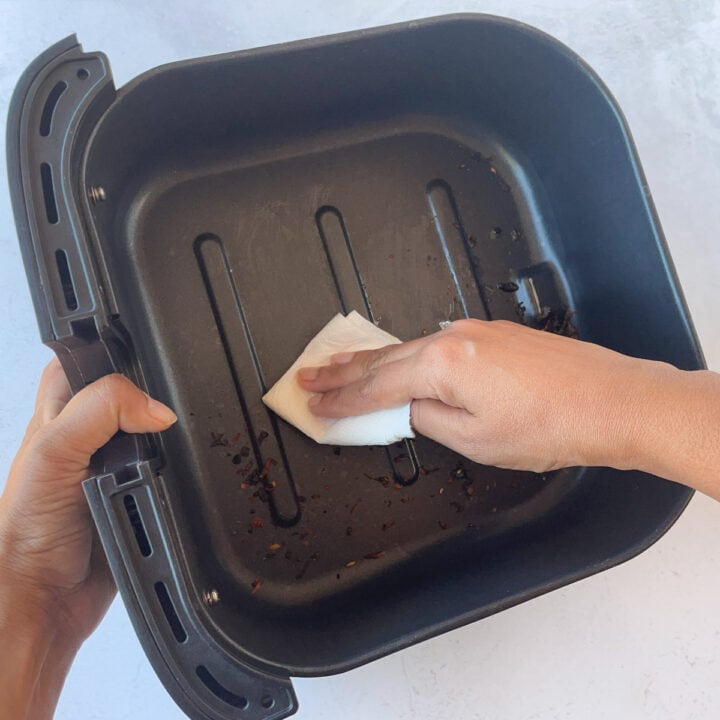
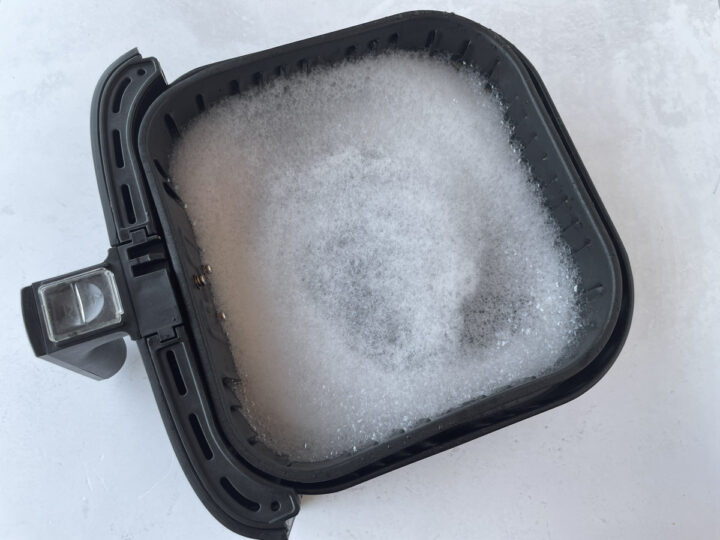
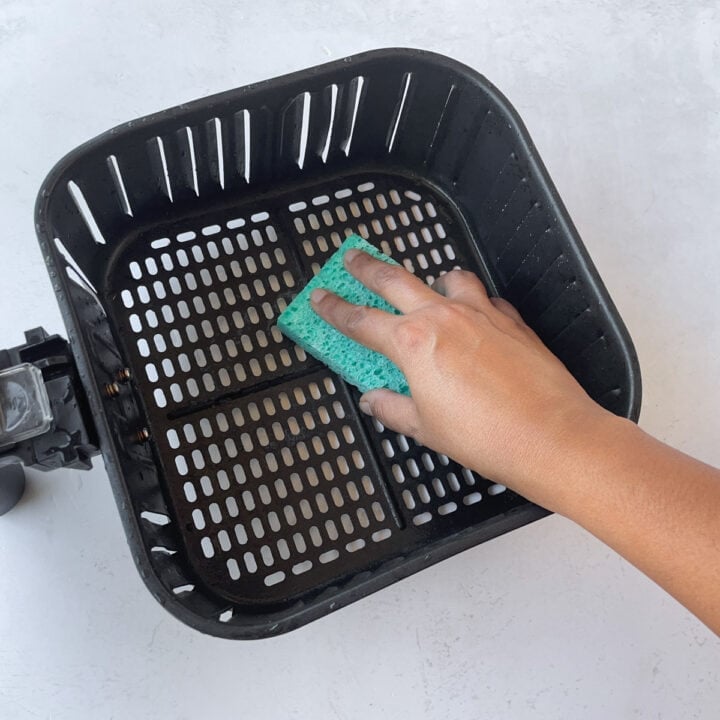
After the tray, basket and pan have been taken out. Wipe out any visible food crumbs or grease with a paper towel. Now, these removable parts can be cleaned just like you normally wash your dishes, i.e., with soap and warm water. Warm water is better for oily surfaces. I like to fill the air fryer basket with warm water and add some soap. Then let it soak for about 15-20 minutes. Then, use a soft sponge to give the basket a cleanse. Alternatively, these parts can be washed using a dishwasher. But be sure to check the instructions for your specific model.
Step 4: Cleaning The Inner Parts
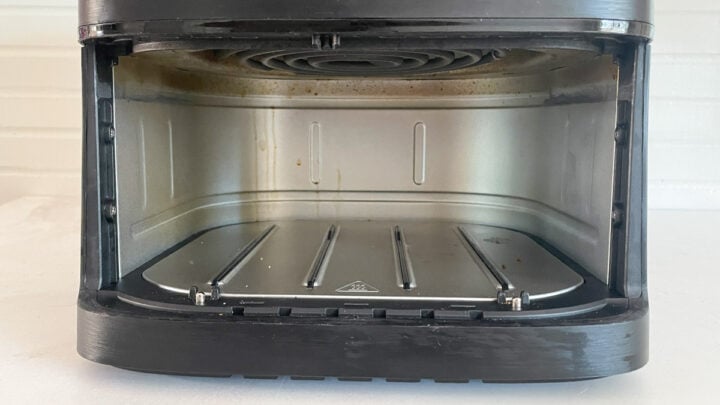
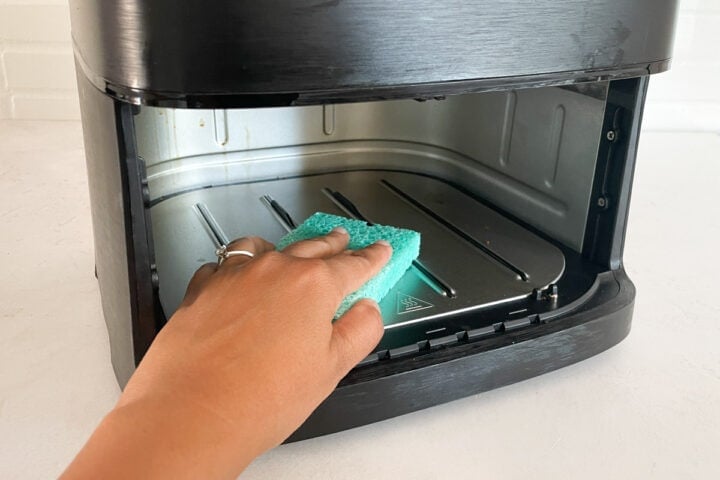
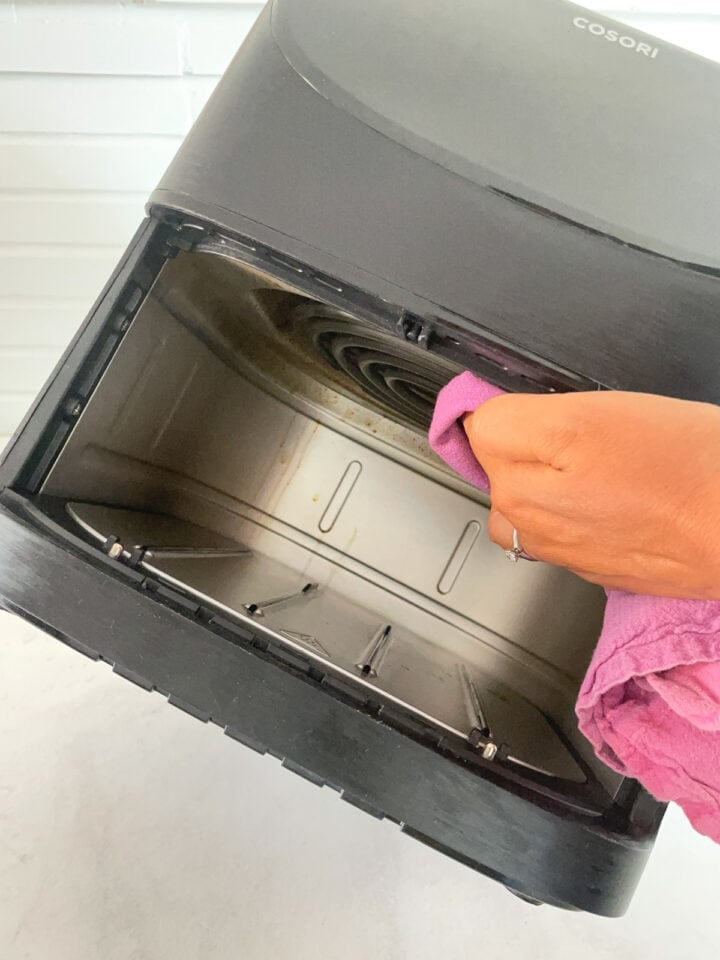
Use a damp microfiber cloth or a sponge that isn’t abrasive dipped in dish soap to clean the inside of your air fryer. Wipe away any soapy residue with a clean, dampened cloth. Make sure the sponge if just damp and not wet, as you don’t want water dripping into the electrical parts of the air fryer.
Step 5: Checking The Heating Coil
After each use, inspect the heating coil of your air fryer (usually located at the top of the unit). Ensure the appliance has cooled down before wiping the heating coil with a damp cloth or a fine dish brush, similar to how you would with the heating element on an electric stove. The coil should ideally be cleaned at least once a quarter, but if you notice smoke coming from the air fryer vent, it usually indicates that it’s time for a cleaning.
Step 6: Cleaning the Outside of the Air Fryer
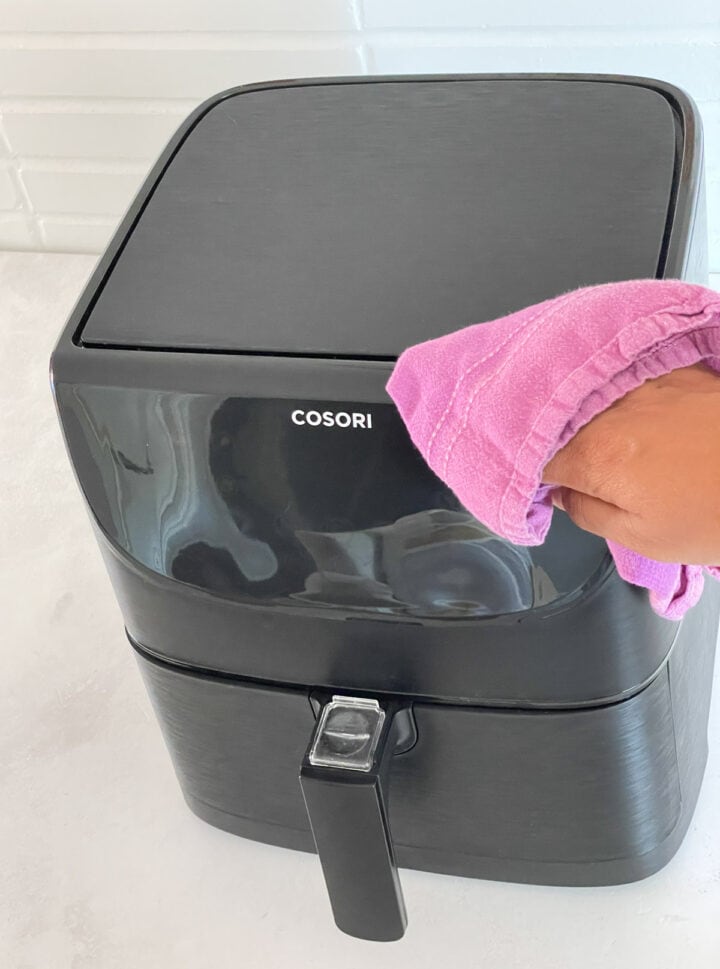
The outside of the air fryer is as important as the inside. You must clean the outside regularly. After each use, simply wipe it clean with a damp cloth. Because the outside doesn’t become as greasy as the inside, a quick wipe is all you need. If required, you can use a little dishwash soap. Wipe away any soap residue with a clean, damp cloth. The exterior will be now as good as new.
Step 7: Reassemble the Air Fryer
Check that your air fryer is completely dry. Now, you are ready to assemble all of the removable parts into the main unit. Your air fryer is now ready for use!
How To Deep Clean An Air Fryer?
The best way to use an air fryer is to regularly clean it so that it never needs a deep clean. But if your air fryer is excessively dirty, a regular clean might not work here. Once you’ve allowed a lot of grease to accumulate, it will be extremely difficult to remove. To clean it, you’ll need to use a baking soda paste – 1/2 cup of baking soda + a few tablespoons of water. After thoroughly mixing and forming the paste, brush it onto the tray and basket with a sponge or toothbrush. Allow this paste to work with the grease. If the grease is really stuck hard, leave it for about 20 minutes. Next, using a warm sponge, remove this paste. To remove tough grease, use the scrubber side of a sponge that isn’t abrasive (this is important as most air fryers are non-stick).
Tips For Cleaning Your Air Fryer
The air fryer basket is made of nonstick coating that can be damaged by using abrasive cleaning materials. Avoid using the dishwasher even if the appliance is labeled dishwasher safe. This is because, over time, the protective coating will be damaged. It is safe to use a non-abrasive scrubber. If necessary, a soft or medium bristle brush also can be used. Avoid using steel wool, scouring, or brillo pad. A solution of water and baking soda can be used instead of dishwashing liquid. But remember, never use an oven cleaner. Always use the right detergent. If your air fryer stinks, use a wooden skewer, toothpick, or an old toothbrush to scrape stuck-on items out of the hidden spots. These buried crumbs may burn over time, causing the appliance to smoke and stink. Lining your basket with a perforated parchment paper makes cleaning much easier later. Your basket will need a quick rinse. The air fryer should never be submerged in water, no matter how dirty or greasy it becomes. Only the parts that can be removed such as the basket can be soaked.
Be Careful With Nonstick
The nonstick coating can be scratched or chipped by using metal utensils, steel wool, or other abrasives. Also, if the nonstick coating is flaking, do not use the air fryer. Contact the manufacturer’s customer service for a replacement basket, or return the air fryer to the retailer.
How To Clean Grease From Air Fryer Basket
We’ll talk about how to clean the grease from the air fryer basket without the use of harsh chemicals and most importantly do it safely. This will also help in keeping your nonstick coating intact and will save your from replacing your basket. Allow soaking of the basket in hot water and soap solution (dawn dish soap works great) for 20 to 30 minutes. With a soft scrub brush, you can now remove the sticky grease. If this doesn’t work, then try these steps:
Apply the cleaning solution (soap and water) directly to the oily residue. Add a generous amount of baking soda, paying special attention to the areas with oil residue. Return the basket in the fryer pan. Baking soda should also be added to the air fryer pan. A dish soap such as Dawn aids in the breakdown of grease, while baking soda’s effervescent properties lift the grease from the basket. Try to agitate the solution mixture with an extra soft bristle brush. Be gentle and cautious of the basket’s nonstick coating. When finished, pour 1 cup of white vinegar into the basket and watch it sizzle. Boil water with half a lemon squeezed into it. Next add this boiling lemon water to the vinegar in the pan. Now let the boiled lemon water sit in the air fryer basket overnight. Remove the basket from this degreasing solution the next day. Dip your sponge into this solution and use it to remove the grease.
Following these steps should allow you to remove all of the baked-on/ stuck grease without damaging the nonstick coating.
How to Deal With Lingering Odors?
Have you noticed that your air fryer smells. When cooking a strong-smelling food, the odor may linger in your air fryer even after cleaning. It is best to soak your air fryer basket and drawer in soapy water for 30 to 60 minutes before cleaning again. If the odor persists, halve a lemon and rub it over the basket and drawer. Let it rest for 30 minutes before rewashing.
Can You Clean An Air Fryer By Putting Water In It And Turning It On?
I strongly advise against trying this as it may cause damage to your air fryer. Also, according to the instruction manual, you are not supposed to put water in the air fryer. The problem with this method is that even the best air fryers aren’t designed to hold that much water. The fan’s airflow could easily splash water from the surface into the internal electrical components of your air fryer, effectively short-circuiting it. Your air fryer may overheat while attempting to ‘cook’ this much water, posing a fire hazard.
4 Impressive Air Fryers That Are Pretty Easy to Clean
No matter what design you choose, look for durable, nonstick materials and dishwasher-safe removable parts in your air fryer of choice to ensure easy cleaning. Some of the models that allow easy clean up are below (I have used 3 of the below air fryers): As you can see, cleaning your air fryer on a regular basis makes it much easier and more sanitary to use. If you leave it too long without a thorough cleaning, it may require some elbow grease. So, don’t delay cleaning your air fryer otherwise you will regret it! Check out my guide for 5 things to consider when choosing an air fryer and how to use the air fryer.
