Sep 21, 2011
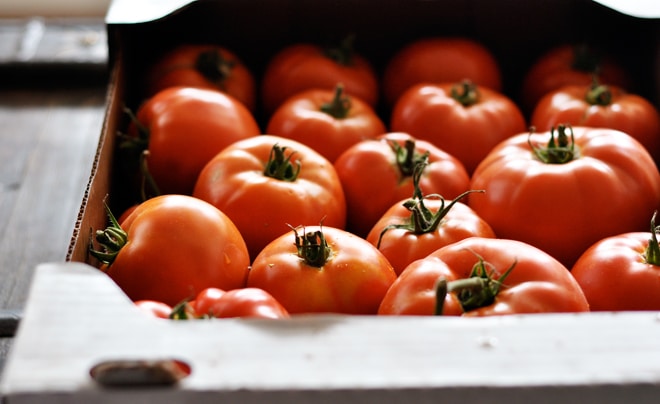
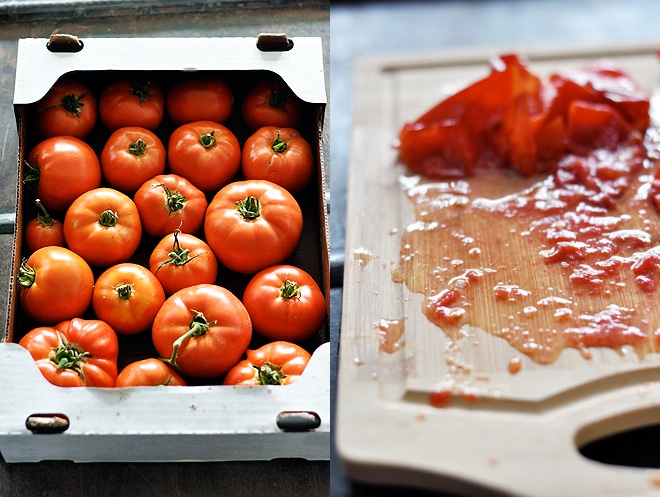
Yes, I spent a small… well… actually rather large-ish… fortune on organic, locally grown tomatoes. Twenty beautiful pounds of them. The reddest ones I’ve ever seen. Not a blemish in sight.
Perfect taut skin.
Heavy, round and firm.
Sweet and juicy.
Yes, we’re still talking about tomatoes, boys. Ahem.
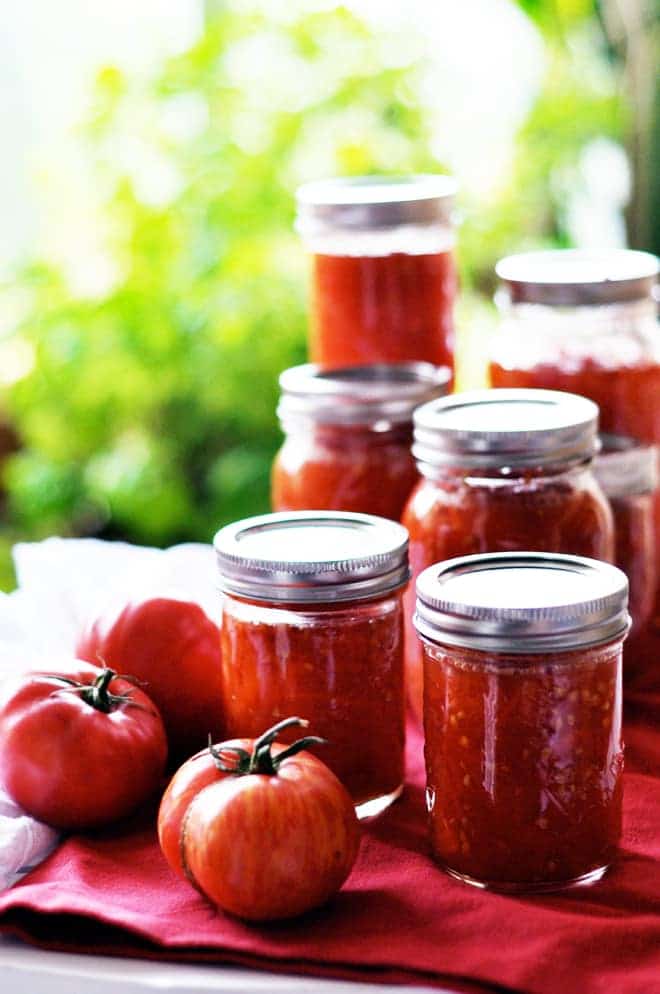
Canning your own means you get to enjoy the perfection of summer’s best tomatoes – still sun-warm, ripened on the vine – in the middle of a rain/snow storm in February.
Much more flavourful than even the best store-bought variety.
It isn’t difficult, but you need a few hours, a good amount of counter space, and a willingness and perhaps even gleefulness at the opportunity to make a mess.
You need two big fat stock pots, one medium-large pot, and one small pot.
You need a jar-lifter or a sturdy pair of kitchen tongs with rubber bands wrapped around for added grabbiness.
You need lots of jars (ideally 2 cup (500 mL) or larger.
You need tomatoes, salt, and lemon juice.
That’s all.
First you get the two stockpots filled with water and boiling. This can take time, so get it going early on. You’ll need to sterilize your jars in boiling water for 10 minutes prior to filling them.
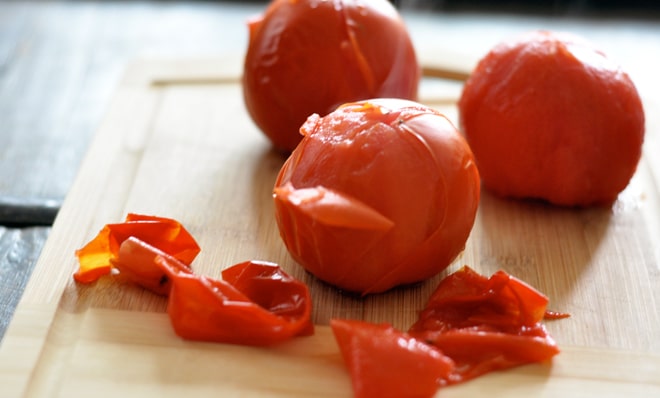
Bring a third pot to a boil for blanching the tomatoes. First you’ll need to cut an “x” in their bottoms. One minute in the boiling water and they practically jump out of their skins.
The last little pot is for simmering water to heat the jar lids.
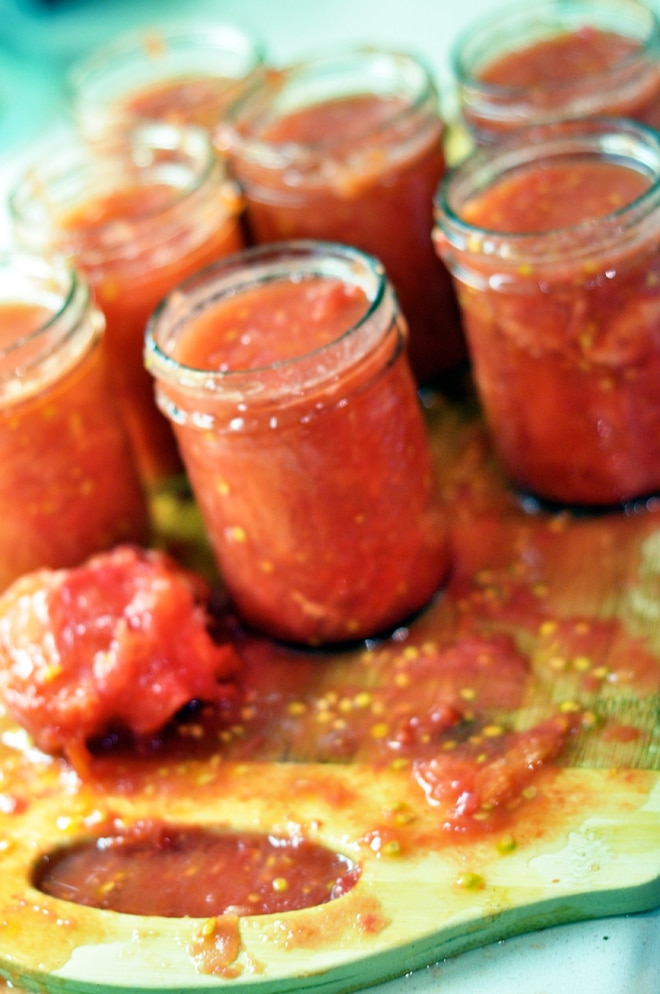
Once you’re ready to go, you cram the skinned tomatoes into the jars, top each with some salt and lemon juice, wipe the rims, top with lids, and boil the heck out of them for 30-45 minutes (depending on the size of your jars).
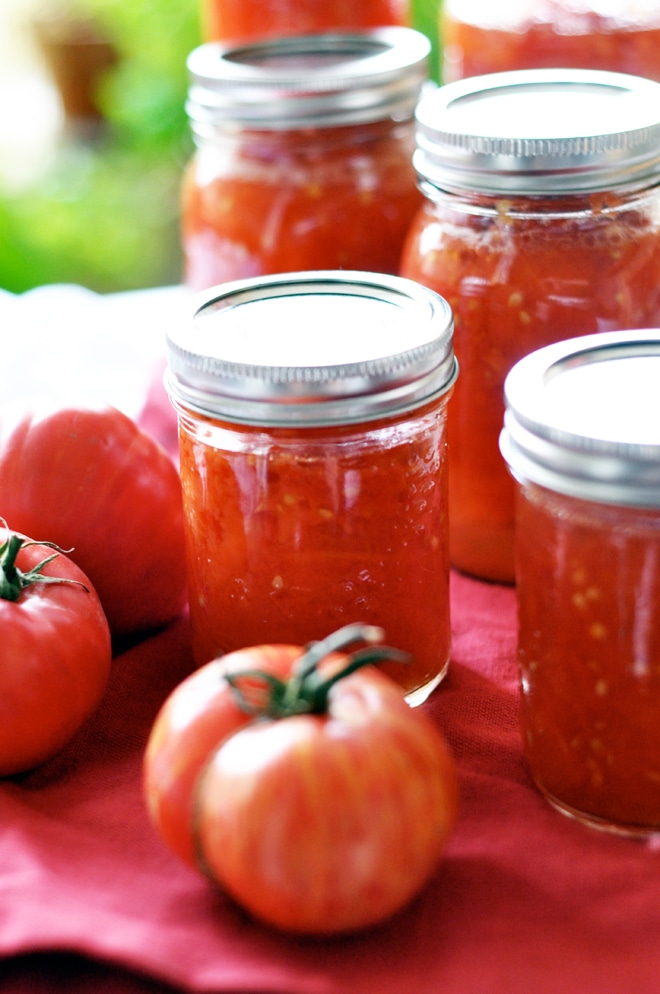
After processing, a satisfying “PLUCK” lets you know that the jars have sealed. (Or you can tell by touching – the lids should be flat and firm rather than raised and push-able).
Canned Tomatoes
tomatoes salt lemon juice
- Fill your largest pots with water. Sterilize your jars by submerging them (while the water is still cold – or they might break) and turn the heat on high. Bring to a boil. The jars need to boil for at least ten minutes, but keep them in the water till you’re ready to fill them. You want to keep them warm because you will be processing them in boiling water again, and if they have time to cool off before returned to boiling water, they may break. Warm the lids in a small pot of simmering water (not boiling) over medium-low heat. Use the tongs to remove jars and lids from water.
- In another medium-large pot, bring water to a boil. Use a paring knife to make an “x” in the skin on the bottom of each tomato. Drop into the boiling water for 1 minute, then remove and set aside to cool. When cool enough to handle, remove and discard tomato skins.
- Spoon 1/2 teaspoon salt and 1 tablespoon of lemon juice into every 2 cup (500 mL) jar (double for quart-sized/1 litre jars). Pack the tomatoes snugly into the jars, using the handle of a wooden spoon to smoosh them in. Leave 1/2 inch of headspace. Place a warm lid on top, and secure with a screwband to just-sealed (not too tight – air needs to escape). Using the rubber-banded tongs, lower the jars gently into the boiling water. Process for 35 minutes for pint-sized jars (2 cup/500 mL) or 45 minutes for quart sized jars (4 cup/1 litre), timed from when the water returns to a boil.
- Remove from water and allow to cool, undisturbed, for 24 hours. The jars have sealed properly if the lids are rigid and slightly indented. You might hear a “pop!” when it seals. The lid should not bounce back when you gently press it. If it bounces back and makes a clicking sound when pressed, the seal is not good. Keep any failed seal jars in the fridge for 2 weeks. All sealed jars will keep in a dark, cool place for up to 1 year.
