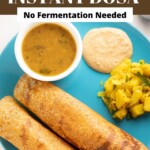
My family loves South Indian food. Dosa with sambar and chutney is a favorite for my daughters. They are healthy, gluten-free, and just so delicious.
Traditional dosa is made with rice and lentils (urad dal) and has to be fermented for 8-12 hours, which means you have to prepare at least a day in advance to make dosa.
Let me present to you – Instant Quinoa Dosa. This dosa made without rice requires very little prep, and I love that I can make it almost instantly, which means that even if I decide to make dosa in the morning, it can be ready for lunch, similar to moong dal chilla.
As quinoa is the main ingredient of this dosa recipe, it is also high protein and healthier. All you need to do is soak the quinoa along with rolled oats and dal for 4-5 hours and grind. Also, there is no wait time for the batter to ferment before making the dosa.
Why use Quinoa?
Quinoa is one of the most healthy foods that comes filled with nutritious fibers, minerals, and antioxidants. Quinoa comes with many health benefits like:
It is very high in fiber compared to other whole grains It is a perfect choice for people allergic to gluten and for those following a gluten-free diet. Quinoa provides an excellent source of protein It has a low glycemic index, which is good for keeping your blood sugar in control
These reasons make quinoa a superfood, and it is a versatile ingredient that works well with other recipes as well. I regularly make many recipes with quinoa, like quinoa pulao, Vegetarian Quinoa Chili, and Quinoa Khichdi.
Healthy Dosa Ingredients
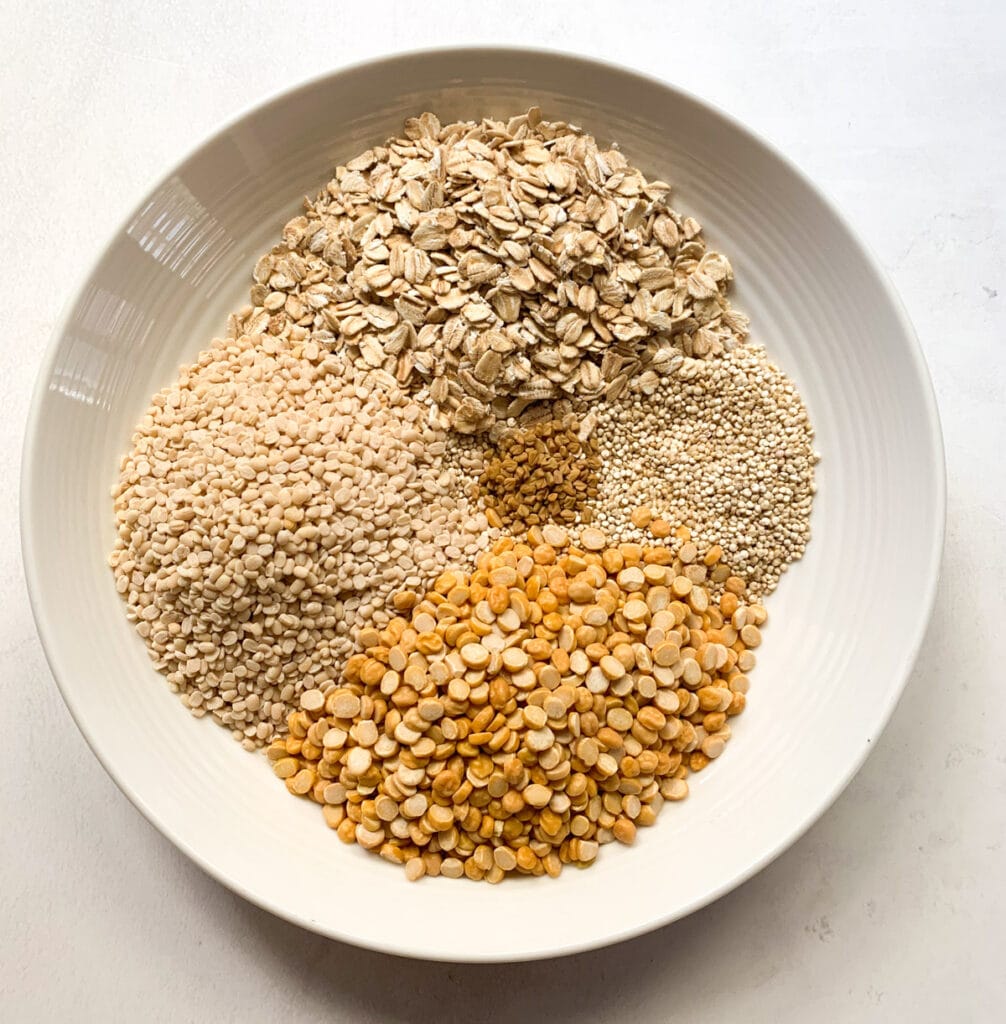
While the traditional dosa recipe calls for urad dal and rice and has a fermenting time of 6-10 hours, this high-protein quinoa dosa uses quinoa, oats, and lentils and will be ready almost instantly. Here are the ingredients I have used for this quinoa dosa:
Quinoa: I used white quinoa; however, you can use other color quinoa as well. Just remember the dosa color will be different depending on the quinoa you use. Rolled oats: These help to give a crispy texture to dosa. Urad dal: Adds its signature crispiness to the dosa and retains the original flavor. Chana dal: Gives the right amount of crunch to the dosa. Methi Seeds: I also add methi seeds to the dosa, which adds crispiness and can help with fermentation if you want to keep this batter for some time before making the dosa.
You can also use toor dal or split green moong dal in this batter. With the green moong dal, the dosa will be a bit greenish due to the green lentils.
How to make Quinoa Dosa?
Let’s start with getting the quinoa dosa batter ready for easy, thin, and crispy dosas.
Soak and Grind the Batter
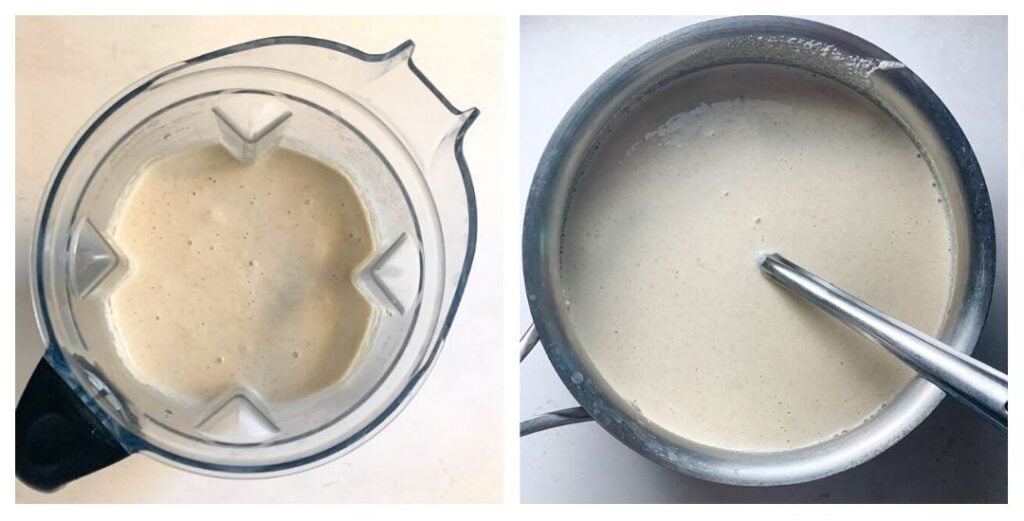
Add all the ingredients listed above to a big bowl and wash them till the water runs clear. Soak them all together in the same bowl for 4-5 hours or overnight. After the soaking time is done, drain the water completely and transfer it to a high-speed blender jar.
Add some peeled ginger, green chili, and salt to the blender. Green chili is optional and can be skipped. Add cold water gradually to the mix as you blend for a smooth texture. Be careful while adding water, as too much water can make the batter watery. Transfer the smooth batter to a large bowl. The consistency of the batter should not be too thick or runny; it should be free-flowing without any lumps.
Keep the batter for an hour before using. However, if you have less time, it is okay to use the batter right away. I have tried it, and it works!
Making Quinoa Oats Dosa
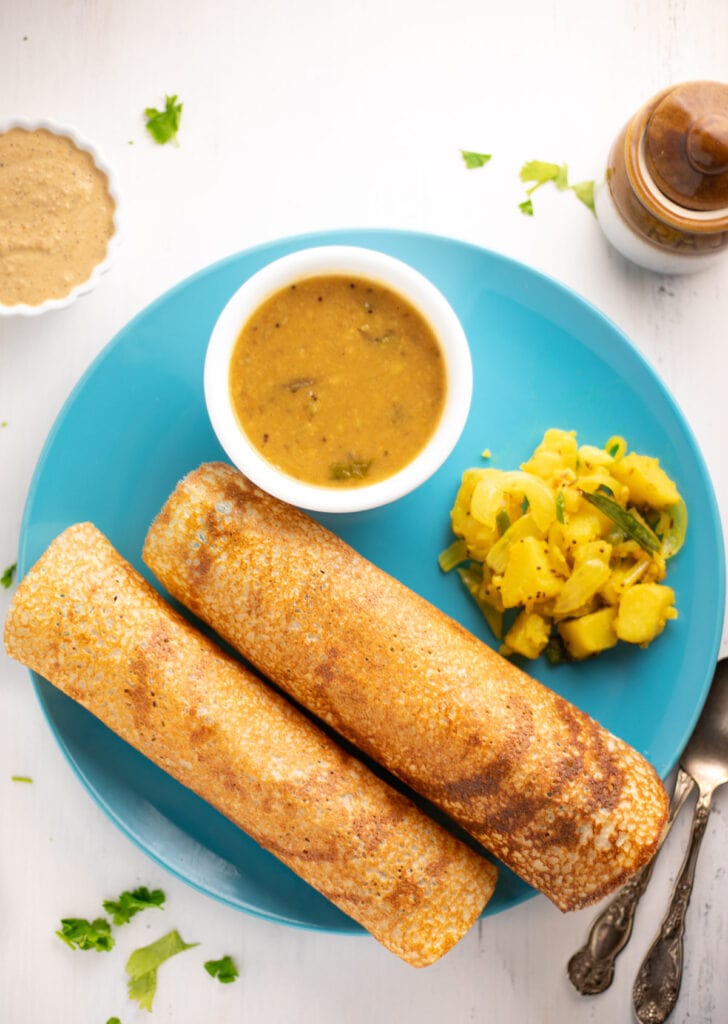
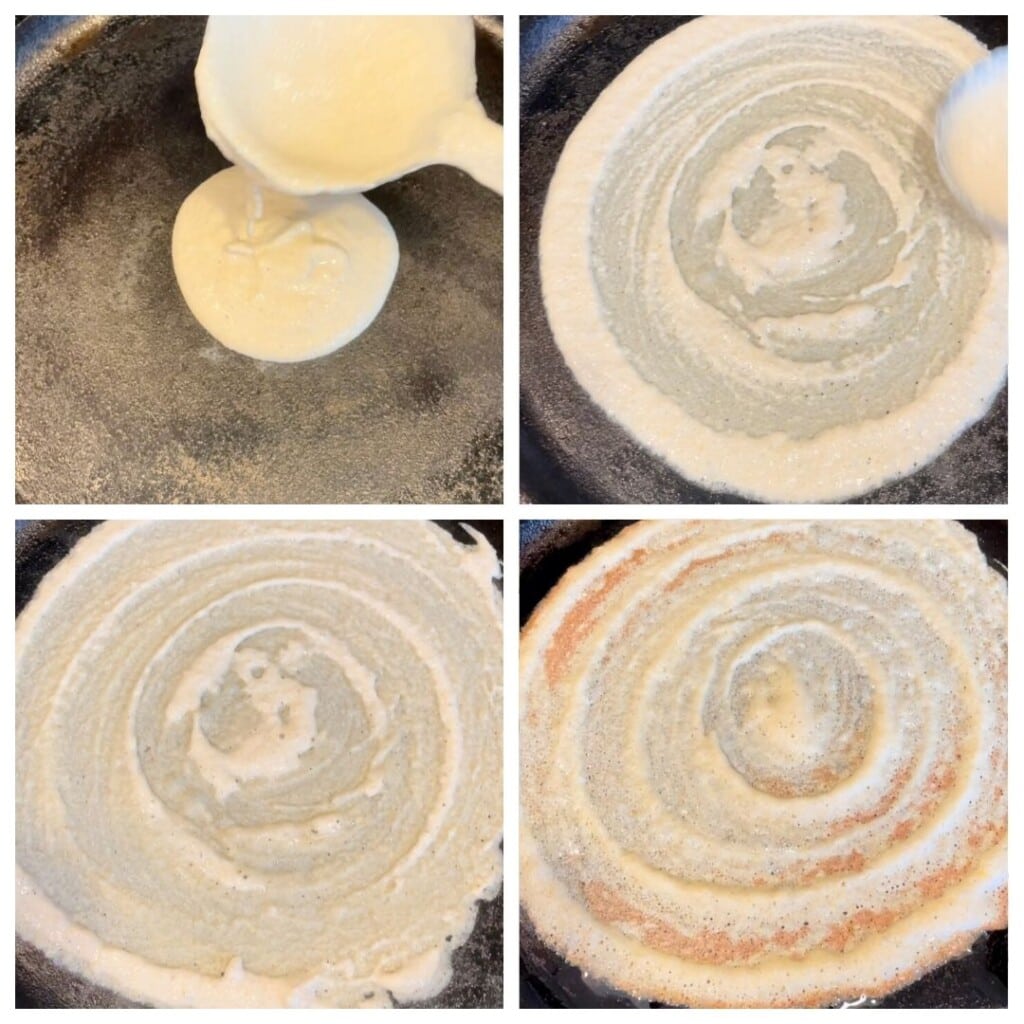
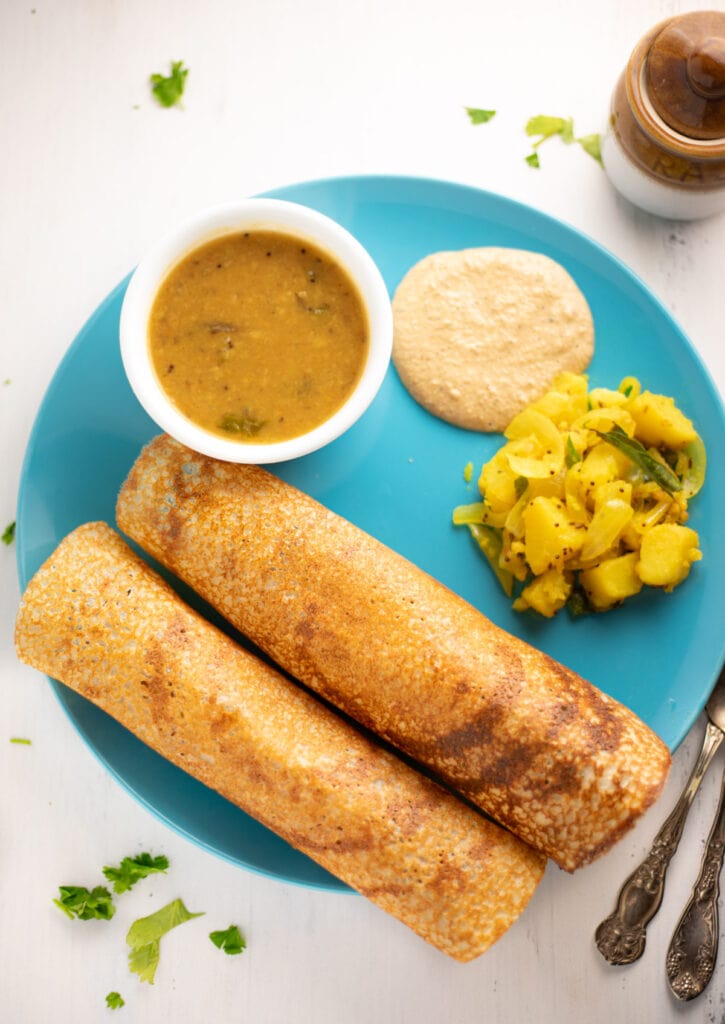
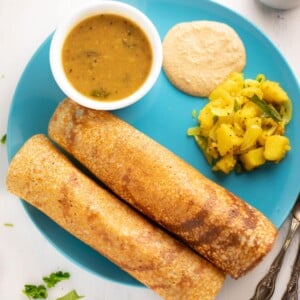
Now that we have the batter ready, the next step is to make crispy dosa. Usually, I use a cast iron griddle; we call it Tawa in India. You can also use a non-stick dosa tawa, but the cast iron griddle is the best for making this quinoa dosa. But one thing to note is that the cast iron pan is well-seasoned; if not, you will end up fighting with sticky dosa. Learn how to season a cast iron pan here. One of the interesting things about a cast iron pan is that it gets seasoned with use. In case you have a new pan, don’t keep it aside; keep using it! Be it a cast-iron or non-stick Tawa, set the heat on medium-high and make sure the Tawa is heated well before making dosa. You can test the heat by sprinkling some water, and if it sizzles right away, your Tawa is ready for the batter. Smear a few drops of oil on the Tawa with the help of a paper towel. Alternatively, you can also use a half-cut onion to spread the oil. The smeared oil helps cool down the Tawa and spread the batter in a thin layer. While spreading the batter, lower the heat a little bit and switch back to medium-high right after spreading the batter. Always take a ladle of batter, pour it at the center, and start spreading it immediately in a circular motion. You can go clockwise like I usually do or anti-clockwise and try to spread it as thin as possible. If you are new to dosa, don’t worry much about the shape; you will get it soon enough with practice. Drizzle oil or ghee around the edges of the dosa and also some at the center. Let it cook until the dosa becomes golden brown and starts to leave or come out from the edges. Typically, you only need to cook one side of the dosa, but if you are new to it and the batter is thick, then flip it over like pancakes to cook the other side. Always use a flat spatula to remove the dosa without breaking from the Tawa. You either roll it or fold it at the center like a paper with a spatula. Remove from the Tawa and serve it piping hot. Always remember to wipe the tawa with a paper towel before the next dosa and repeat the same steps above for a crunchy quinoa dosa. You can also use the half-cut onion trick to spread the oil and cool down the tawa. Serve the dosa with sambar, chutney, and potato masala. This quinoa dosa batter can be used to make delicious uttapam too.
Tips for perfect crispy and thin dosa
Batter: One of the most important things to make crispy dosa is the perfect batter, so do follow the batter instructions. The consistency of the batter should not be too thick or too thin. Pouring and can easily spread. Tawa: The next is a good pan (Tawa) to make the dosa. I highly recommend a cast iron pan or a special non-stick dosa pan. Temperature: It is important to have the Tawa set at the right temperature. So, every time you pour the batter, make sure to lower the heat. Wipe: Always have a couple of paper towels handy to smear the oil onto the pan. This will season the pan as well as keep the girdle ready for a perfect spread.
Common Questions
I hope you enjoy this delicious & healthy Quinoa Dosa. Looking forward to see your dosa pics. Share with #pipingpotcurry!