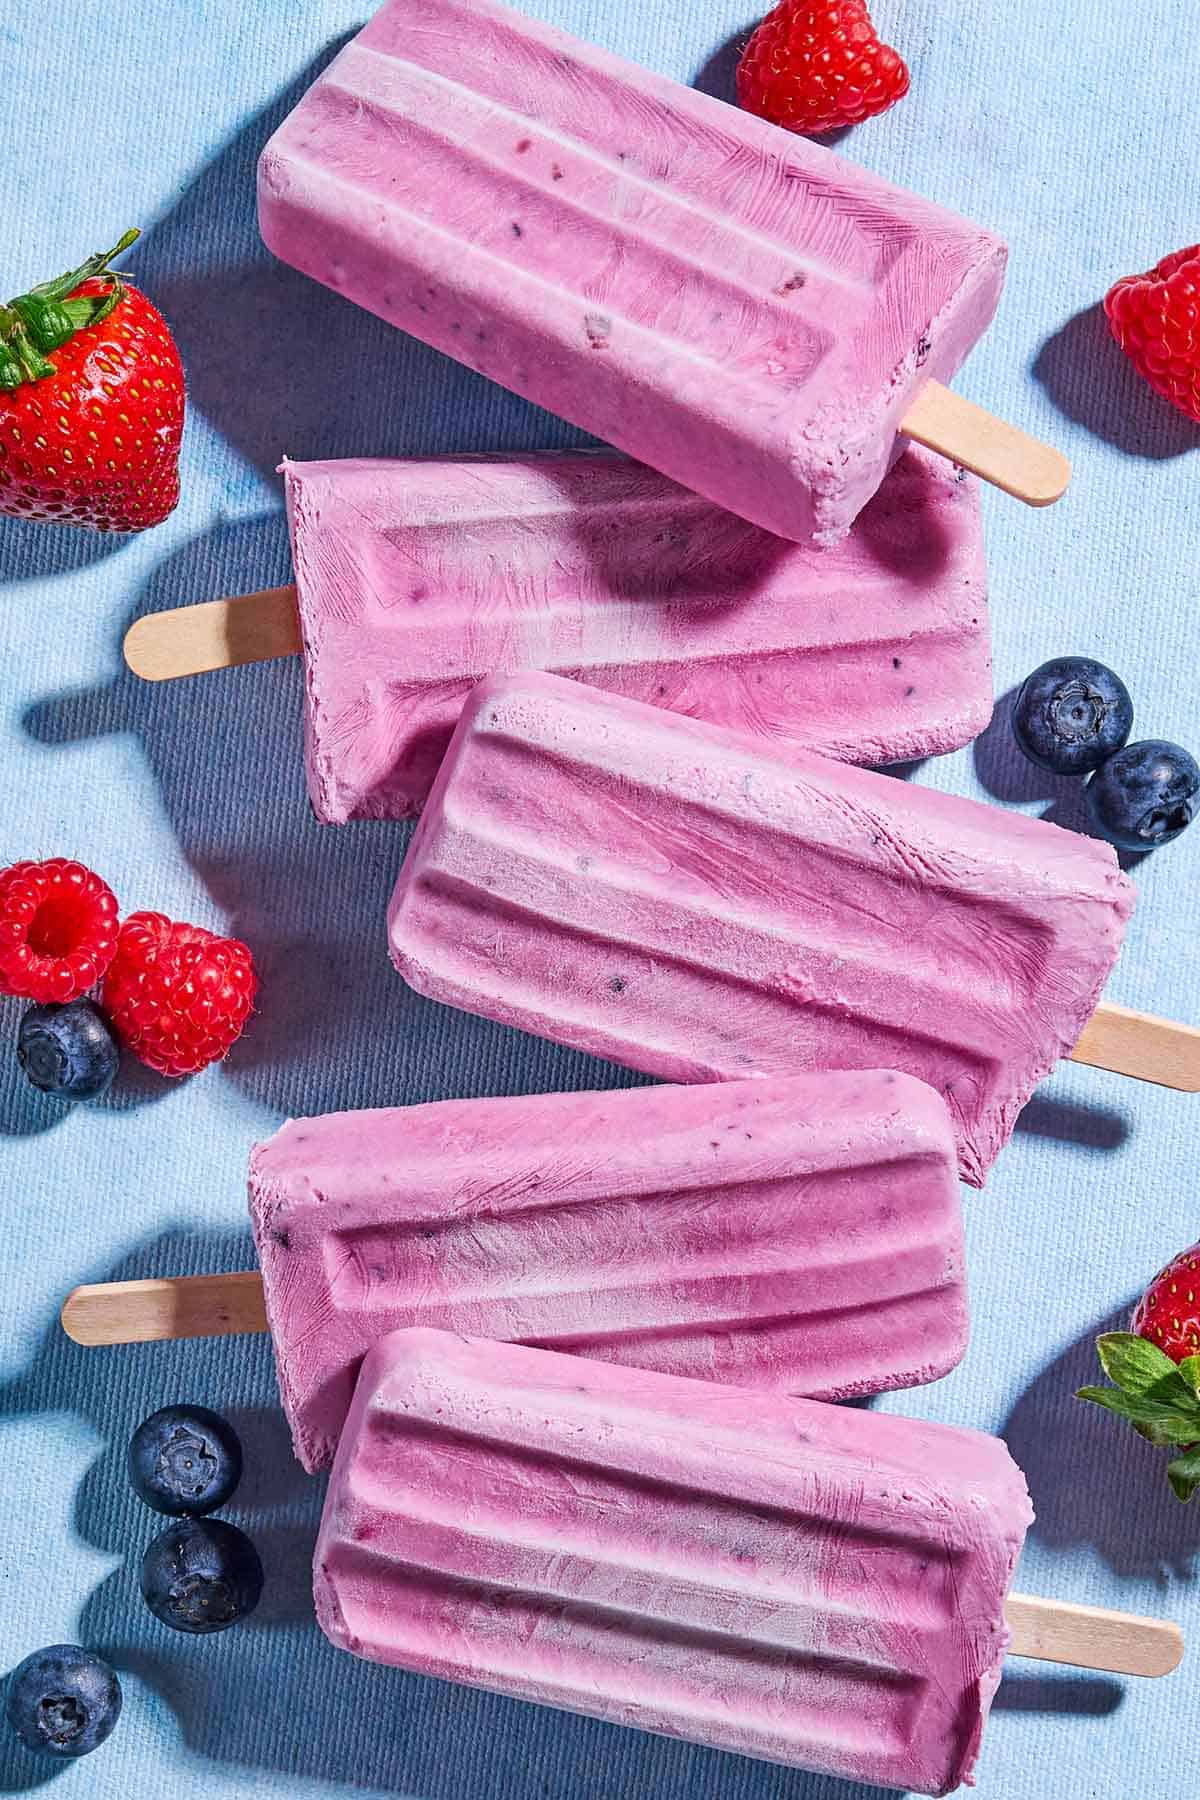
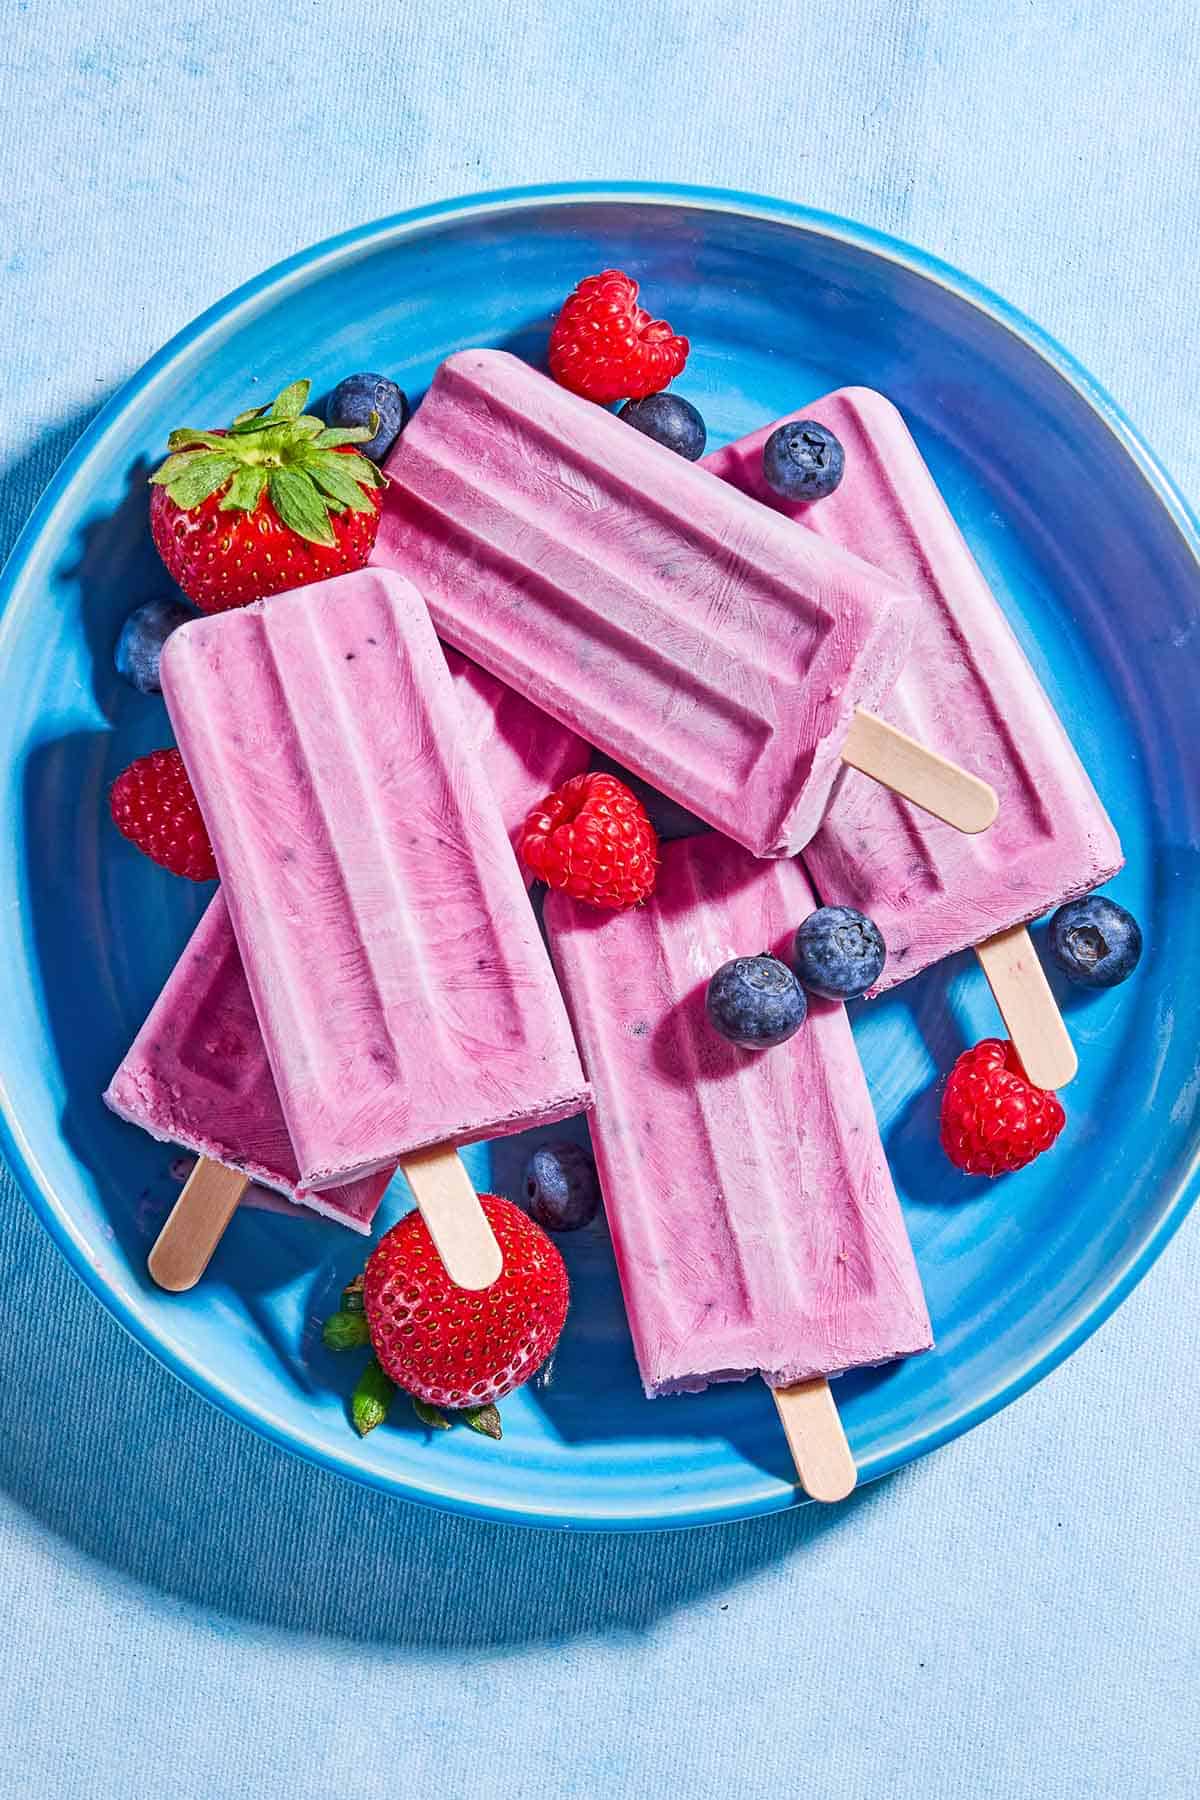
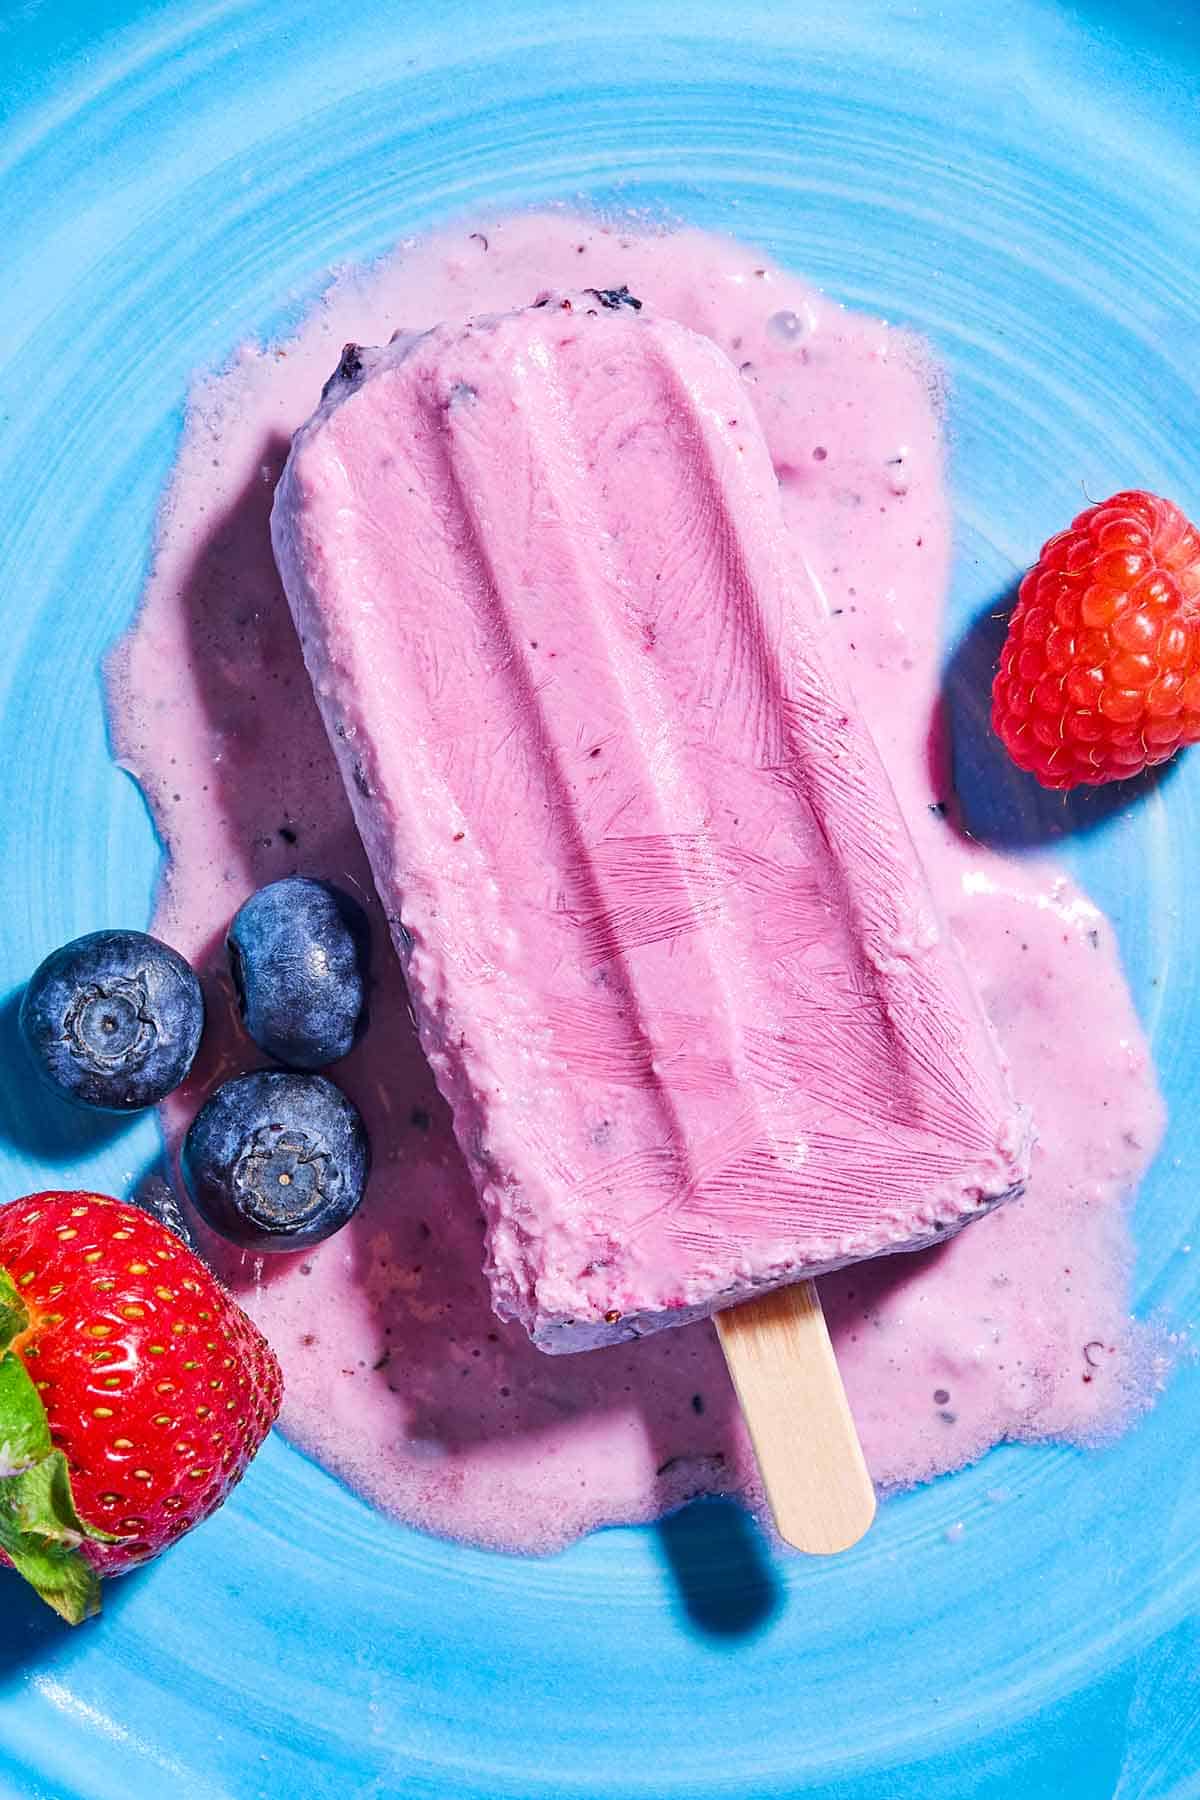
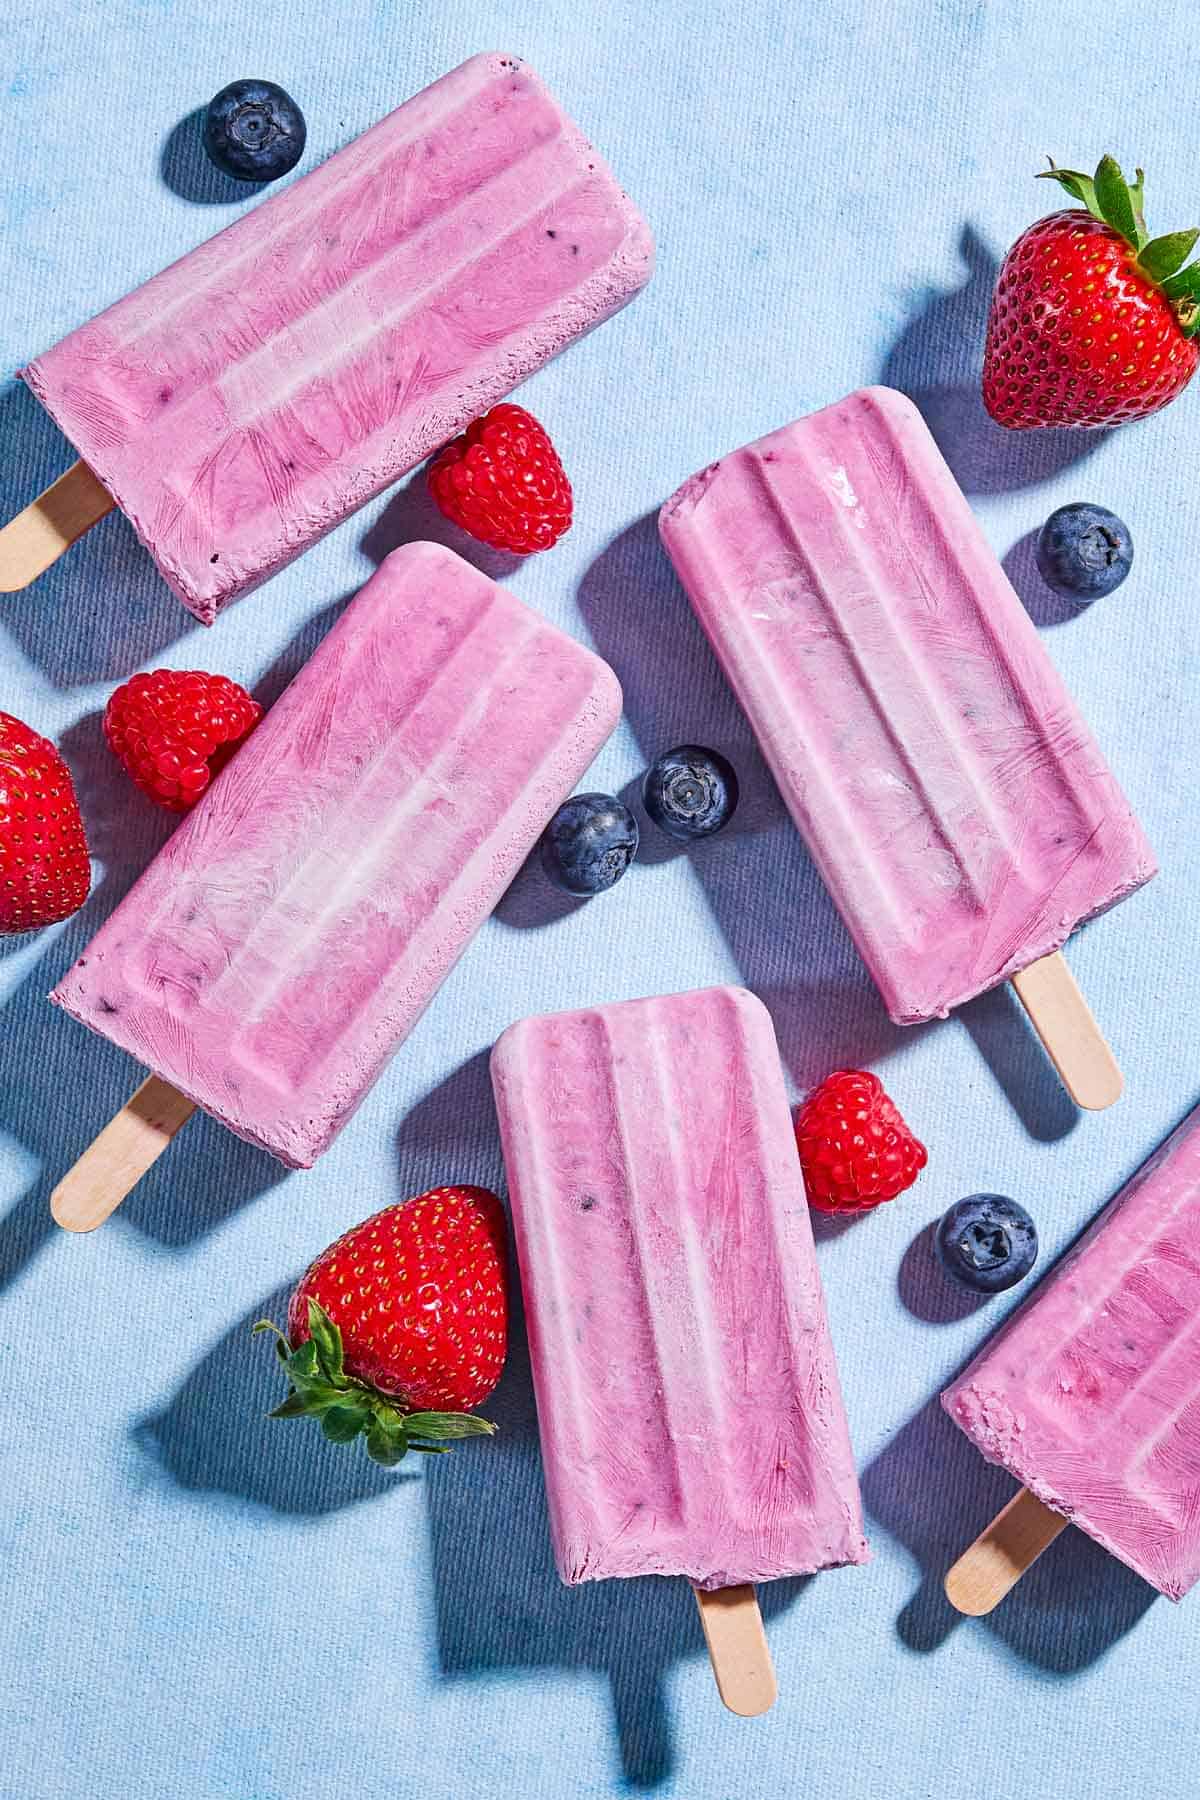
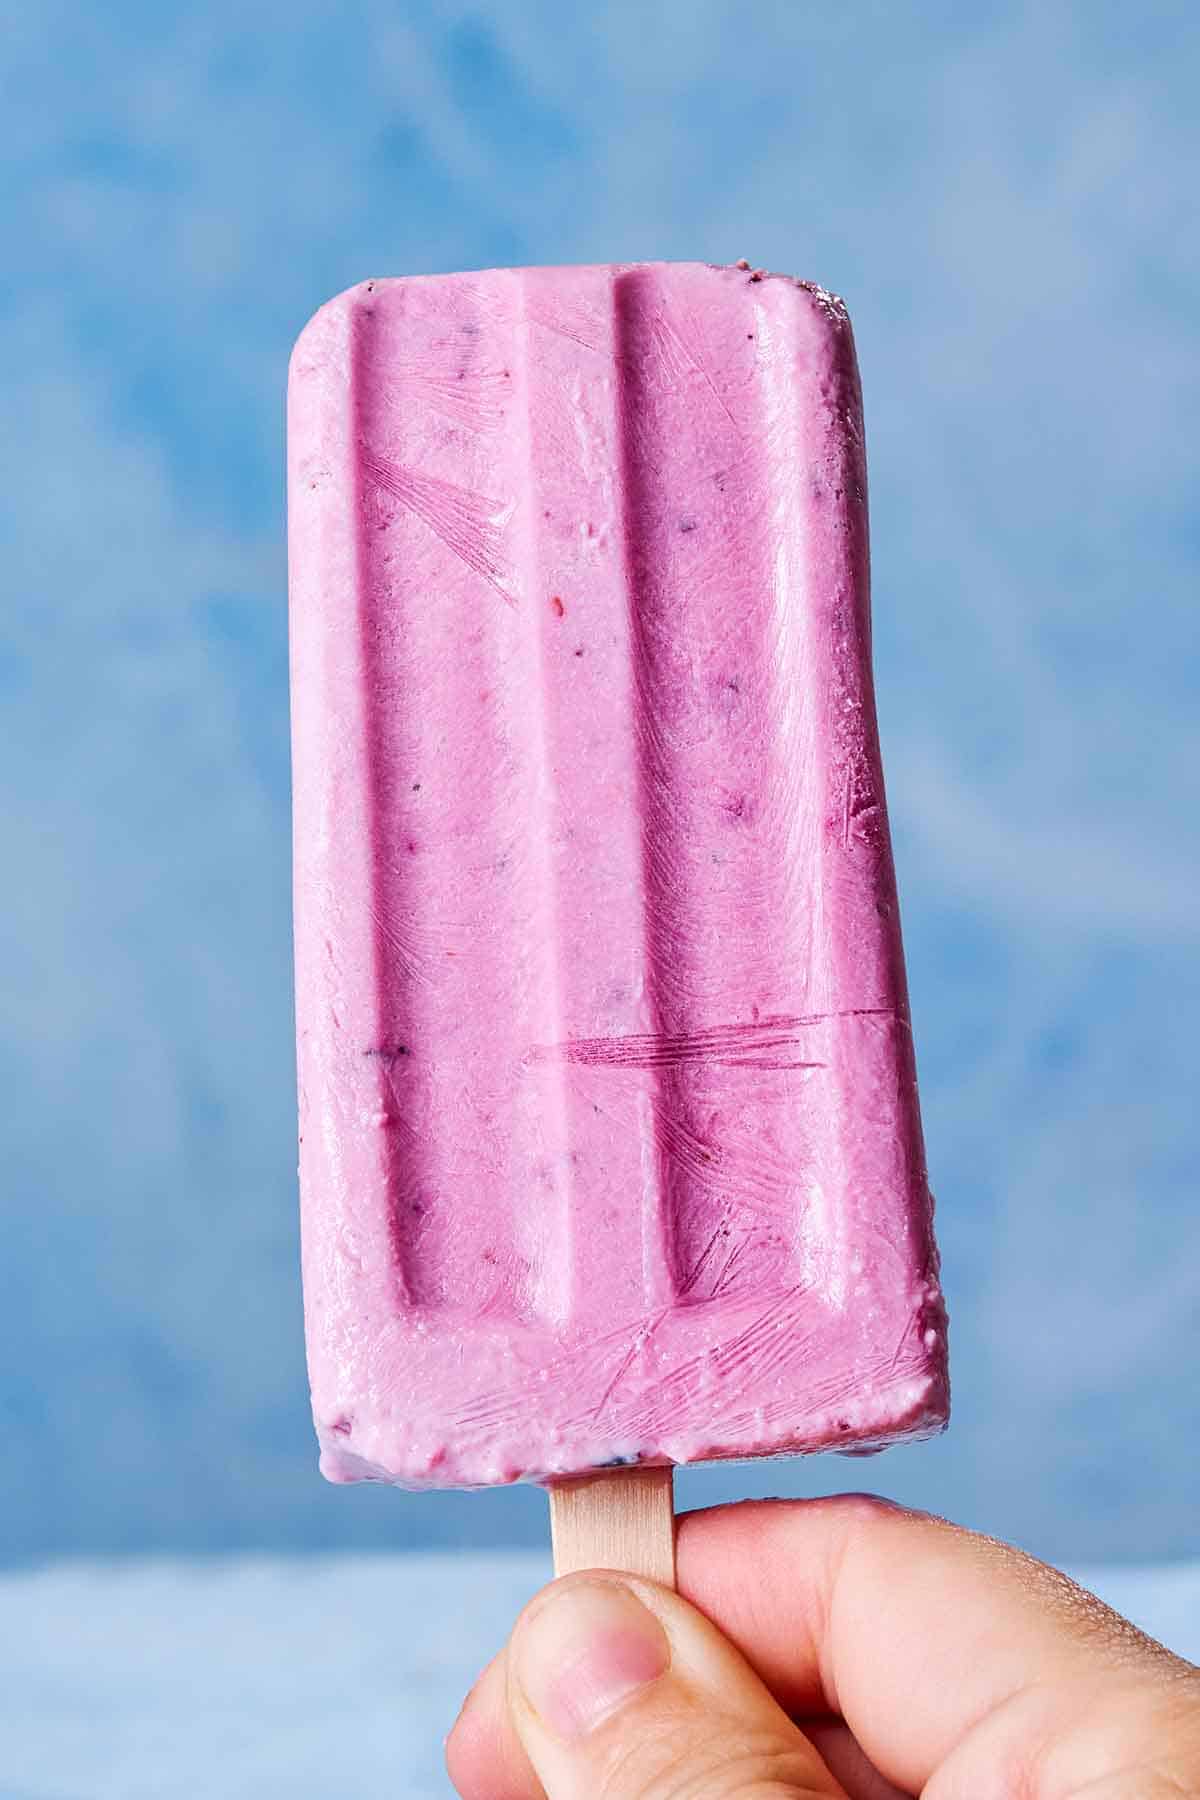
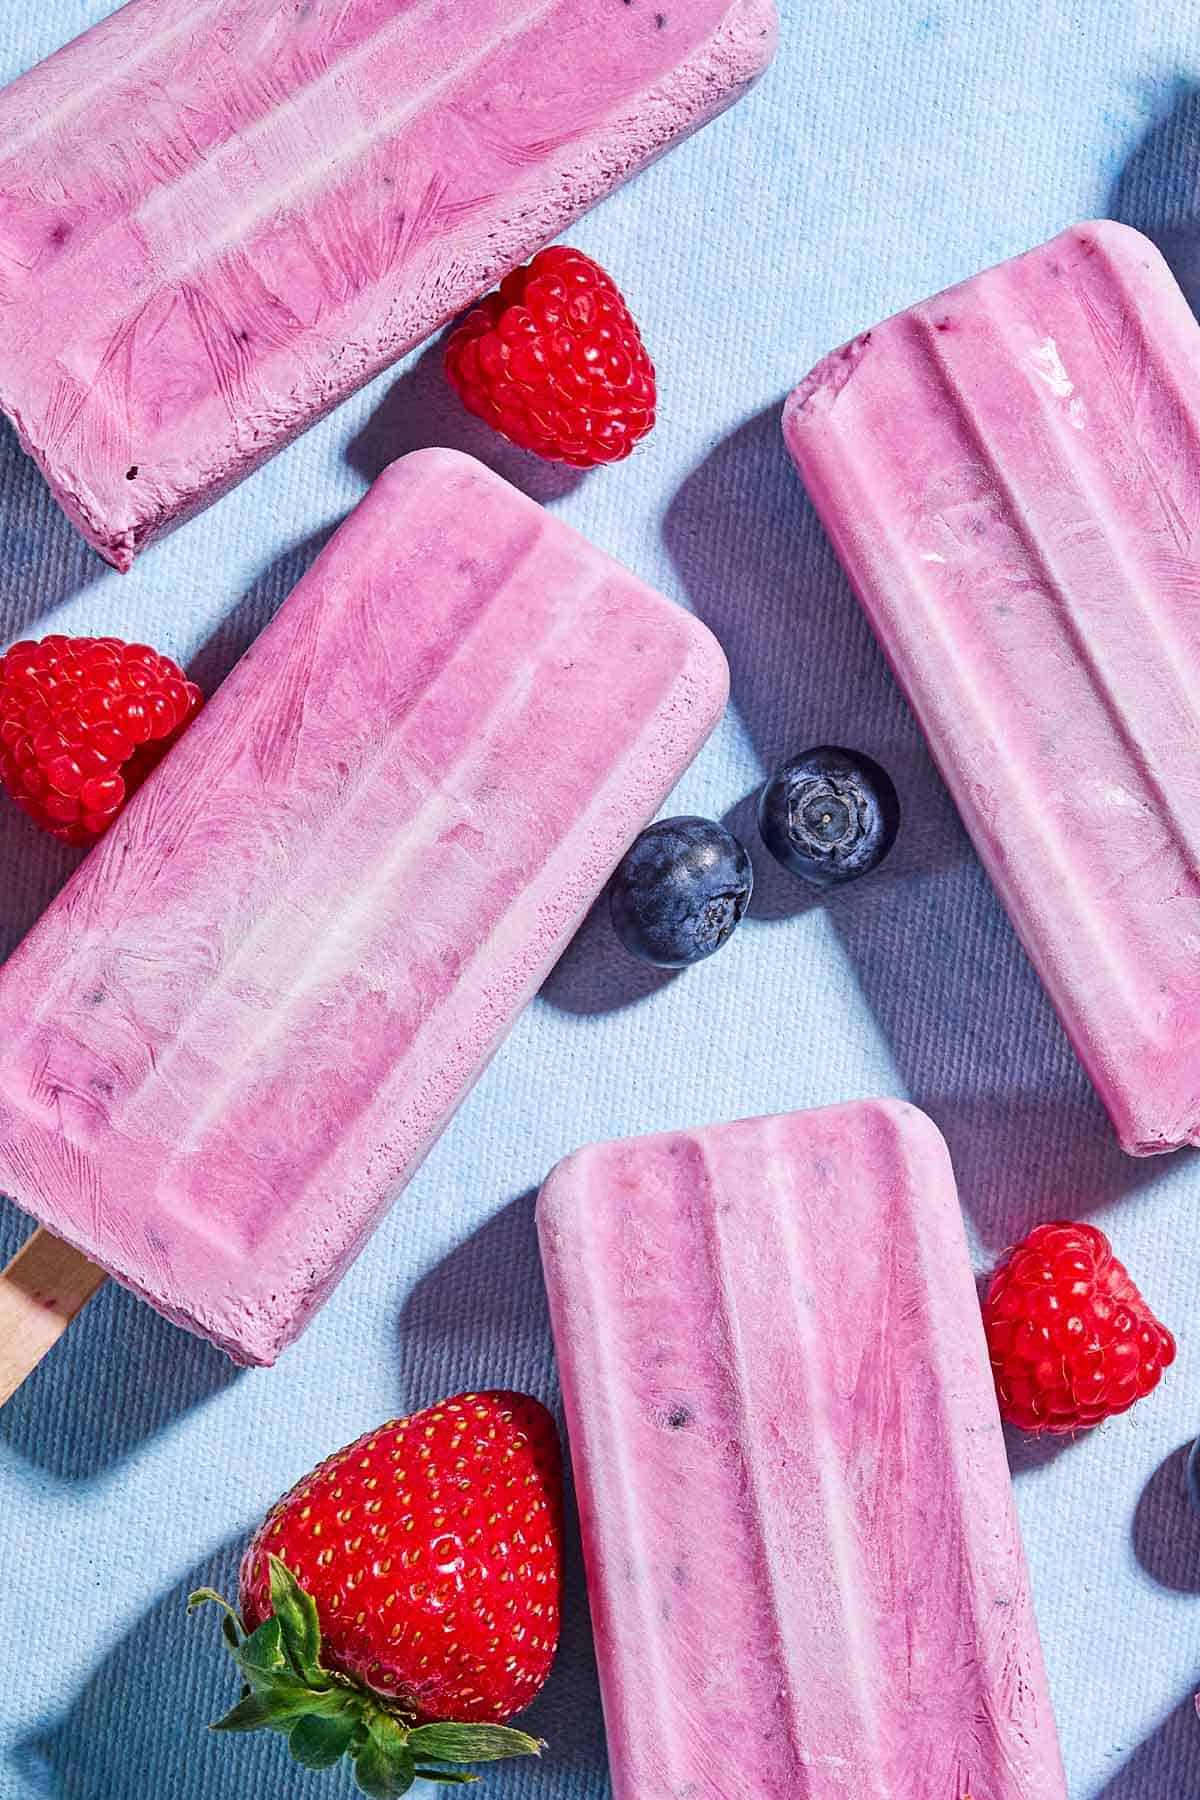
Many of us eat our bowl of yogurt with honey, so why not as a frozen treat on a hot summer morning? Yogurt popsicles can be a healthy dessert, but I also love them as a high-protein snack throughout the day. The great thing about making healthy snacks from scratch–whether it’s Chocolate Date Bars, Olive Oil Granola, or Homemade Popsicles–is they do not contain artificial flavoring, syrups, thickeners, or dyes. And these sweet (but not too sweet) treats are kid-approved! I created this healthy popsicle recipe because I wanted to take my daily fruit smoothie on the go. I was craving something frozen, packed with flavor, with the benefits of Greek yogurt for protein and gut health, honey for antioxidants and sweetness, and plenty of berries for added vitamin C. You may wonder if making popsicles is as simple as blending and freezing your favorite fruits and yogurt. The short answer is yes, but there are a few tricks to get the best texture and flavor. It’s not rocket science, it’s just a matter of knowing what to do and avoid. So here it goes!
Healthy Popsicle Ingredients
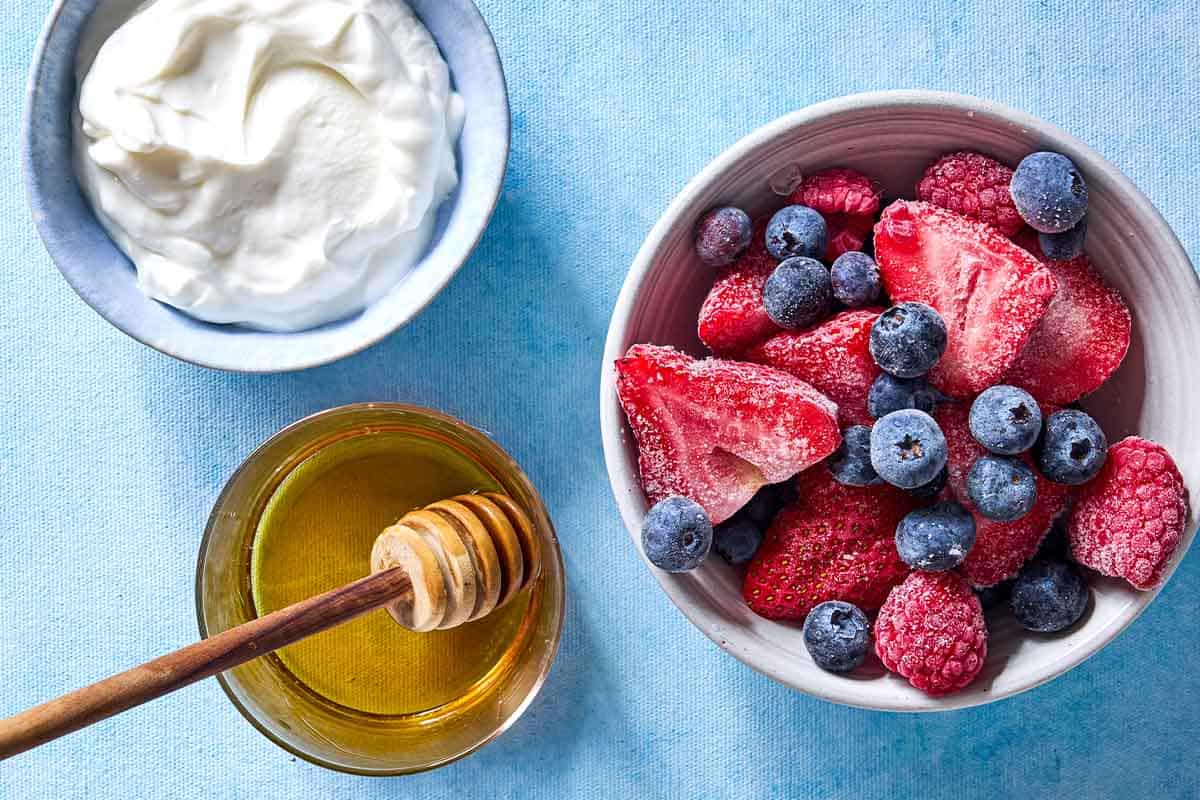
You only need three easy ingredients to make healthy homemade popsicles.
Berries: I like to use a combination of strawberries, blueberries, and raspberries (fresh or frozen both work, see the section below for more details). You can add other frozen varieties, such as mango, peach or kiwi. Honey: Helps sweeten the popsicle and keep the texture creamy. You could substitute honey with maple syrup or agave (though I find the flavor less delicious). Honey has a unique and mellow flavor. Yogurt: Greek full-fat yogurt is best. The higher the fat content, the creamier and dreamier the result. Most other yogurts retain too much water, which will water down the taste and form more ice crystals. Low-fat yogurts also tend to be too tart.
Are Fresh or Frozen Berries Best for Yogurt Popsicles?
You can use fresh and frozen berries interchangeably to make homemade popsicles. I can’t say that one is better, though both offer their own advantages. Here is a rundown of things to think through when considering fresh or frozen.
Benefits to Frozen Berries
Generally picked and frozen at their ripest. Lasts several months, unlike fresh fruit that goes bad quickly (see our post on how to store berries for tips to make them last as long as possible). Easy to keep on hand. Already washed, prepped, and sliced. Generally more affordable when fruit is not in season.
Benefits to Fresh Berries
Nothing quite beats the flavor of fresh, seasonal, and ripe fruit picked as close to harvesting as possible. A local farmers market is best in this case. You can add unblended fresh berries to the popsicle mold for texture and aesthetic beauty.
Best Yogurt for Yogurt Popsicles
Firstly, the fat content of the yogurt, along with the type of sweetener you use (more details below) will affect any frozen dessert’s texture. The less water in the yogurt, the fewer ice crystals will form. With that in mind, I use whole milk and full-fat Greek yogurt. Greek yogurt is essentially plain yogurt that has been strained to remove water, resulting in a rich and creamy consistency. Substituting with low-fat or skim yogurts will produce a less-than-well-balanced flavor. It will be tarter and more watered-down. Remember that not all Greek yogurts are the same. Look for one that only contains milk and active cultures. Avoid yogurts artificially thickened with gums and pectins, as their high moisture content can change the texture to create a chalky mouthfeel. The best ratio for a perfect popsicle is 1:1, which means using equal amounts of yogurt and fruit.
Best Sweetener for Homemade Popsicles
The sugar content is the next vital ingredient to ensure your homemade popsicle has a pleasant texture. Sugar molecules lower the freezing point and reduce the formation of ice crystals. So if you add more sugar, you’ll have fewer ice crystals. As much as popsicles need sweetener, I try to substitute with a healthier option and generally avoid overdoing it. So, hang with me here while I quickly explain why “Invert Sugar” is best for frozen foods.
What is Invert Sugar?
Inverted sugar is a 50-50 mixture of glucose and fructose. It is made of a sucrose water solution (basic sugar syrup) that is heated with the addition of an acid (such as citric acid or cream of tartar). Here are the benefits:
Sweeter than regular sugar, so you need less to achieve the same level of sweetness. Has a more complex and uniform sweetness with a flavor profile of honey and caramel notes. Extends the product’s shelf life by reducing the growth of bacteria that can cause spoilage. The finished product has a smoother texture, not gritty or crystallised. Lower glycemic index than regular sugar, which causes a slower increase in blood sugar levels.
Examples of Inverted Sugars
Honey Corn syrup Golden syrup Molasses Agave Syrup Maple Syrup
Which Inverted Sugar Is Best?
Honey is a type of inverted sugar formed by an enzyme from the nectar collected by bees. Once frozen, honey will not overpower the taste of the fruit but add a subtle yet delightful mellow flavor. It doesn’t change the brightness of the fruit’s colors. It equally keeps the yogurt from crystallizing and forming too much ice.
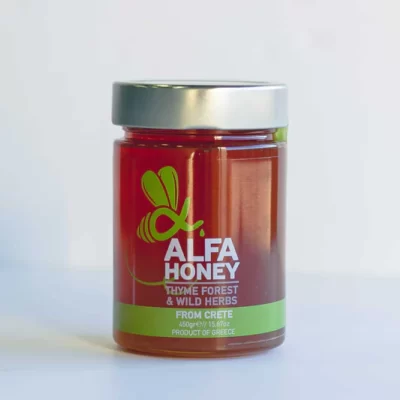
THE BIG PICTURE: Honey is the best sweetener for homemade popsicles because it has a delicate flavor and prevents ice crystals, making for a creamier texture. TIP: Use a delicate, runny honey so it doesn’t overpower the berries, like our Greek Alfa Wildflower Honey.
Which Popsicle Molds to Use
Popsicle molds come in many shapes, styles, and sizes—endless options. You can choose from stainless steel popsicle molds, silicone ice cream bar molds, or plastic (BPA) molds. You could also use Ice Pop Pouches and transparent plastic tubes. All varieties are available online. All popsicle molds, except the silicone type (where you peel the flexible mold away from the popsicle), require running water to loosen the popsicles. Here are my top three tips for selecting popsicle molds:
Easy to clean: Look for dishwasher-friendly molds that hold up to many washes. Stainless steel molds are long-lasting in comparison to plastic molds. Easy to unmold: Look for molds that loosen easily and quickly. Stainless steel molds are best for this (metal conducts heat faster than plastic). Easy to fill: Use a mold that resembles a traditional popsicle’s shape and size and does not leak or spill in the freezer. You want a mold that does not tilt or spill and holds most recipes’ volume (roughly 3-4 ounces).
How to Make DIY Popsicle Molds
I highly recommend buying a popsicle mold; however, if you don’t have one, here is a quick solution if you are DIY-inclined. You will need popsicle sticks and very narrow glasses, cups or disposable cups. The size should be like a popsicle size.
Pour the popsicle mixture into the narrow glass. Place aluminum foil or plastic wrap over the top and punch the stick through. This ensures the popsicle stick does not move and no smells are absorbed from the freezer, Freeze, then unmold by running the glass or cup under warm water. Wiggle the spoon to help it unmold and enjoy immediately.
How to Make Homemade Popsicles
With the right ingredients and ratios, making yogurt popsicles is as easy as blending and freezing. Here are the steps:
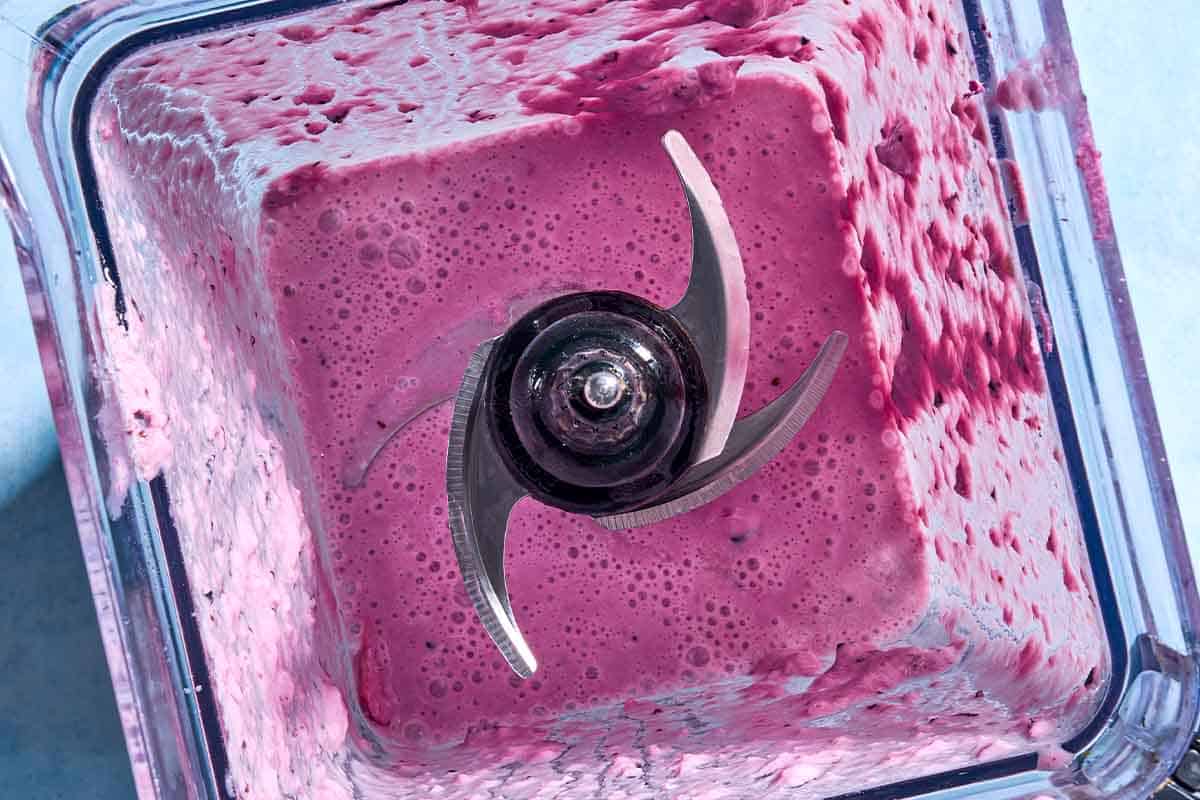
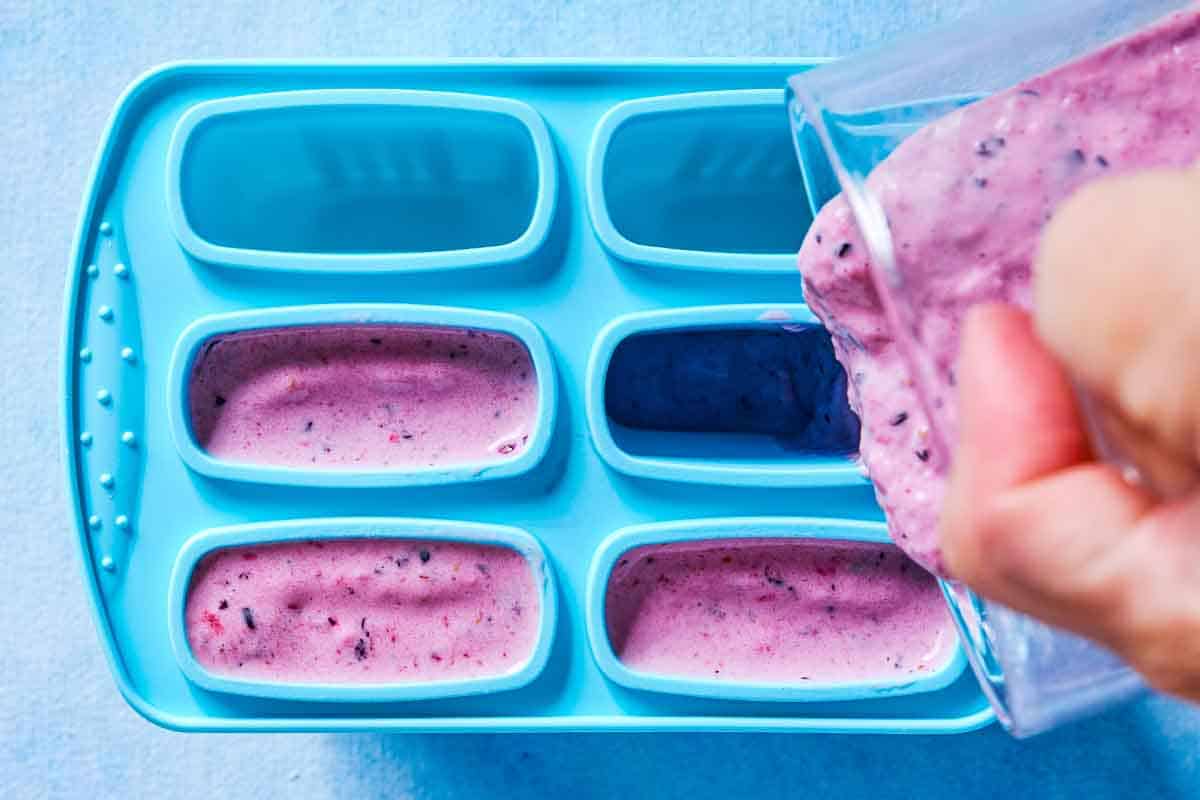
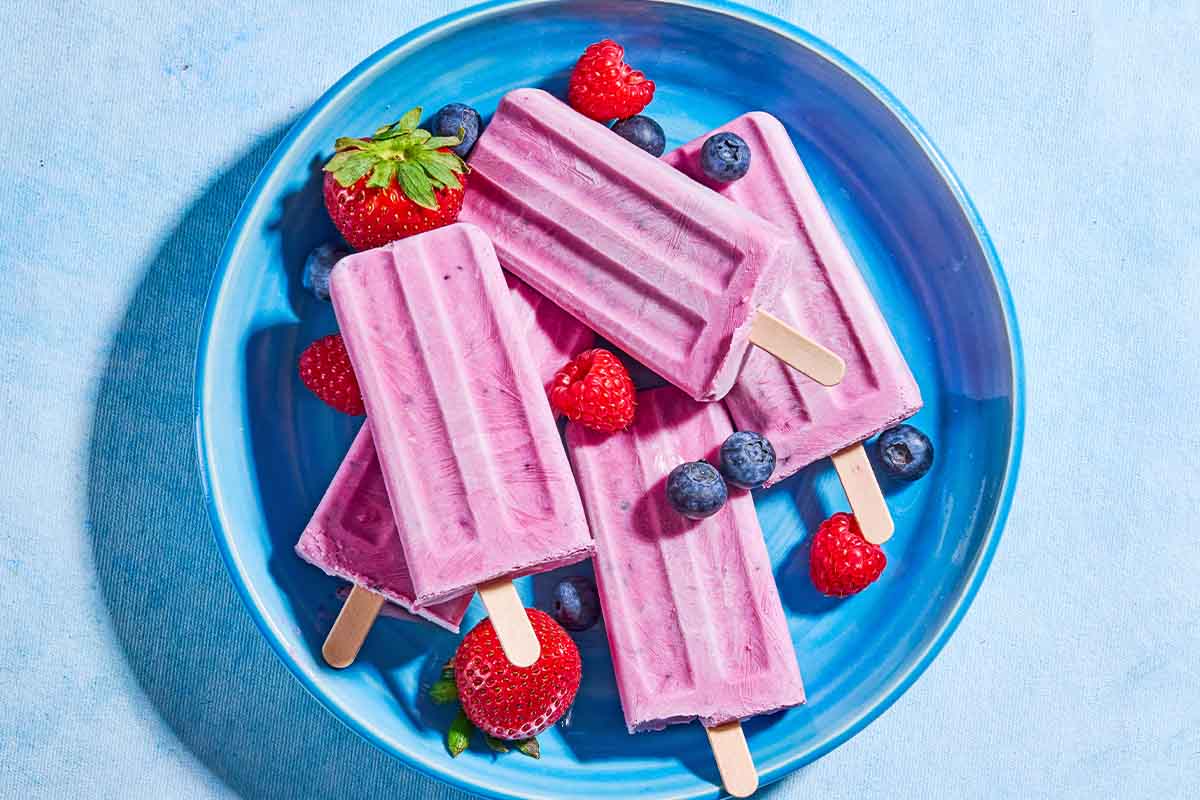
Mix. Place 1 cup plain whole milk Greek yogurt, 1 cup frozen mixed berries, and 1/4 cup honey in a food processor and blend until smooth. Taste and adjust the sweetness, if desired, by adding a little more honey. Assemble. Pour the mixture into popsicle molds and place the lid on the molds. Freeze overnight, or until firm (minimum 6-8 hours). Serve. To unmold, let them stand at room temperature for 5 minutes or run the bottom of the mold under warm water and wiggle the stick to remove the popsicle. Serve immediately.
Ways to Mix it Up
For a more vibrant color: Stew the berries with honey on the stovetop and cool before blending with the yogurt. This will also make the popsicles a touch sweeter as well. For a swirly popsicle: Alternate layers of plain yogurt and berry mixture to the mold, repeating until filled. For more texture: Stir chopped berries into the mixture after blending. For an extra smooth and seedless popsicle: Puree the berries and strain them through a fine-mesh strainer. Add this mixture to the yogurt and mix to combine. Other flavors: I love playing around with new flavors, depending on what fruits I have. I also make dairy-free popsicles by substituting yogurt with fruit juices. Some ideas are: Strawberry/banana, watermelon/coconut, peach/honey, pineapple/lime, orange/strawberry, and strawberry/mango.
How to Store Yogurt Popsicles
Homemade popsicles are best eaten within 1 week. The best way to store them is to remove them from the mold and reseal them in a freezer bag or an airtight container, separated by parchment paper so they don’t stick. Browse all Mediterranean recipes
Easy Frozen Yogurt Recipe
Mango Smoothie (4 Ingredients!)
Green Smoothie with Mint
2-Ingredient Lemon Sorbet (Sorbetto al Limone)
Visit Our Shop


