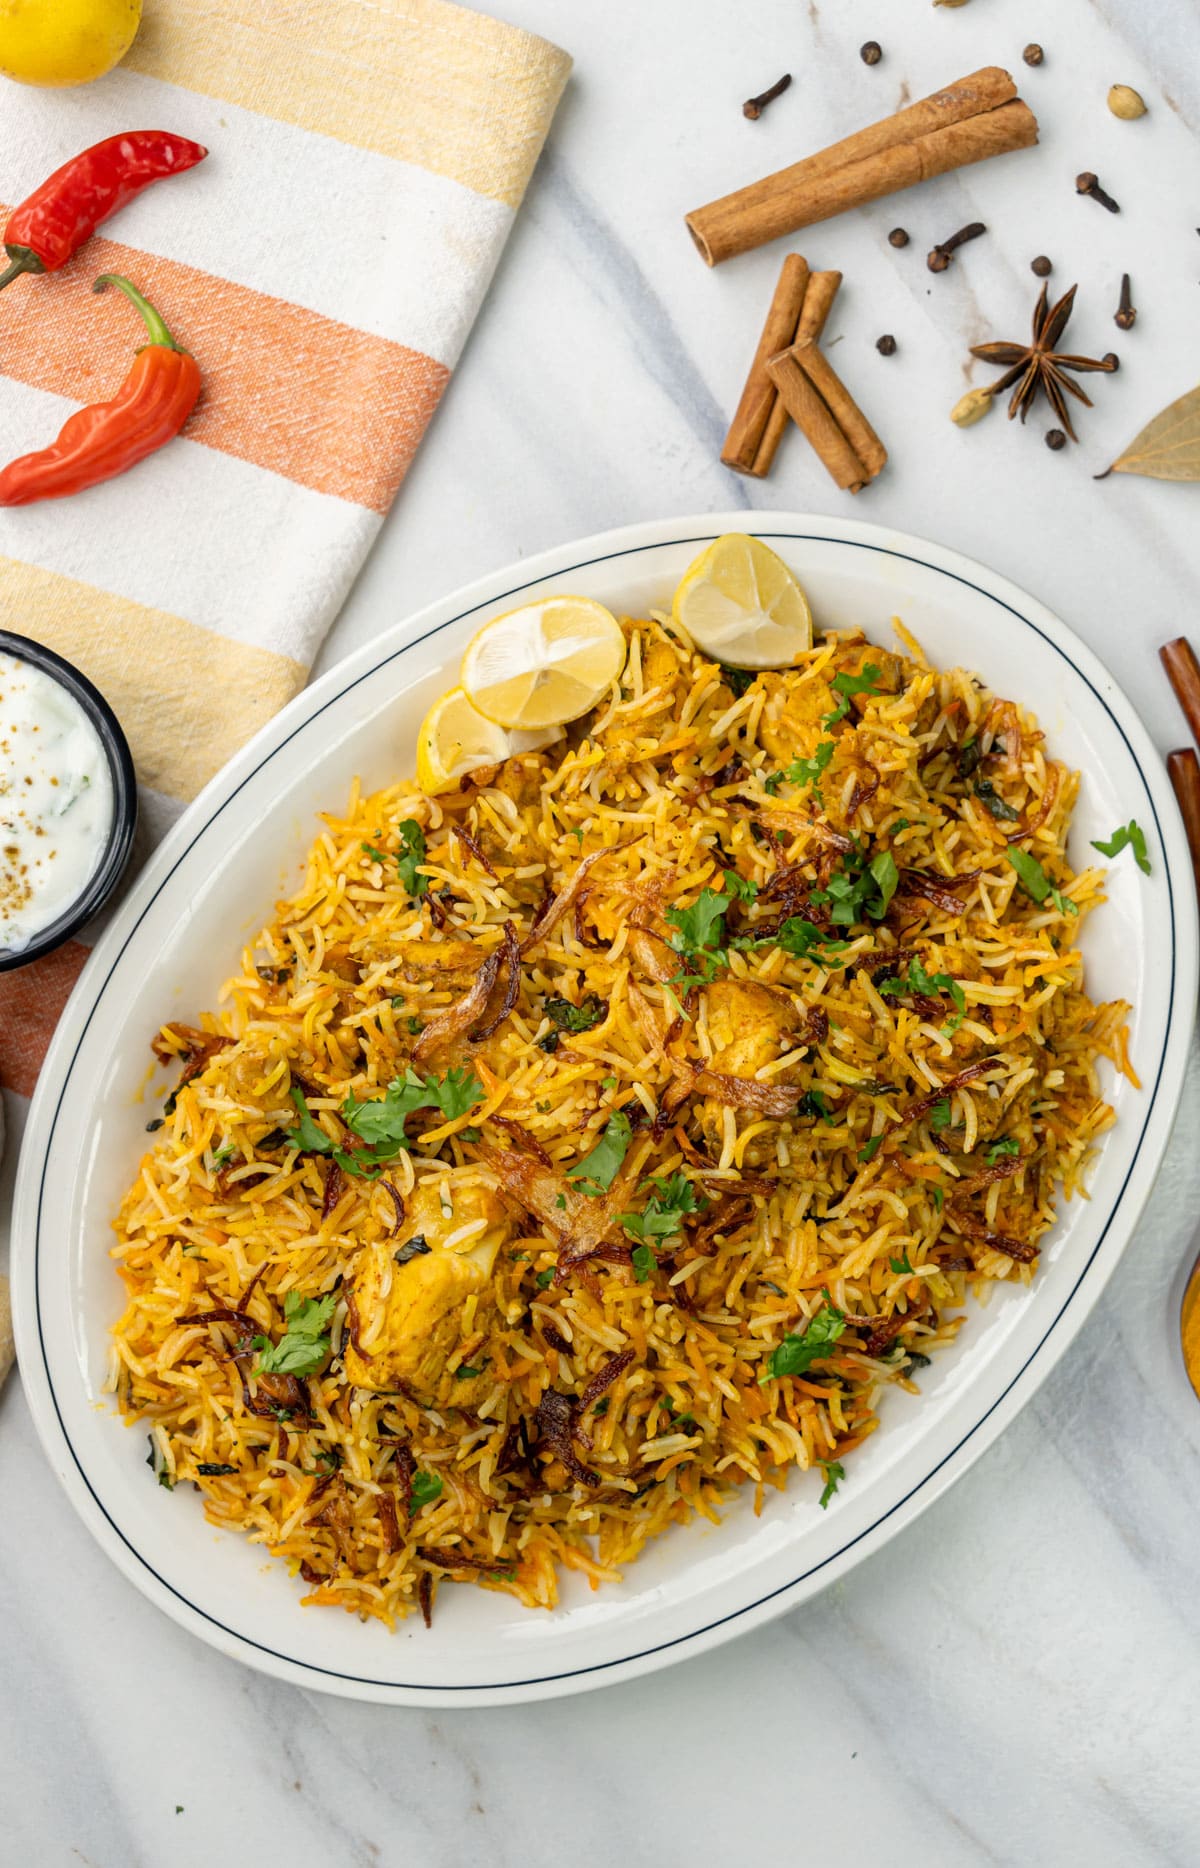
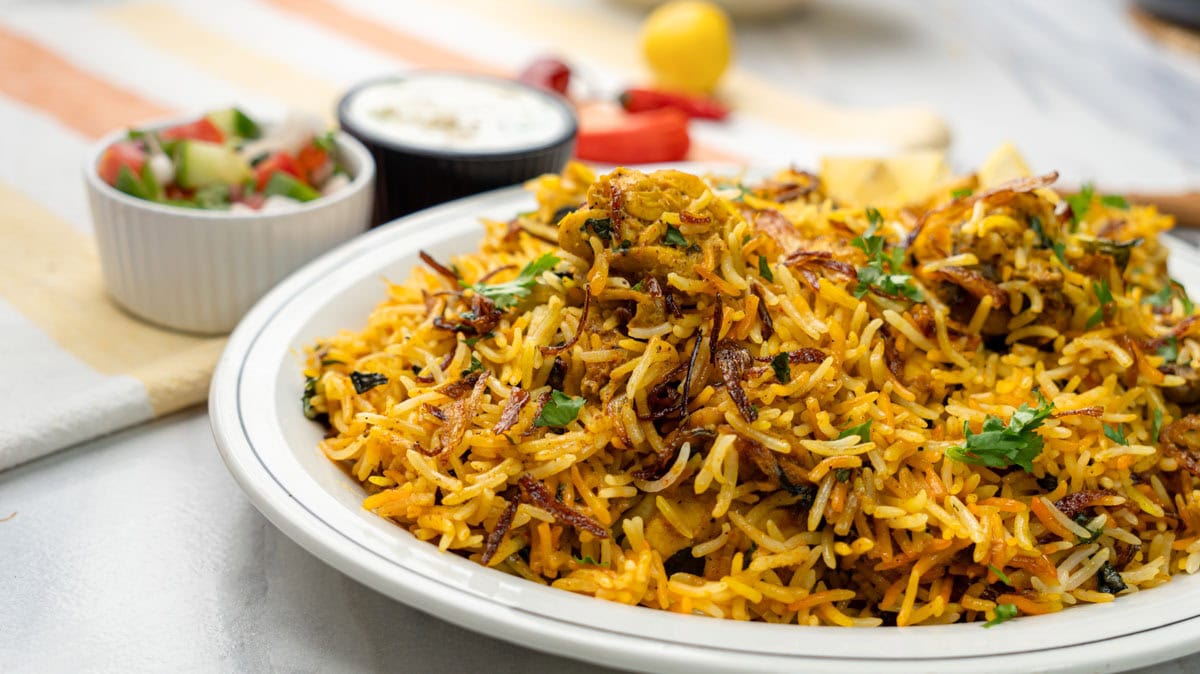
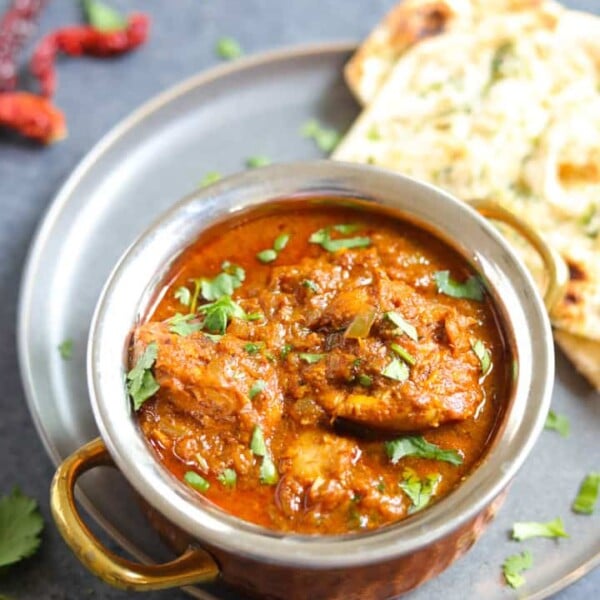
Biryani might be the most popular Indian and Pakistani rice dish worldwide. It is simply irresistible. Every bite is a burst of savory and aromatic goodness that leaves you craving more. It is not only delicious but also comforting and satisfying. You bet! This biryani is a hit at my place – my picky eaters, aka my daughters, love it! Whether enjoyed by itself or with cooling raita, Chicken Biryani will become a favorite in any home, just like my mutton biryani, shrimp biryani, and egg biryani. Biryani can be made with any type of meat or even vegetarian with paneer or tofu. Today, I am sharing the authentic chicken biryani recipe. I have also shared one-pot chicken biryani and vegetable biryani made in the Instant Pot, which you all loved.
Watch How to Make Chicken Biryani
What is Biryani?
Biryani is a popular South Asian dish that originated in the Indian subcontinent. It is a flavorful, aromatic rice dish made with various spices, herbs, meat, and vegetables. There are two types: Kacchi biryani, where raw meat is cooked with parboiled rice, and Pakki biryani, where cooked meat is layered and steamed with parboiled rice. Here I am sharing pakki biryani recipe. This Hyderabadi-style biryani is typically cooked in layers, with the meat or vegetables marinated in a mixture of yogurt and spices and then layered with partially cooked rice. The layers are then sealed with a lid and cooked over low heat, allowing the flavors to meld together and the rice to absorb all the delicious juices. The result is a rich and indulgent dish perfect for special occasions or a cozy night.
Restaurant-Style Chicken Biryani Recipe
This recipe creates a restaurant-quality Chicken Biryani at home. It’s broken down into easy-to-follow steps:
Ingredients
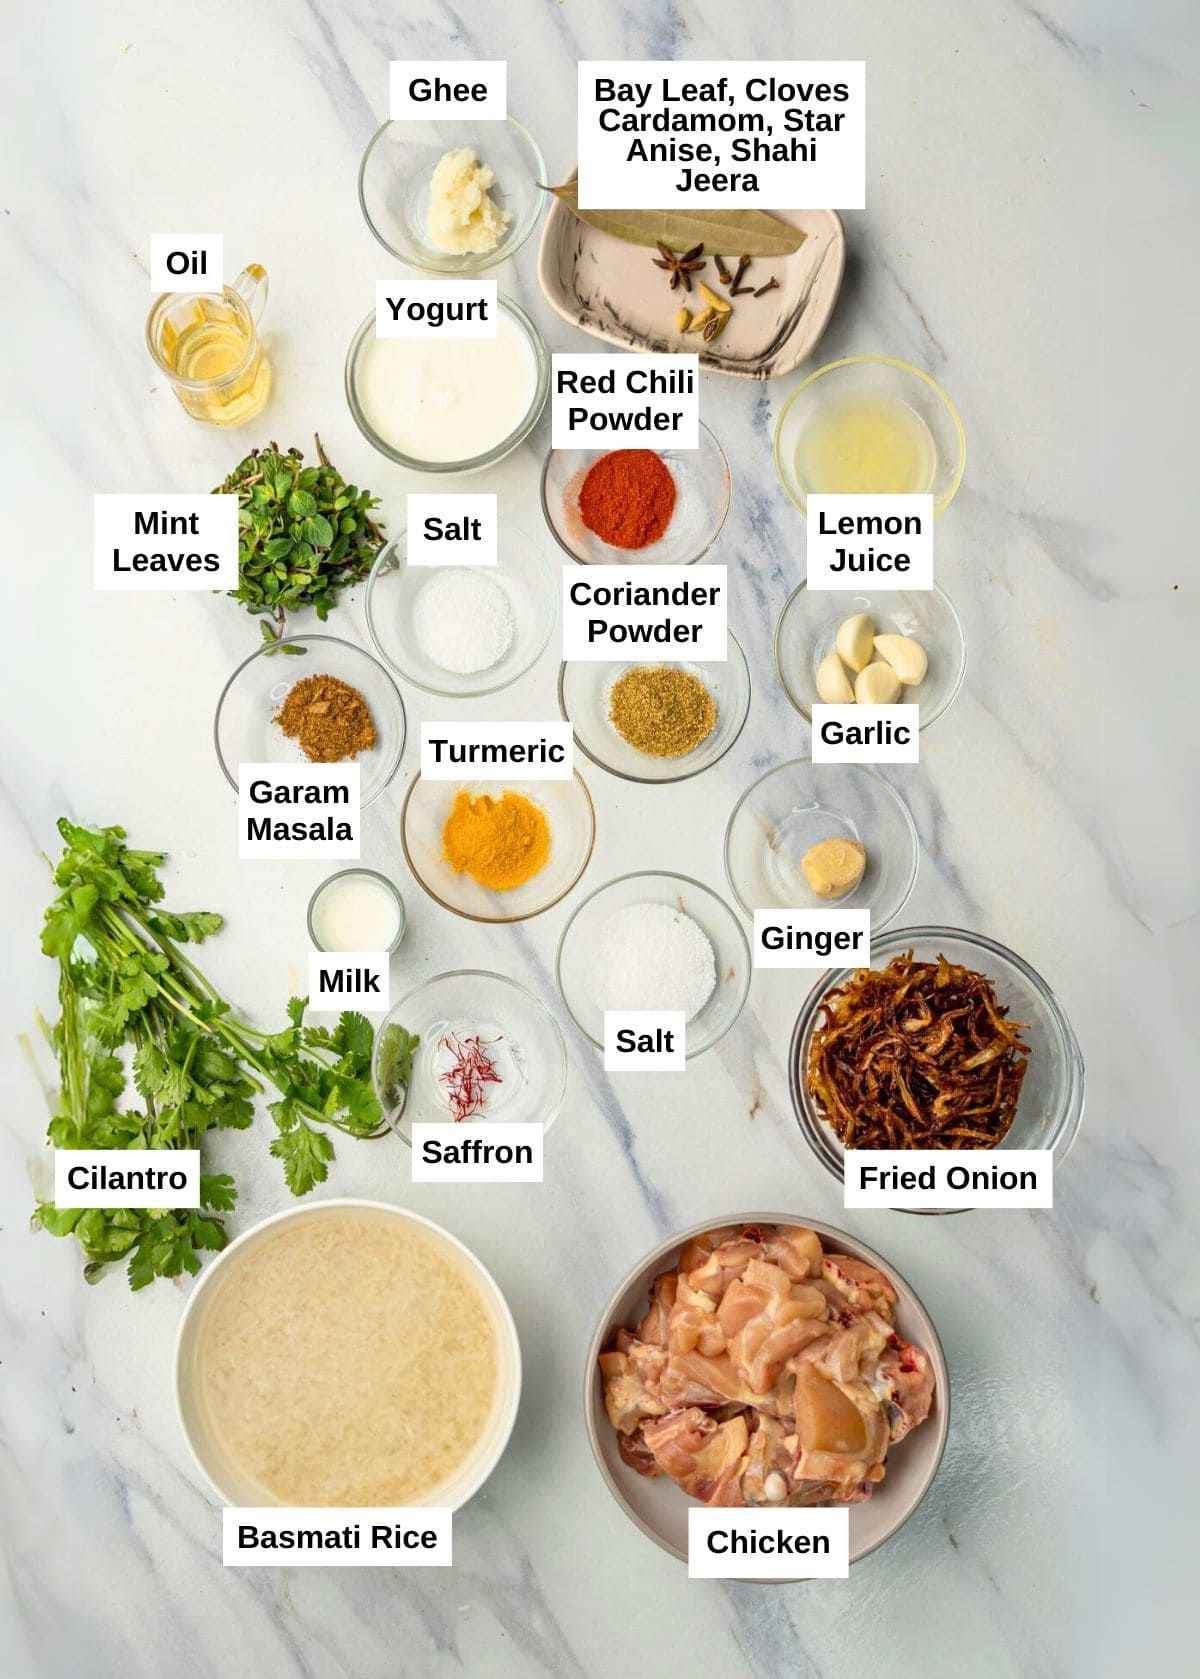
For Marinating Chicken:
Chicken Thighs: Tender, juicy bone-in chicken pieces, perfect for absorbing all the flavorful marinade. Plain Yogurt: It adds a hint of acidity. Garlic and Ginger: Adds a bold and aromatic flavor to the marinade, enhancing the dish’s overall taste. Spices: You’ll need turmeric, Kashmiri red chili powder, garam masala, coriander powder, and salt. Lime or Lemon Juice: It gives a tangy kick and helps to balance the marinade flavors.
For Fried Onions:
Yellow Onions: They add sweetness and texture to the biryani. Oil for frying: Fry the onions until they are caramelized and crispy.
For Saffron:
Warm Milk: Use to infuse saffron threads. Saffron: It adds a vibrant color and distinctive flavor.
For Parboiled Rice:
Basmati Rice: I like to cook biryani using premium extra long-grain basmati rice. If you use other rice, the biryani will be less fragrant. Water: Used for boiling the rice. Bay leaf, Cloves, Green Cardamom, Star anise, Shahi jeera: These aromatic spices enhance the flavor.
For Biryani:
Mint leaves and cilantro leaves: Fresh herbs chopped and used to garnish. Ghee: Adds richness and a buttery flavor.
Variations and Additions
Nuts: I did not add any nuts, but you can add roasted cashews or almonds for the extra richness.
Dried Fruits: You can add dried fruits such as dried chopped apricots or plums. They add a sweet, rich flavor to the biryani.
Boneless Chicken: You can use boneless chicken in this recipe too. Just the saute time for the chicken will reduce a little.
How to Make Biryani?
Marinate the Chicken
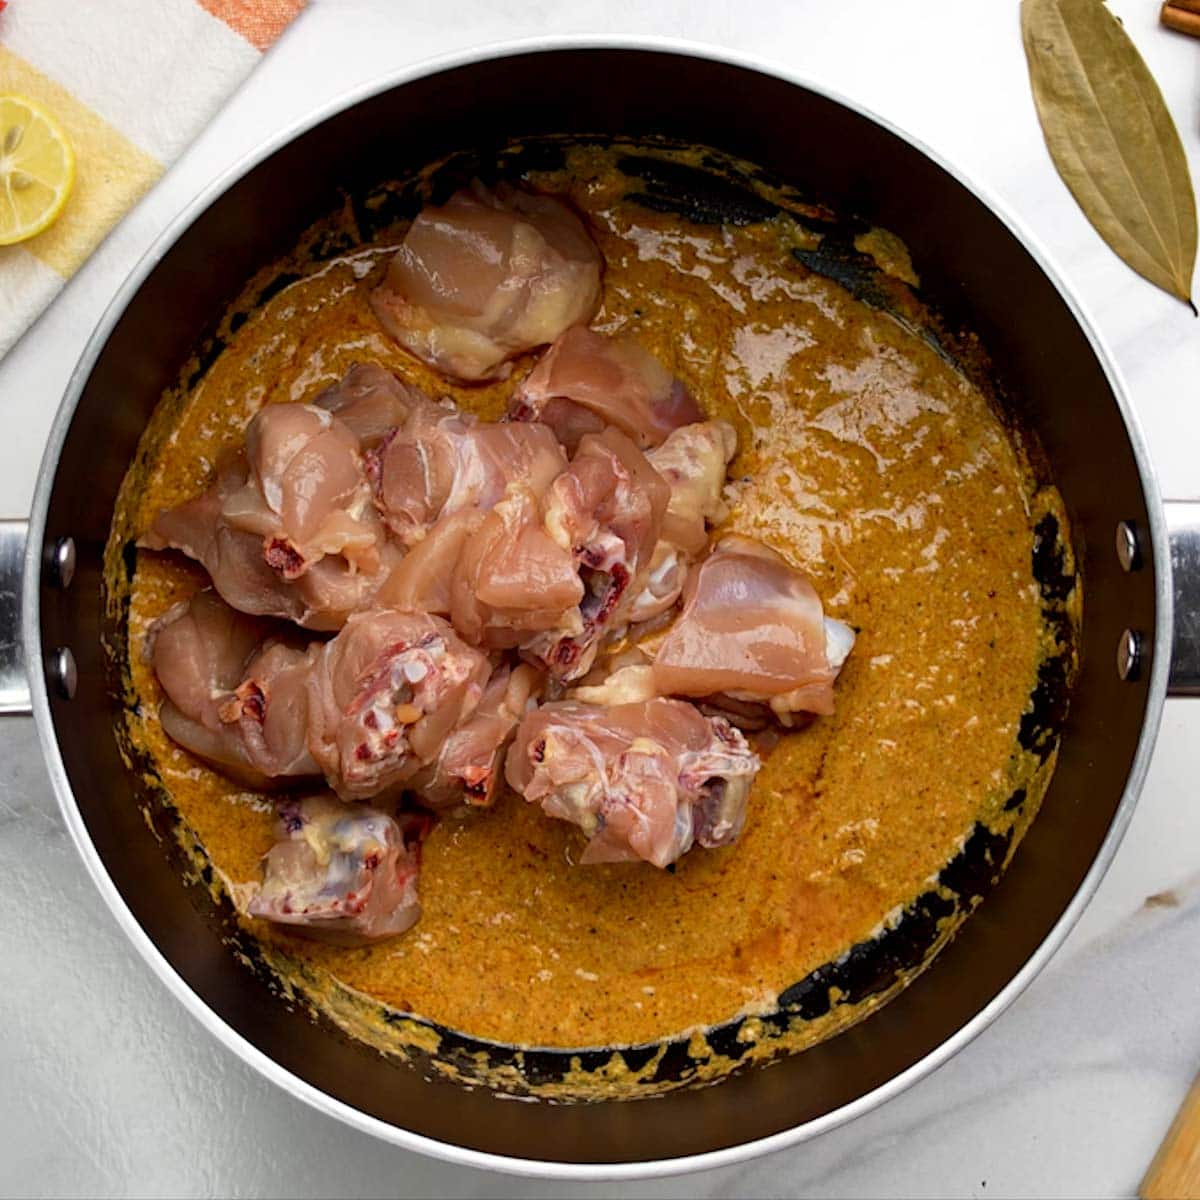
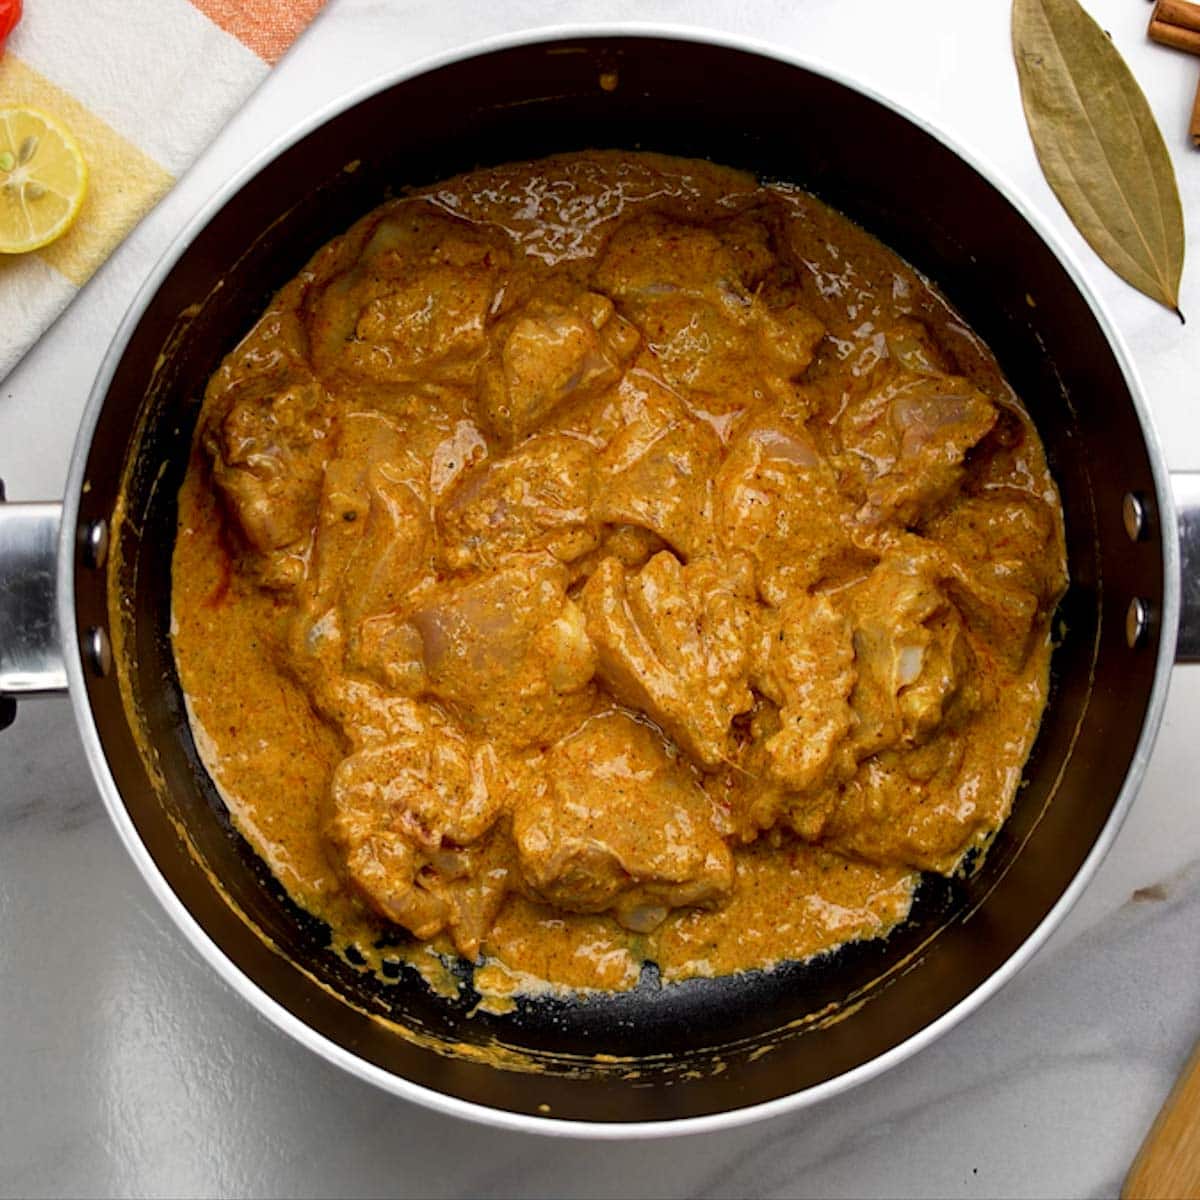
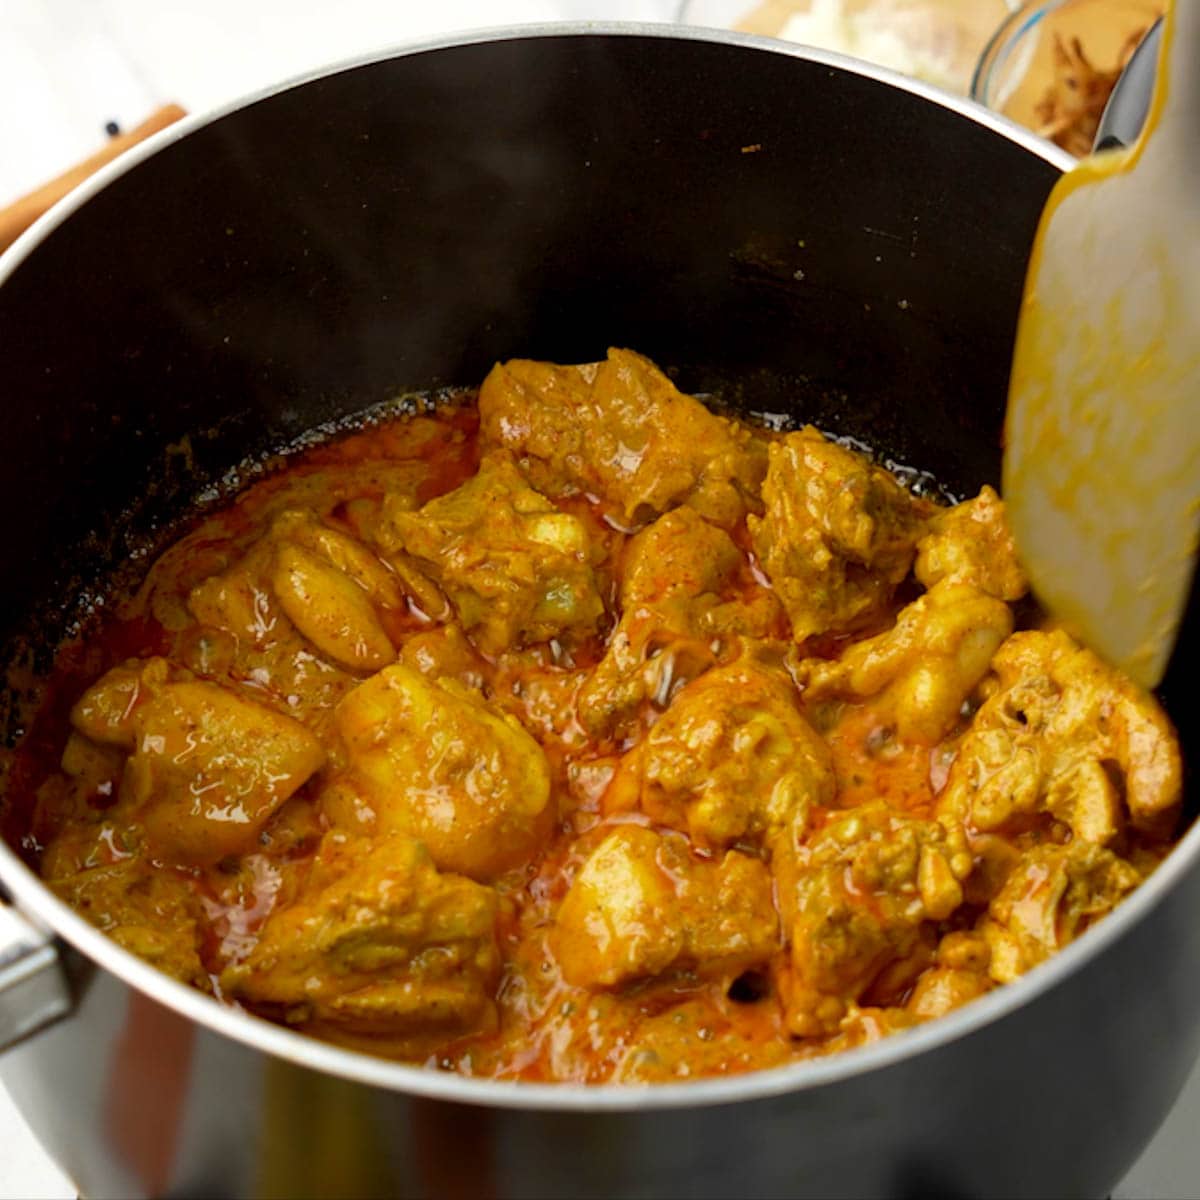
In a big pot with a heavy bottom or a Dutch oven, mix the chicken marinade ingredients: yogurt, oil, garlic, ginger, spices, salt, and lime juice.
Toss the chicken pieces in this mixture and let it sit for at least 30 minutes. The longer you wait (up to 10 hours!), the tastier the chicken will be.
Pro-Tip: Marinate the chicken overnight for the most flavorful tender pieces in biryani. Also, great to prep ahead.
Fry the Onions
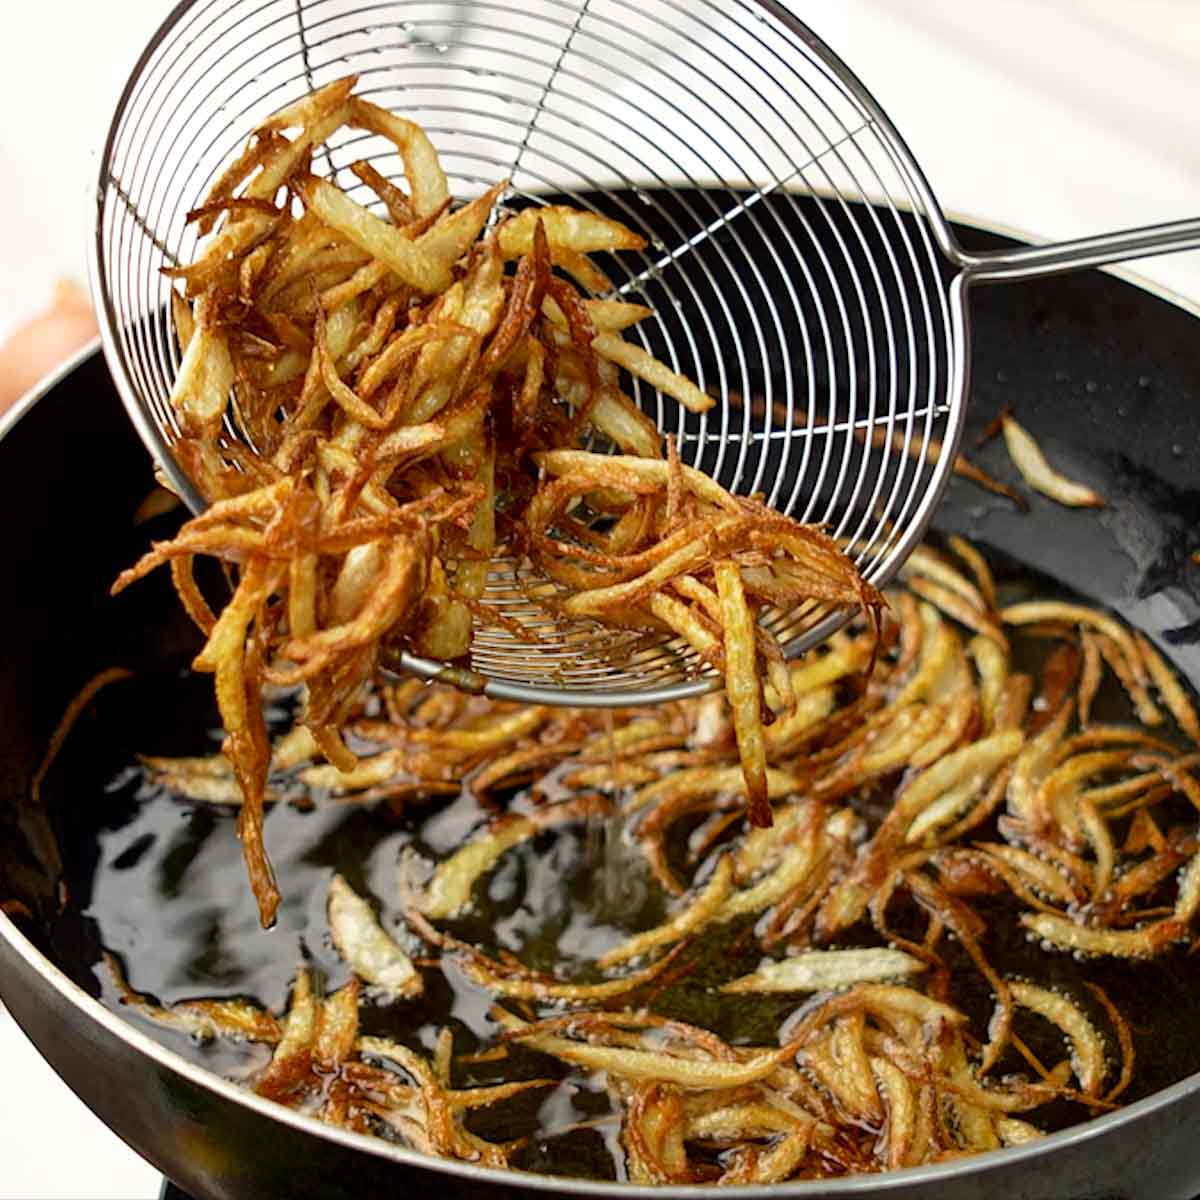
Slice the onions nice and thin. Heat some oil in a separate pan over medium-high heat. Add the onions and fry them until they turn golden brown and crispy. Don’t burn them, or they’ll taste bitter! If there’s a lot of onion, fry them in batches.
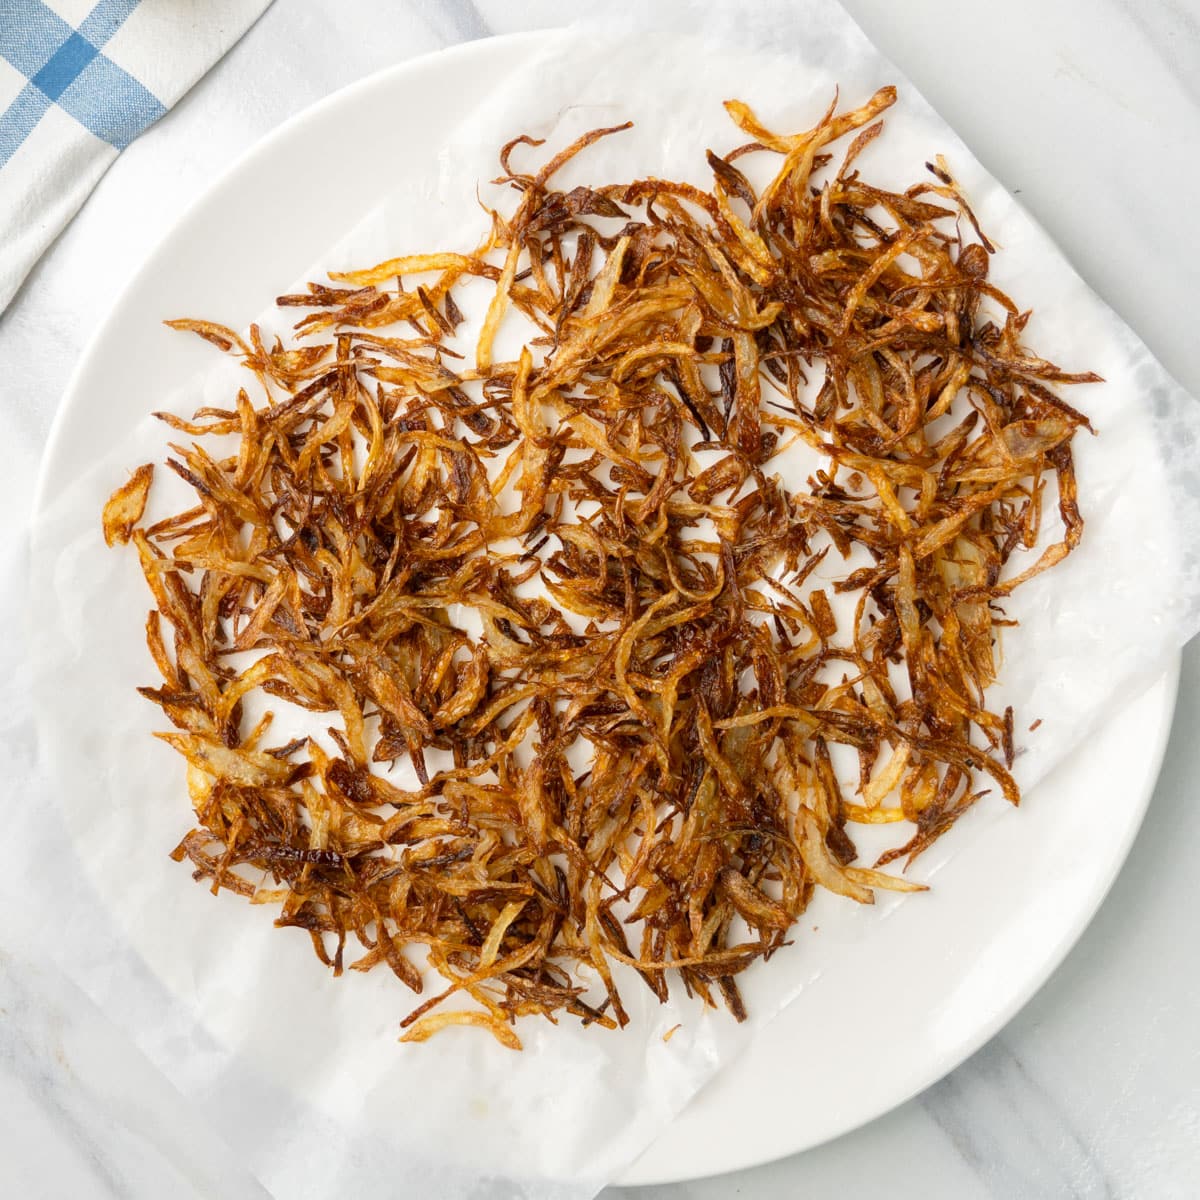
Once golden brown, remove the onions and put them on a plate with paper towels to drain any oil.
Pro-Tip: If you are feeling lazy, you can use store-bought fried onions. It is best to get the fried onions from a South Indian market, as they will have an authentic taste. Other American grocery stores might have French fried onions, which are coated in flour before frying.
Soak the Saffron
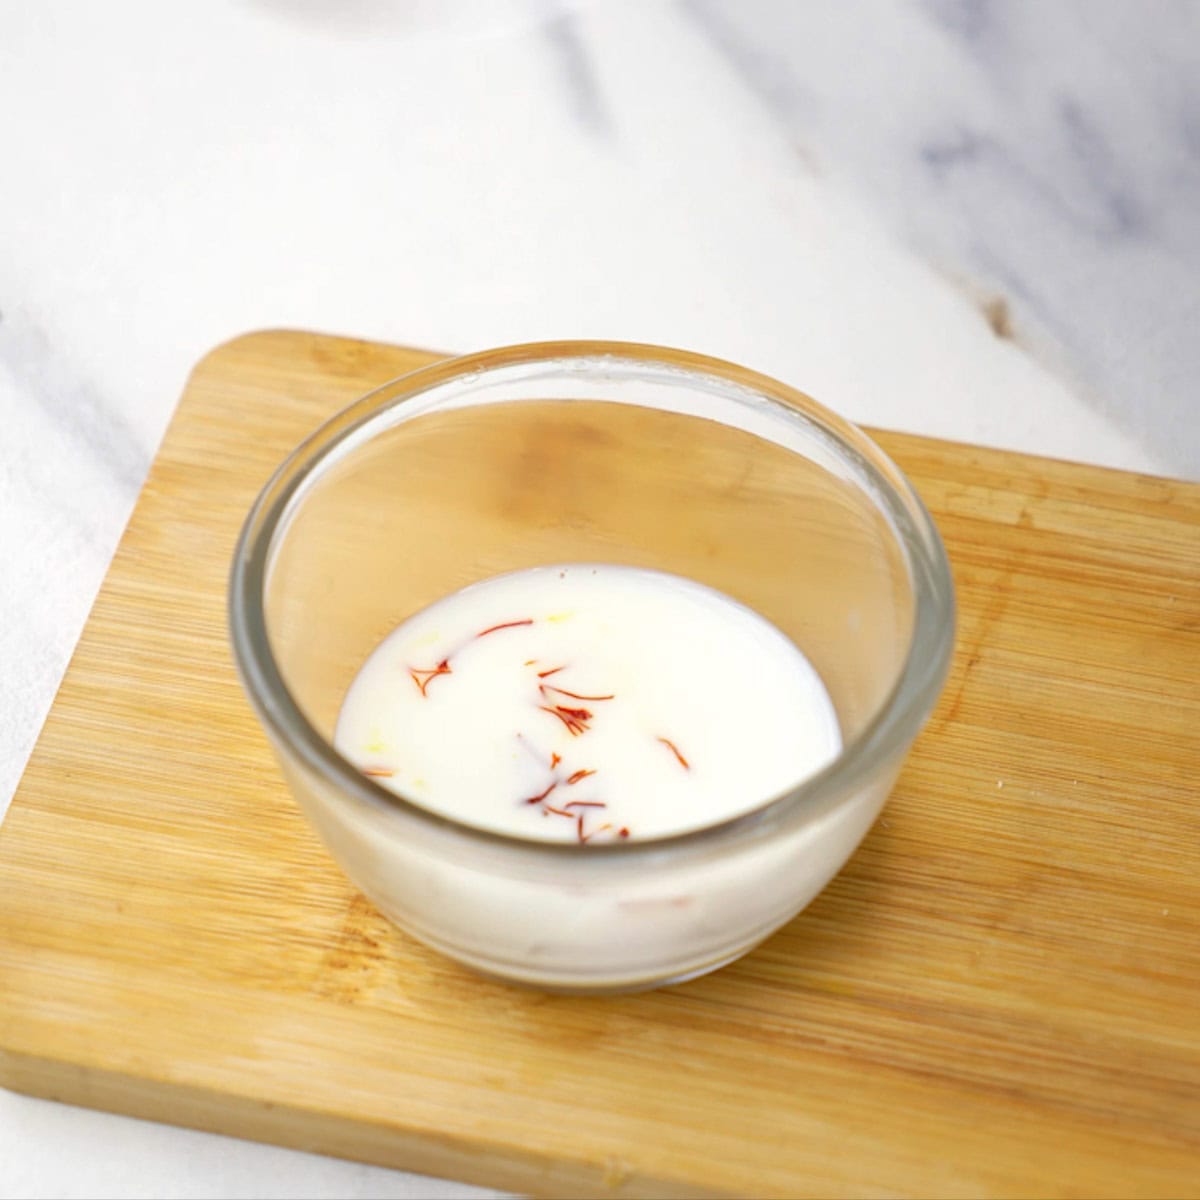
Add some warm milk and saffron threads to a small bowl. Let it sit for 10 minutes so the saffron can release its flavor.
Pro-Tip: I do not add any color, but if you like, you can add natural yellow food coloring for that extra pop of color.
Cook the Rice (Parboiling)
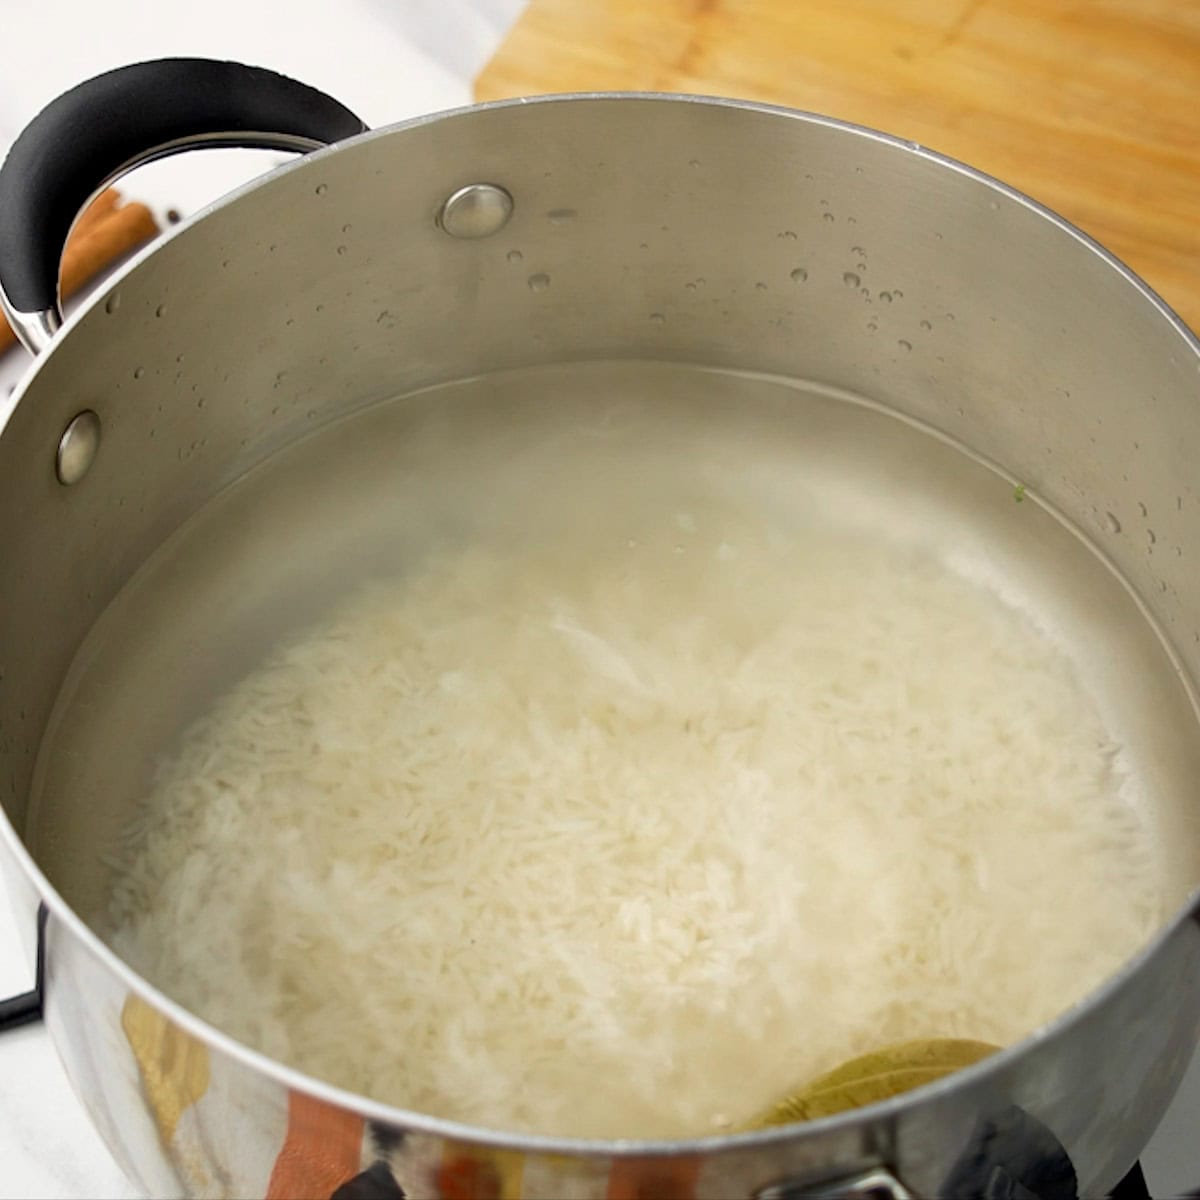
Bring water to a boil in a large pot. Add salt, whole spices, and rinsed basmati rice. Let the rice cook in the boiling water for just 5 minutes. Then, drain the water immediately and spread the rice on a plate or bowl. The rice should be about 70% cooked and a little soft but not mushy.
Layer the Biryani
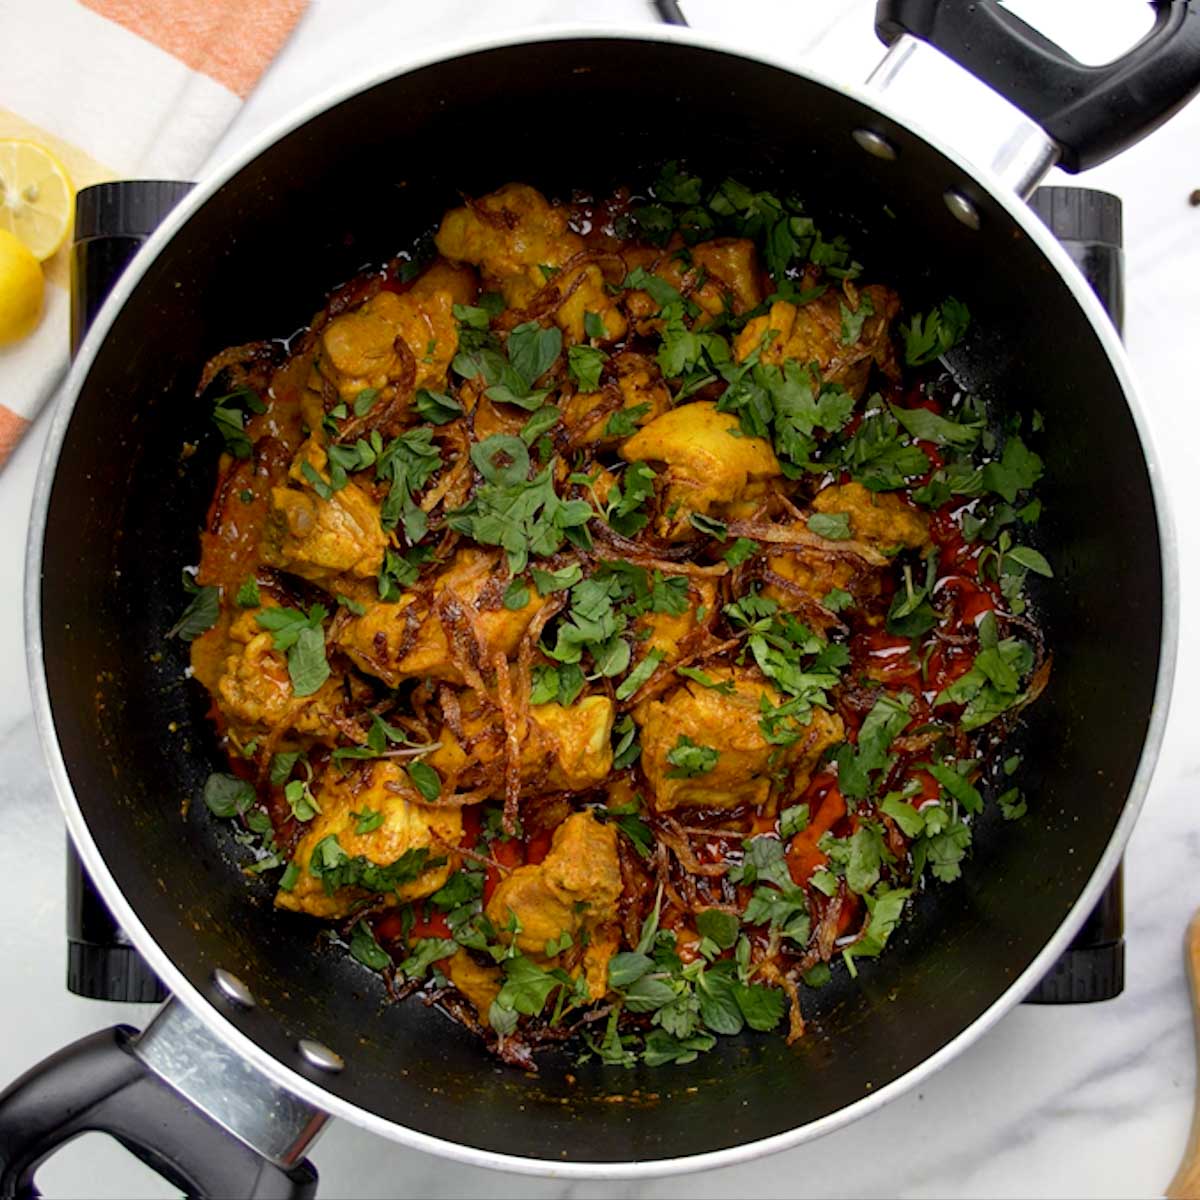
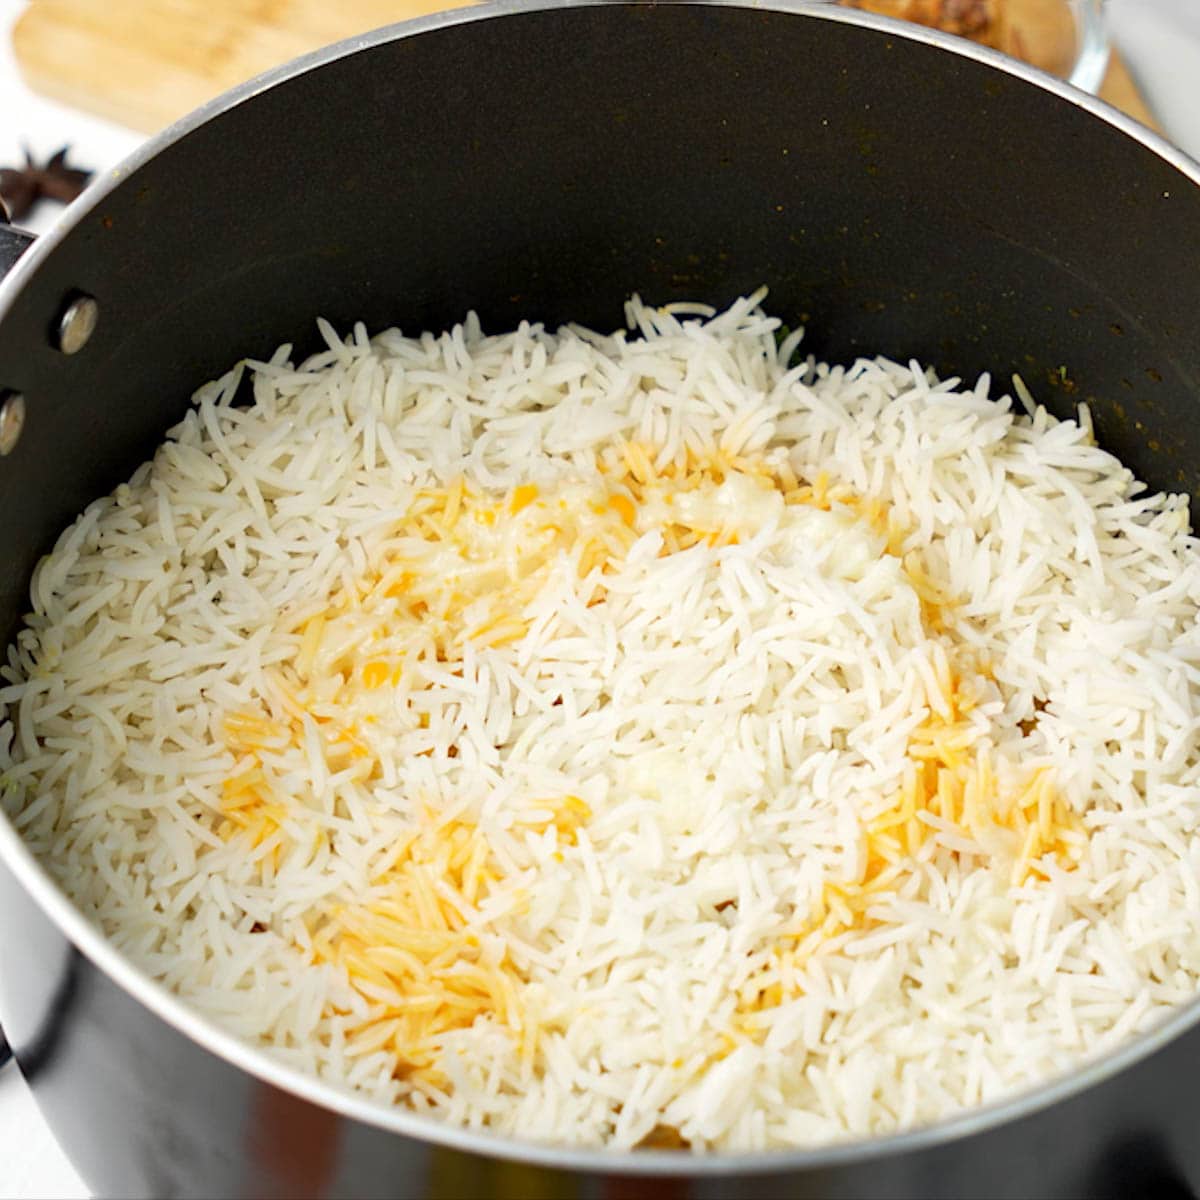
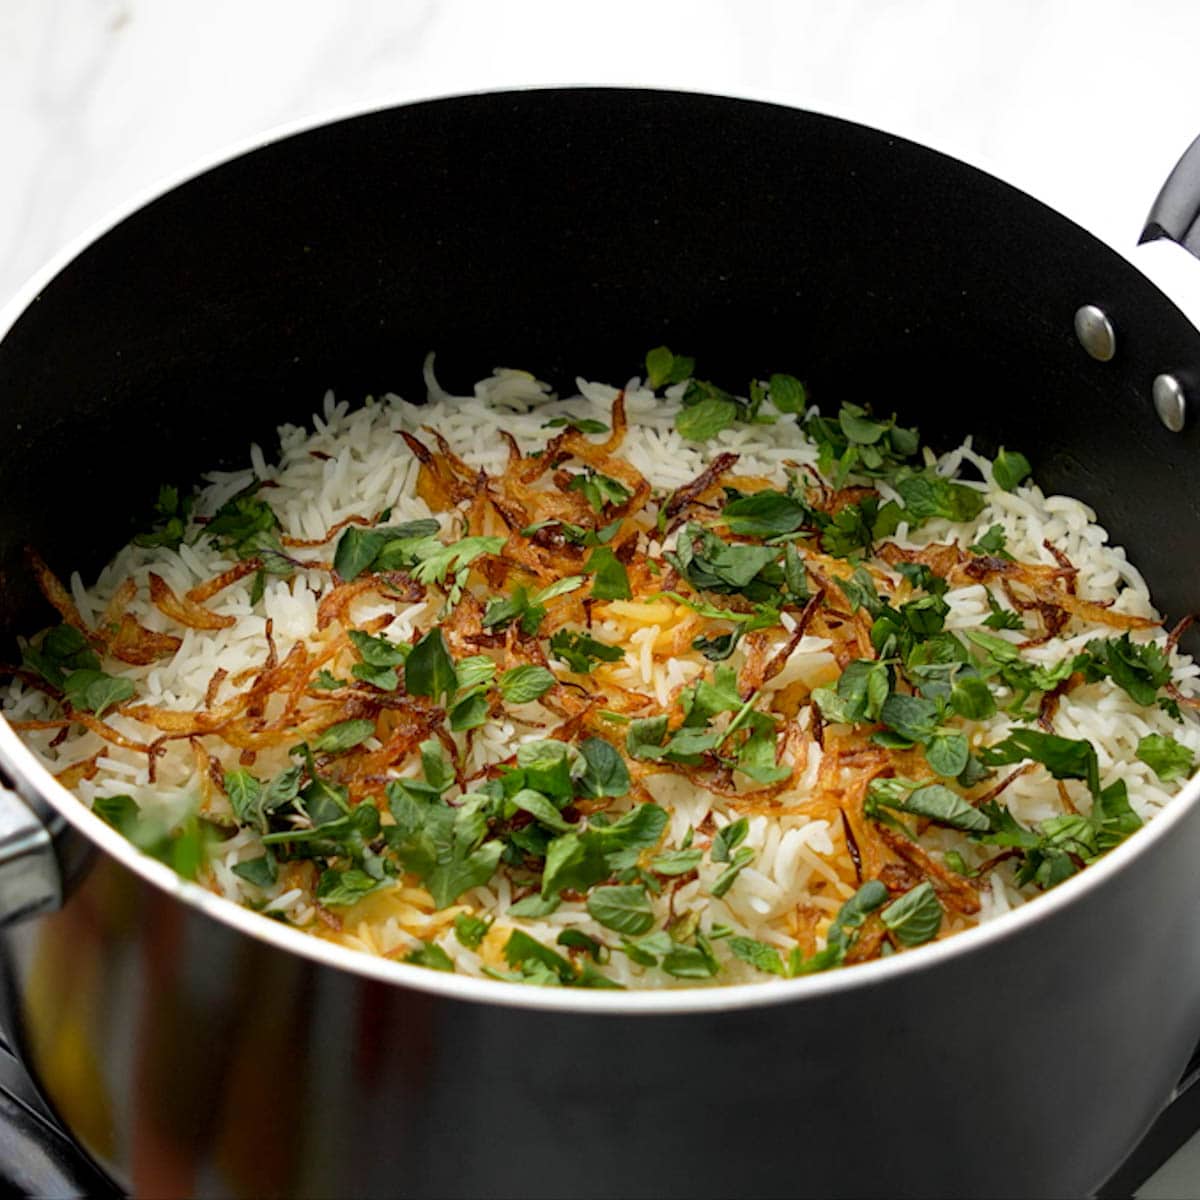
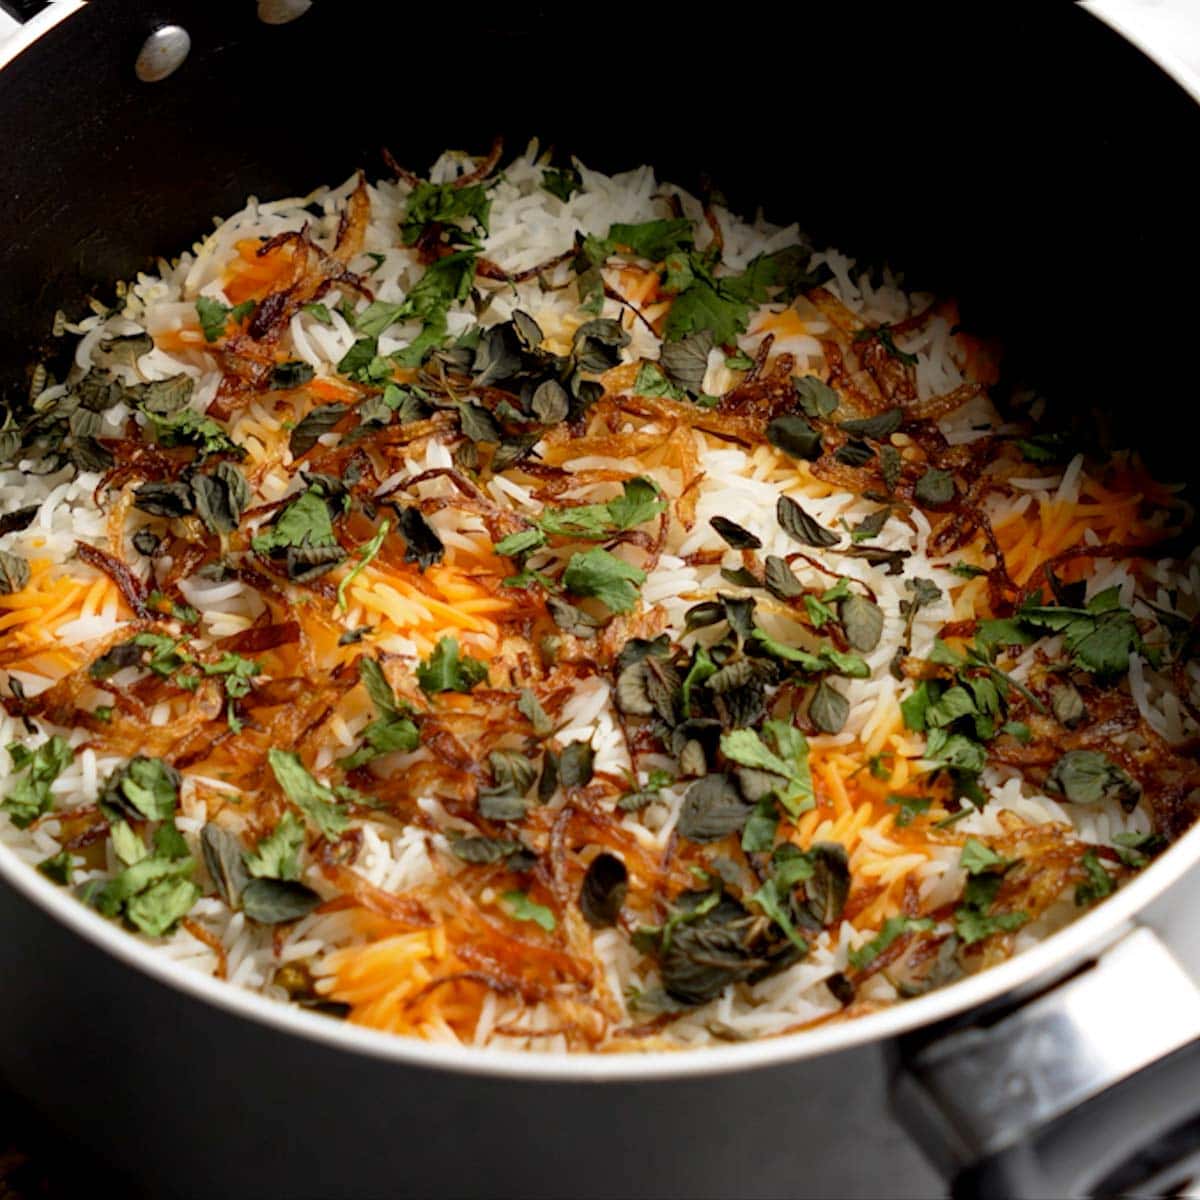
Place the pan or Dutch oven with the marinated chicken on medium-high heat. Cook the chicken for 8-10 minutes, stirring it around sometimes. Then turn off the heat. The chicken should be about 70% cooked through. Now comes the fun part—layering! Spread half of the fried onions on the chicken. Then, sprinkle half of the chopped mint and cilantro leaves on top. Then, add the parboiled rice on top, spreading it evenly. Press it down a little with a spatula. Drizzle some ghee over the rice and then some saffron milk. Top it off with the remaining fried onions, mint, and cilantro.
Cook with Steam (“Dum”)
Put a tight lid on the pot. You can even wrap a kitchen towel around the lid to seal it tightly. This will keep all the steam inside. Cook the biryani on the lowest heat setting for 20 minutes. This slow cooking with steam is called “dum,” which helps make the rice fluffy and flavorful.
Rest and Enjoy
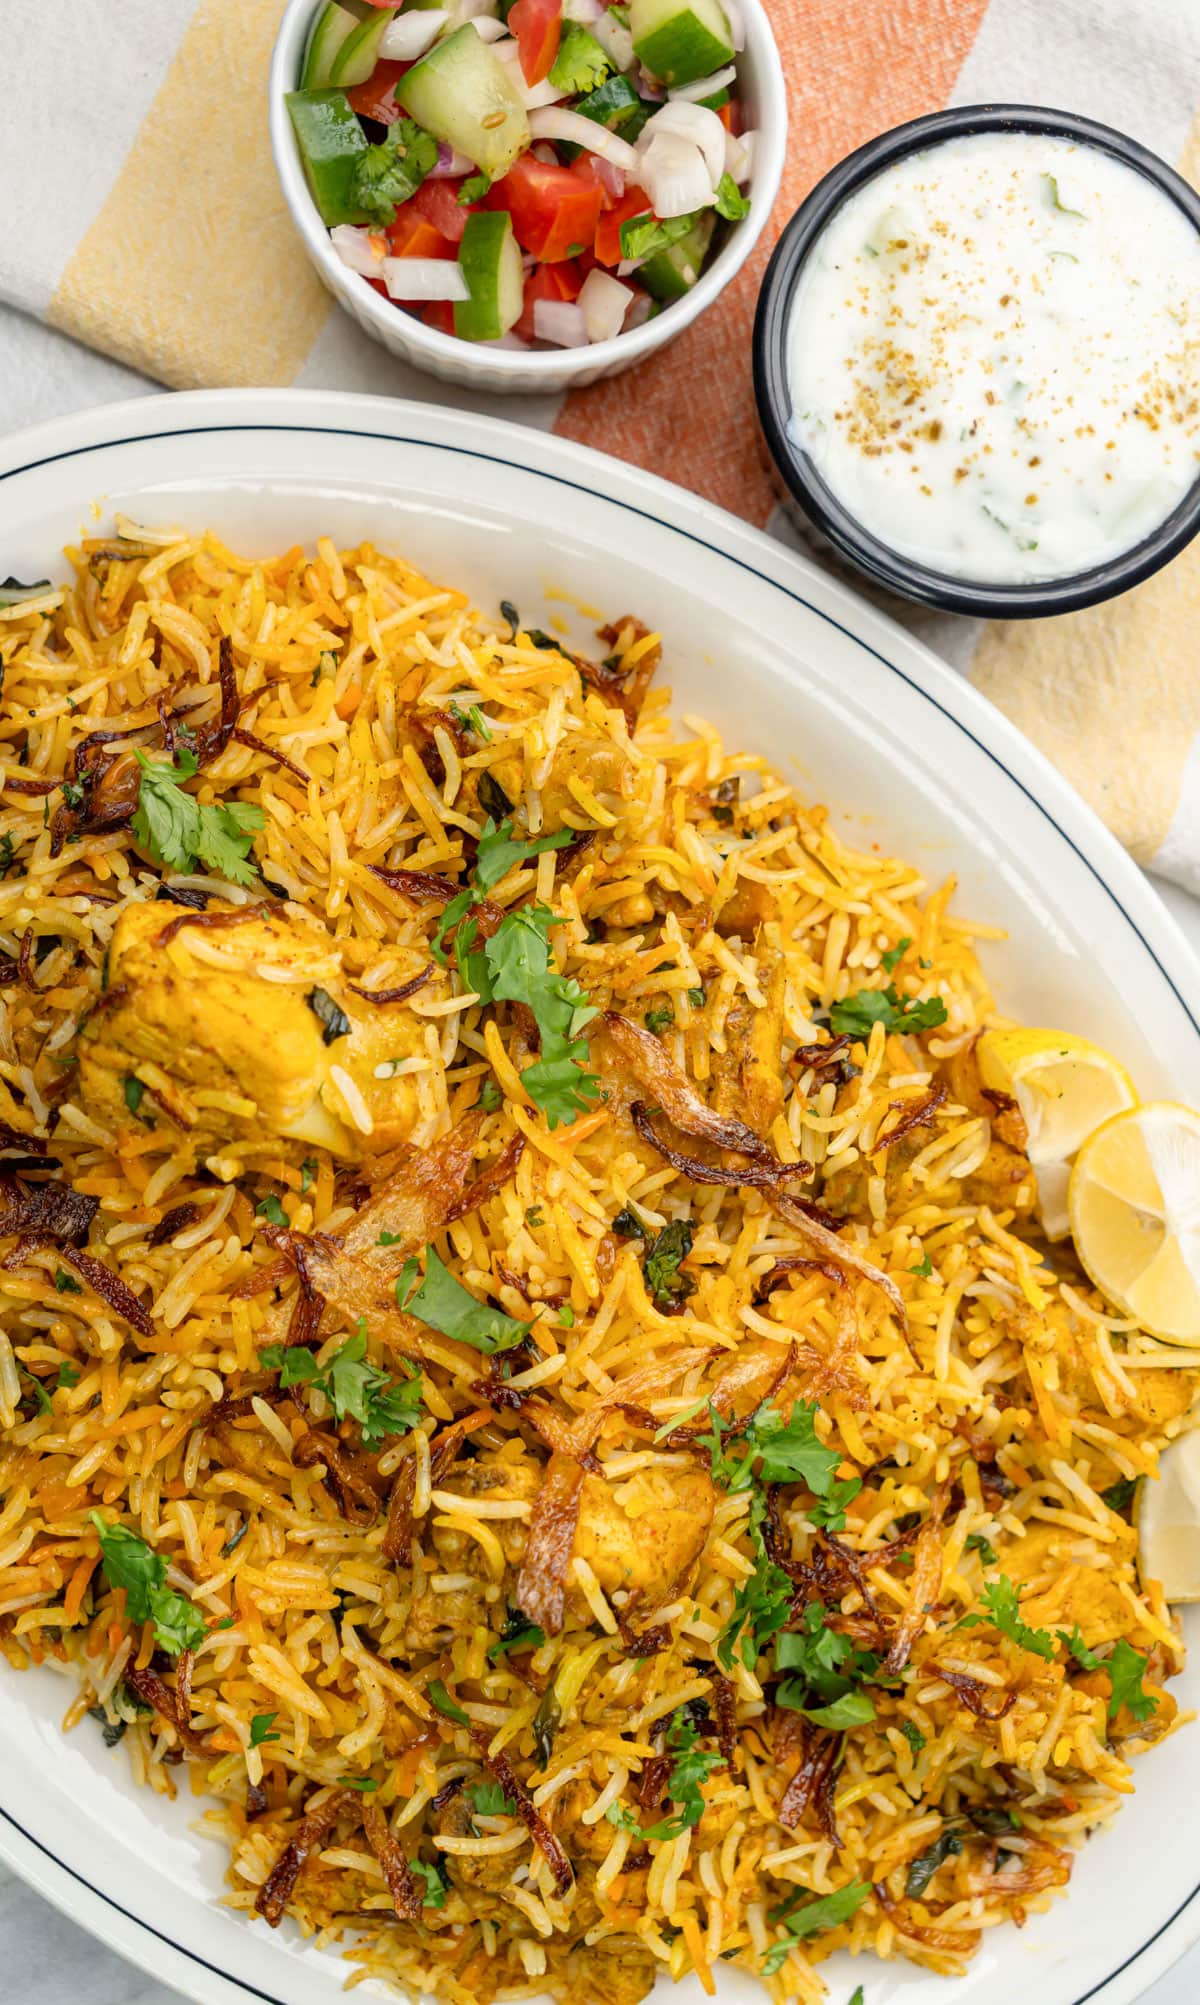
Take the pot off the heat and let the biryani rest for another 5-10 minutes. This will allow the flavors to come together. When ready to eat, fluff the biryani with a fork and serve it. Try to get a bit of everything in each scoop – chicken, yellow rice (from the saffron milk), white rice, and fried onions. Garnish with extra fried onions and cilantro for a pop of color! Serve it with raita and kachumber salad on the side for a complete meal.
How to Double the Recipe?
To easily double this Chicken Biryani recipe, follow these steps: Fried Onions: This is the most tedious part of the recipe. You can fry and store the onions ahead of time in an airtight container in the refrigerator. You can substitute with store-bought onions or shallots if you like. Ensure that gluten-free ones are obtained and are not mixed with other ingredients before frying. Oil for marinade: If you have fried onions before marinating the chicken, you can use the oil used to fry the onions in the marinade. That adds some extra flavor to the marinated chicken. Basmati Rice: I like to use premium extra long-grain basmati rice to cook biryani. If you use other rice, the biryani will not be as fragrant. Don’t overcook the rice – it should be about 70% cooked before layering. Cooking Biryani: Seal the pot tightly for steaming (dum) to create fluffy rice. If you don’t have a heavy-bottom pan, place a tawa or griddle below the pan with biryani. This helps to diffuse the heat and ensures the bottom layer of biryani is not overcooked or burnt. You will need to turn up the heat to medium. Don’t like whole spices in the final dish? If you don’t want to have whole spices when serving the biryani, then you can add them to a spice pouch and then add them to the water to boil the rice.
What to serve with Chicken Biryani?
Chicken biryani pairs wonderfully with refreshing cucumber raita, tangy kachumber salad, or a side of spicy pickle for added zing.
How to store leftover Biryani?
If you happen to have any leftovers (although it’s unlikely!), store them in an airtight container in the refrigerator for up to 3 days. I often double the recipe as it is easier to make the biryani once and enjoy it for 2-3 days. It is also great to pack for lunch. To store biryani for longer, you can freeze it. When ready to enjoy, thaw it overnight in the refrigerator, and reheat it in the microwave.
Instant Pot Coconut Chicken Curry
Chicken Tikka Masala Pasta
Chicken Vindaloo – Authentic Pressure Cooker Recipe
Chicken Tikka Kebab


